

Week 6: Piece Top
WEEK 6: piece top
It’s the final week of the Looper quiltalong! By the end of this week’s tasks you will have a finished Looper quilt top. Aren’t you excited??
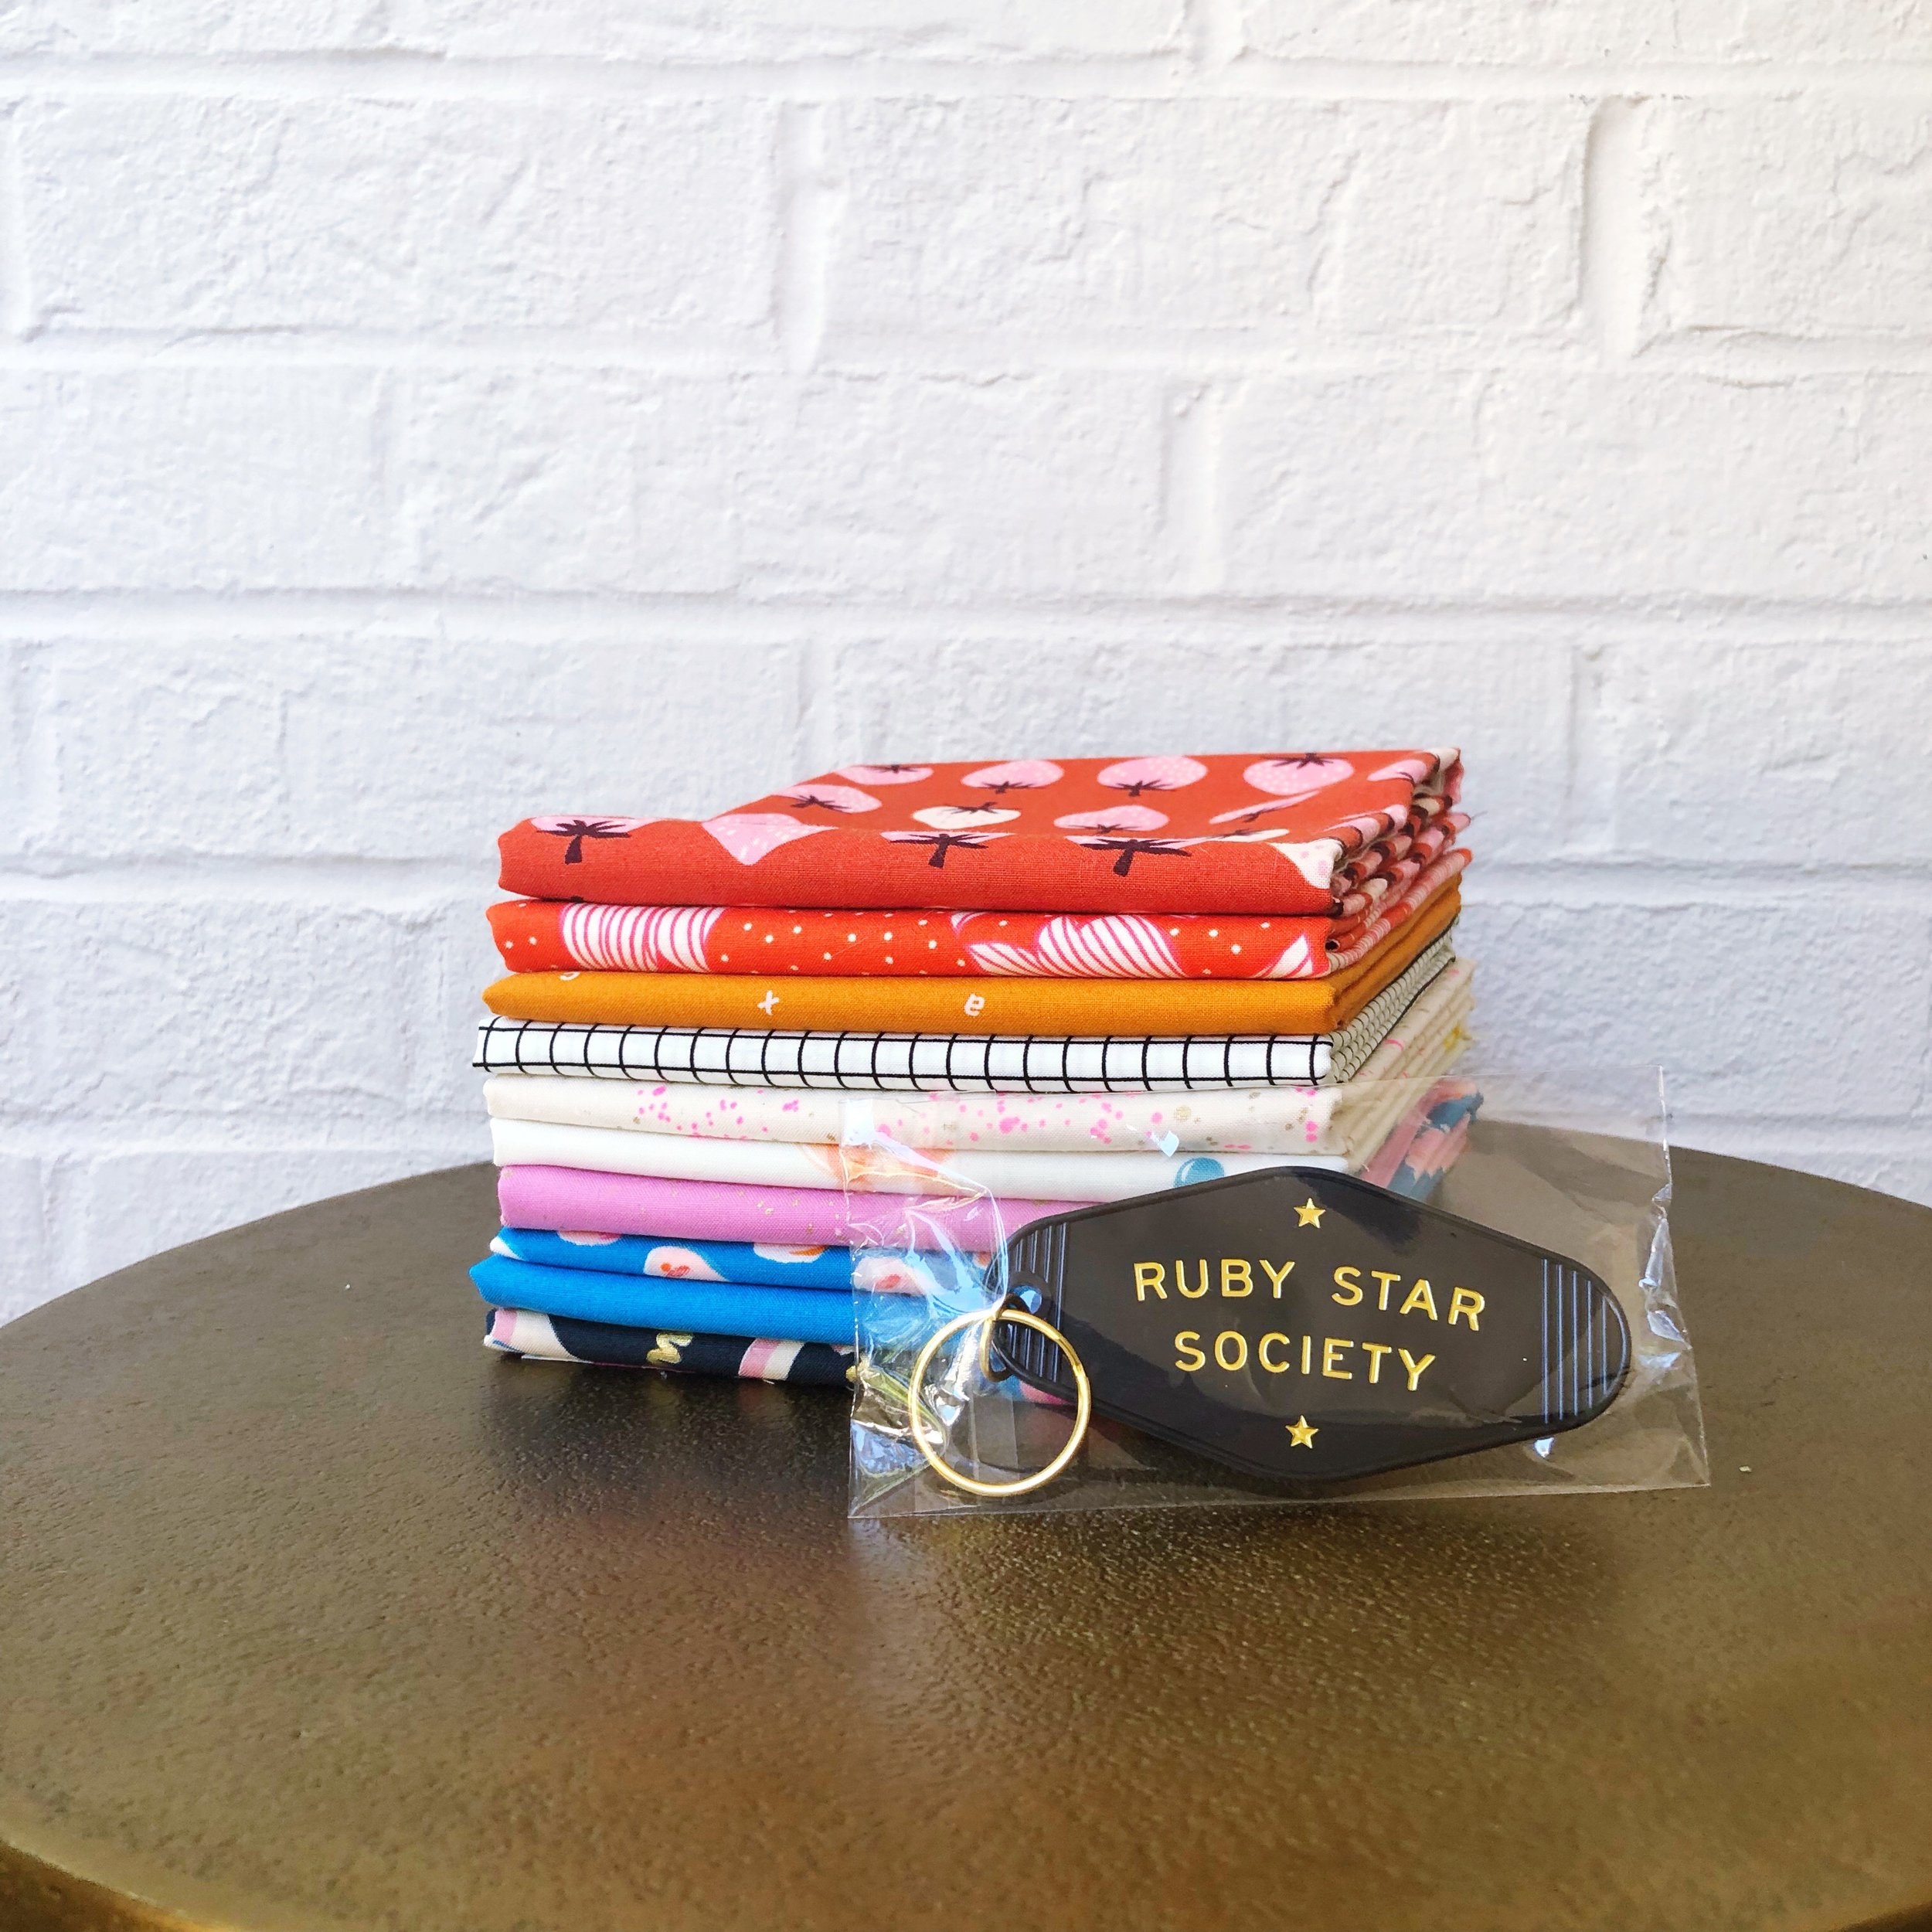
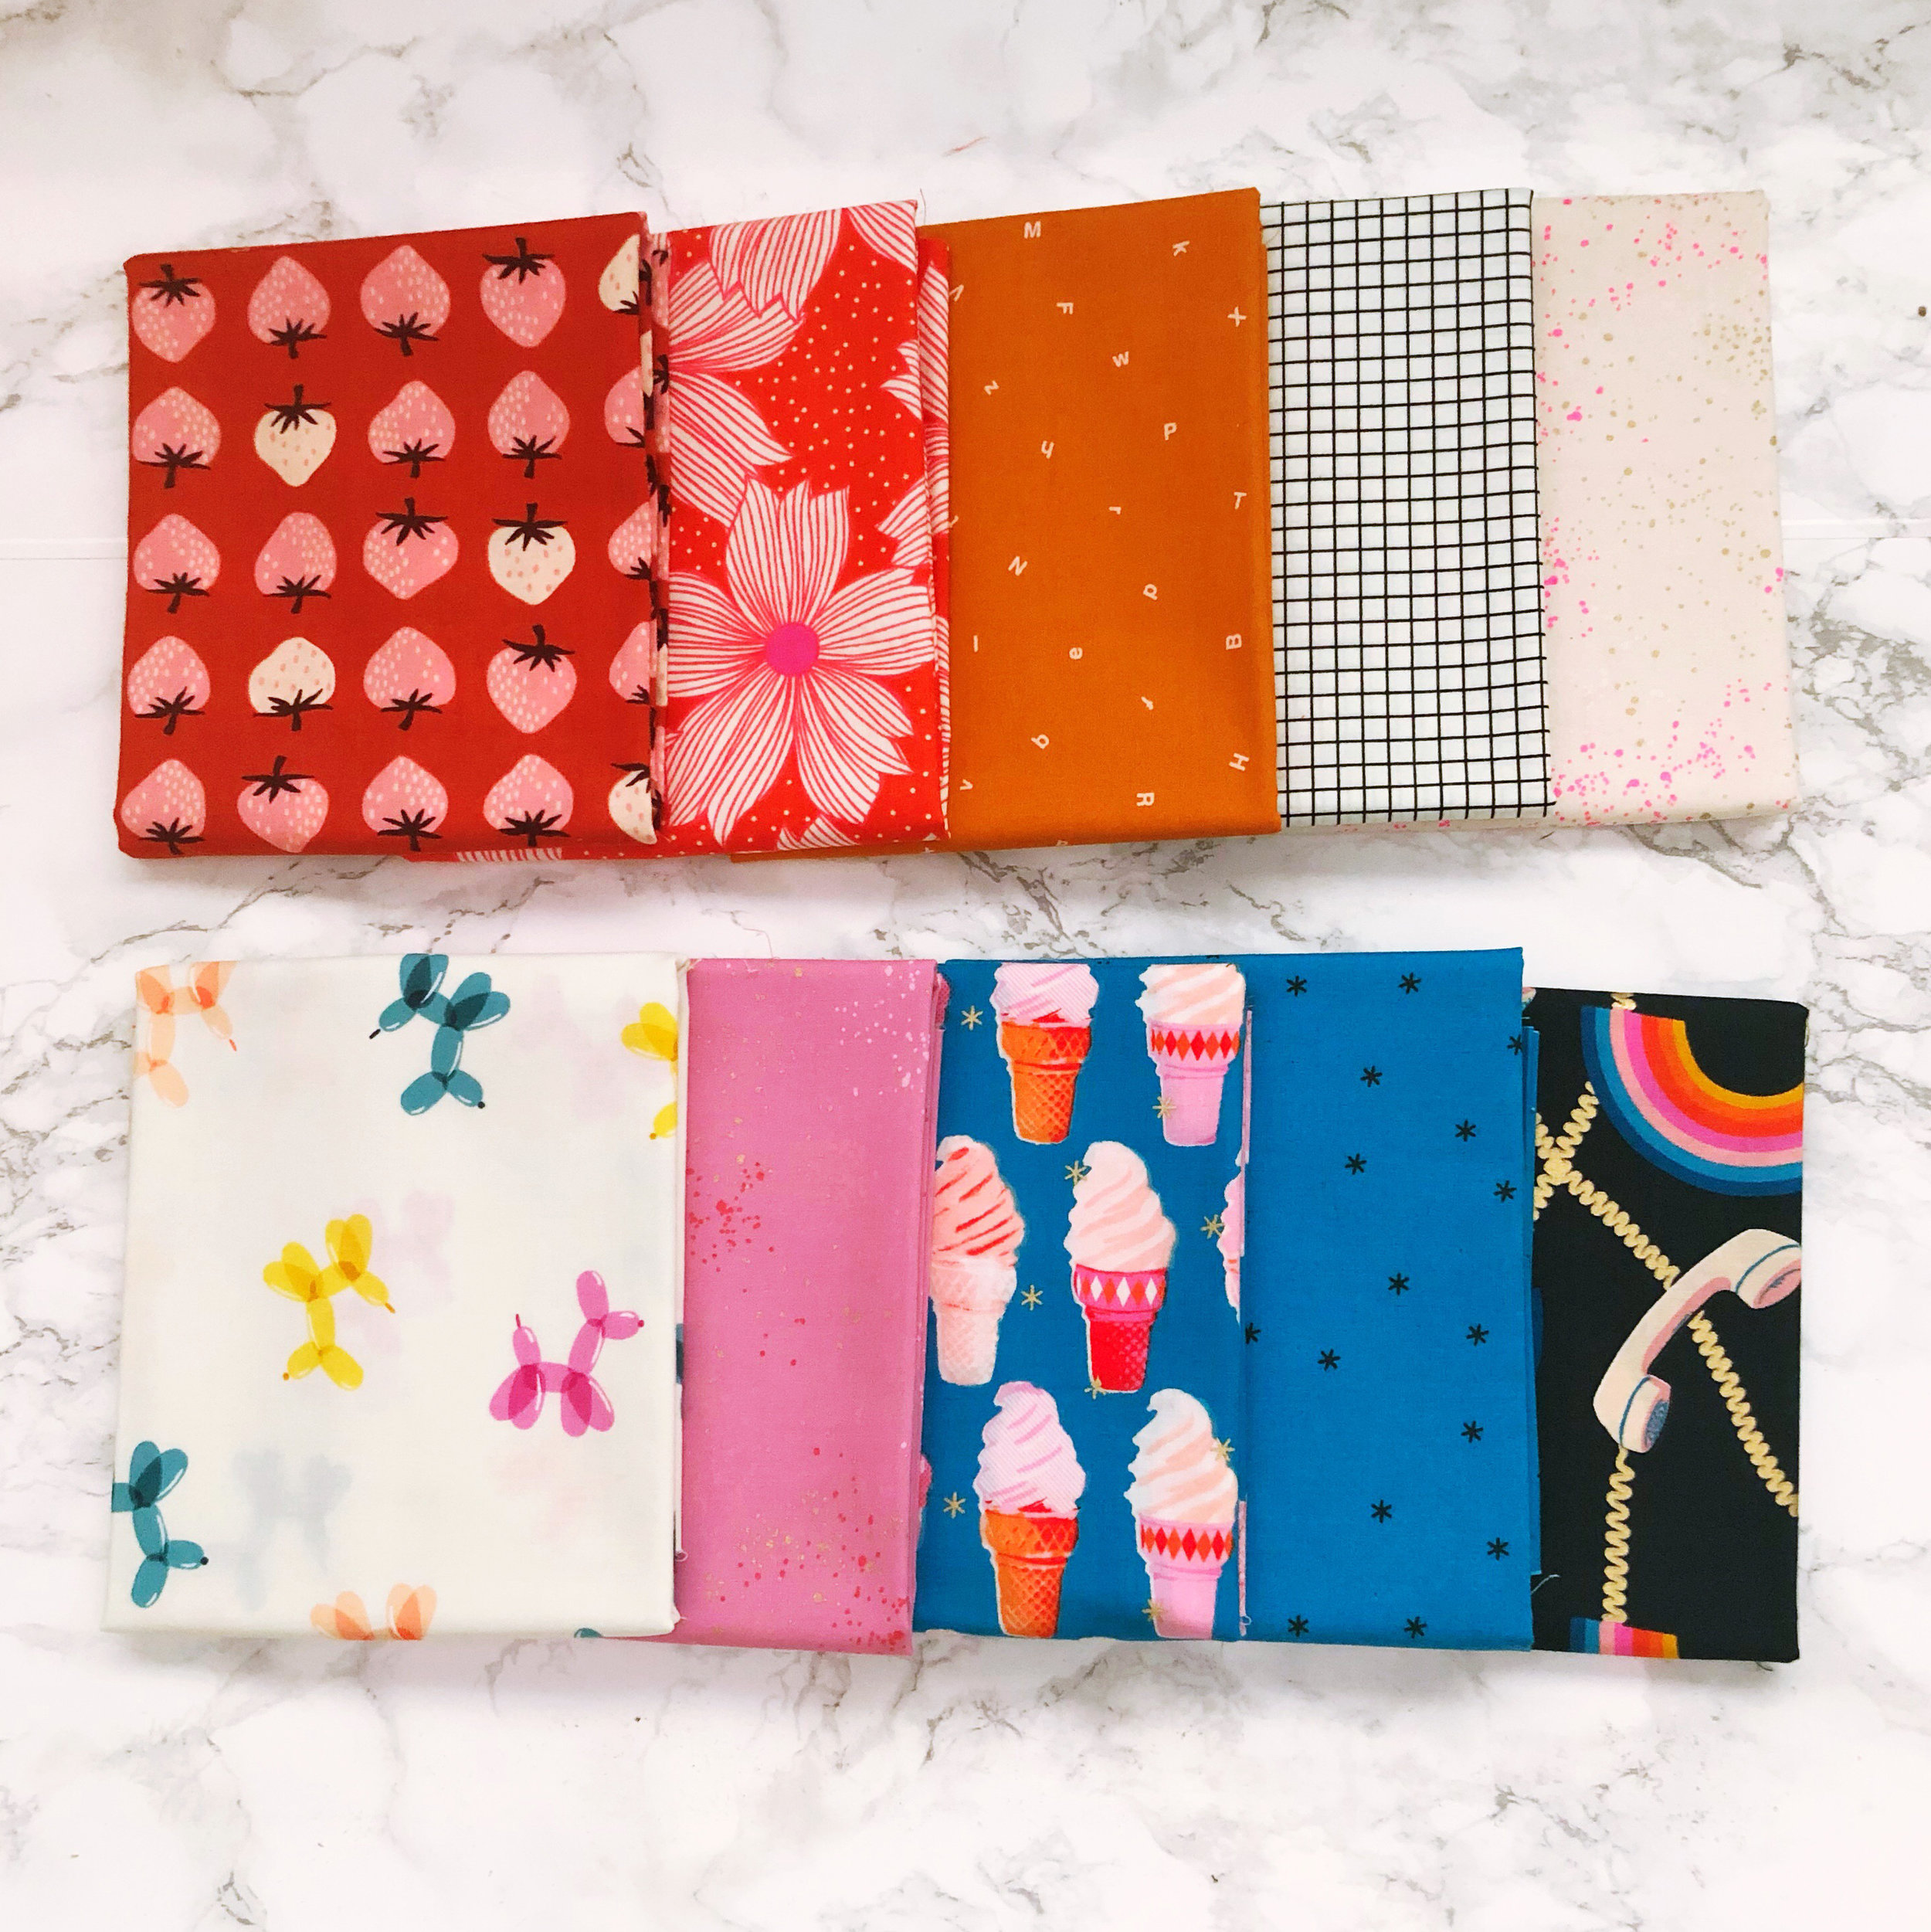
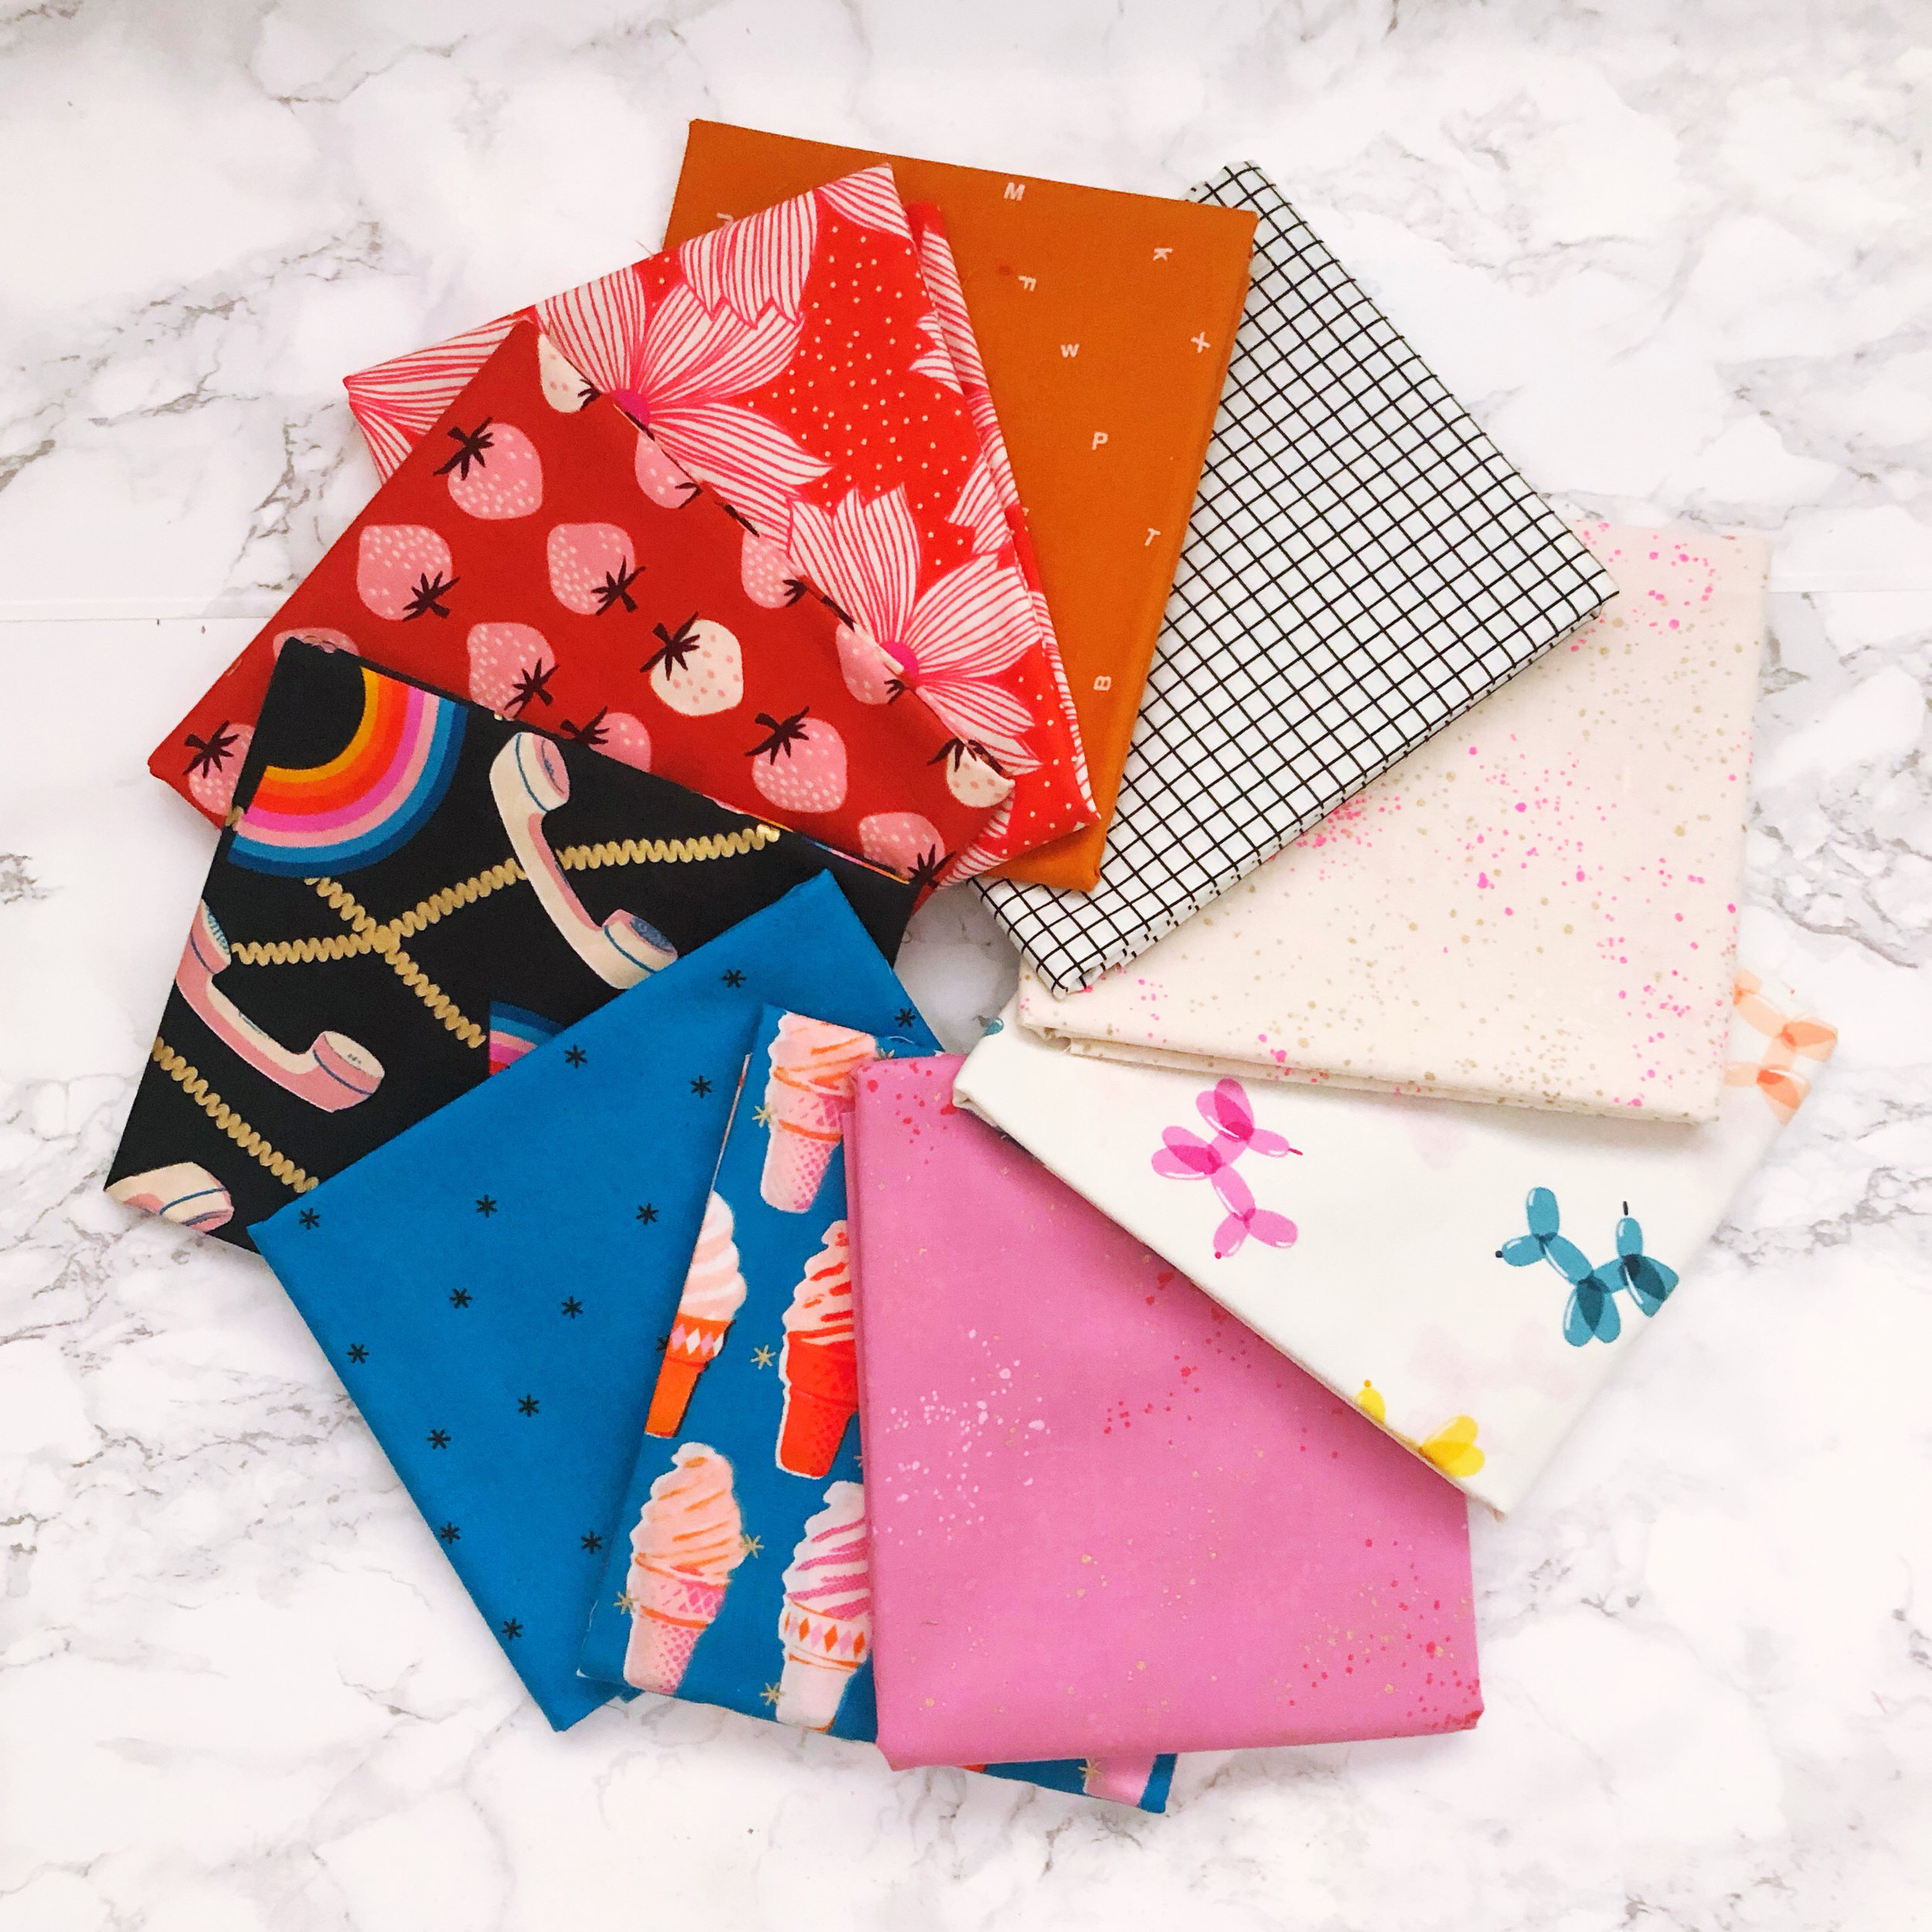
We have a super awesome prize pack for the final week. One lucky person will win a $50 gift card to Cottoneer, a specially curated 1/2 yd bundle of Ruby Star Society fabrics, a Ruby Star Society keychain, and…wait for it…a Looper-esque rainbow pool float!
Cottoneer has an awesome selection of both quilting and apparel fabrics. I almost just impulse bought some faux llama fur while looking up their URL.

And of course you can continue to enter to win the grand prize of longarm quilting on a throw size Looper from Knot and Thread!
Details for how to enter are at the end of the post.
ASSEMBLE YOUR BLOCKS
To assemble Looper, first we will connect our blocks together into rows, then connect the rows to finish. The goal is for all of our stripes to line up.

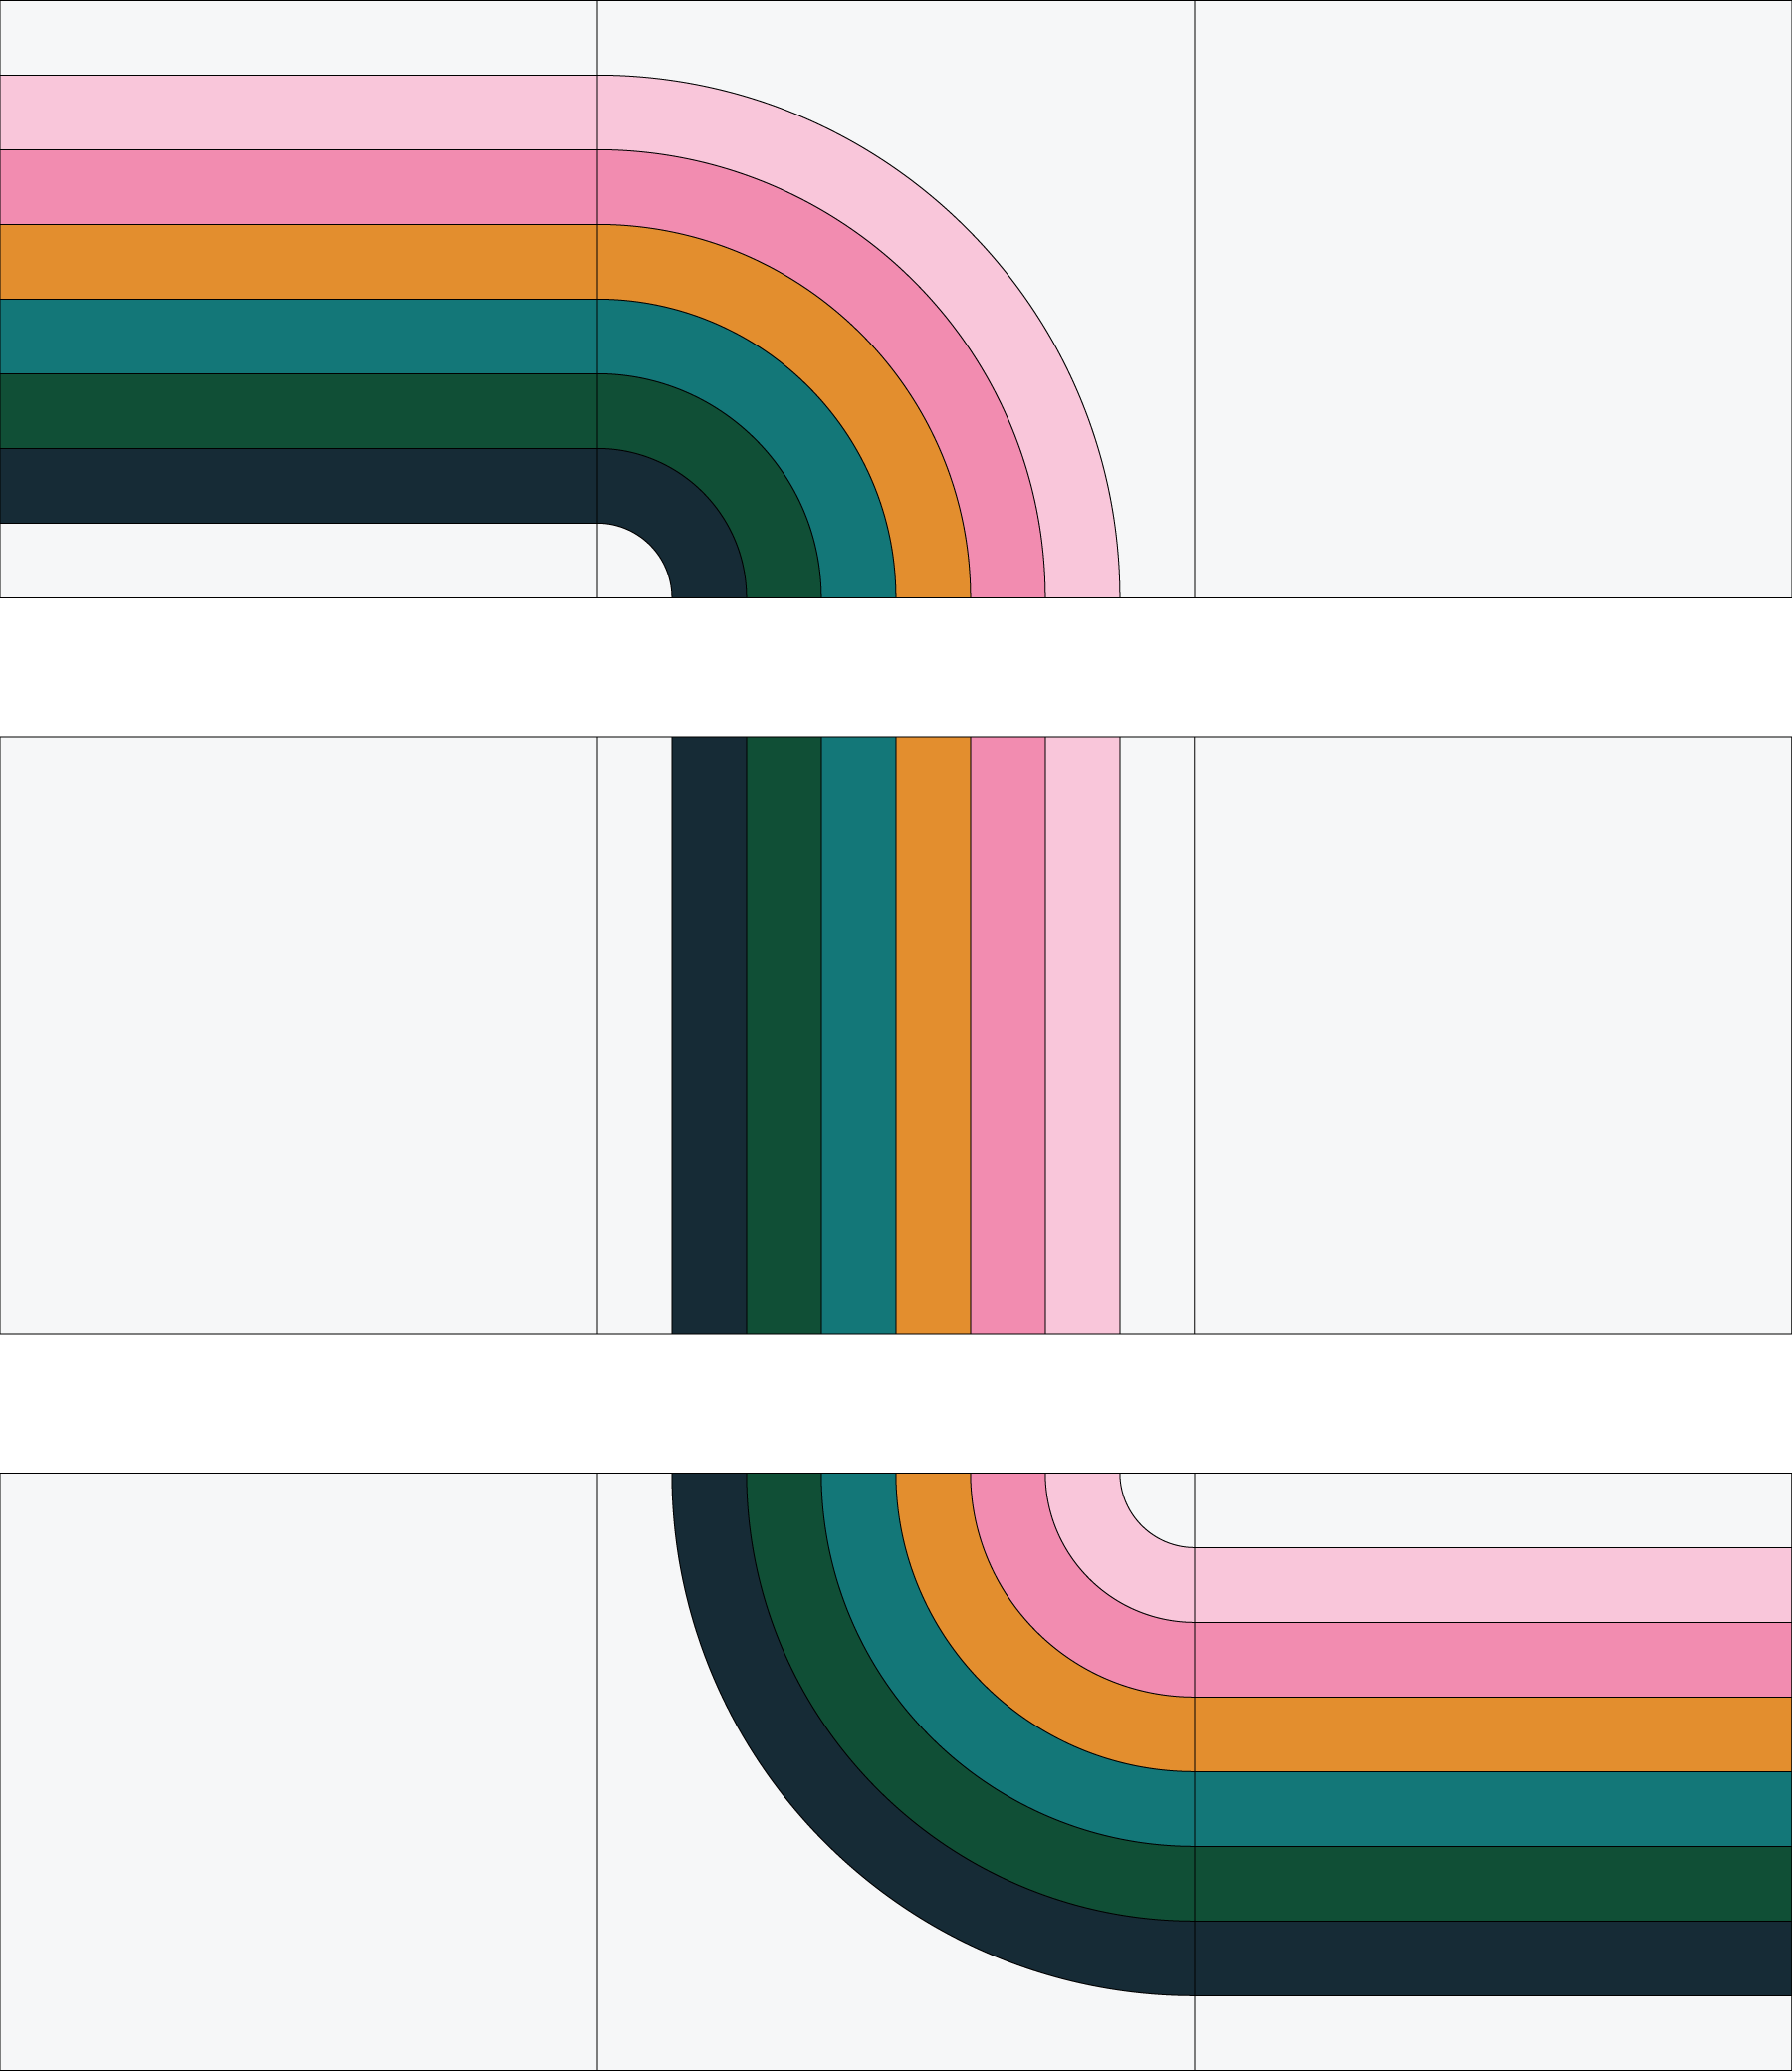
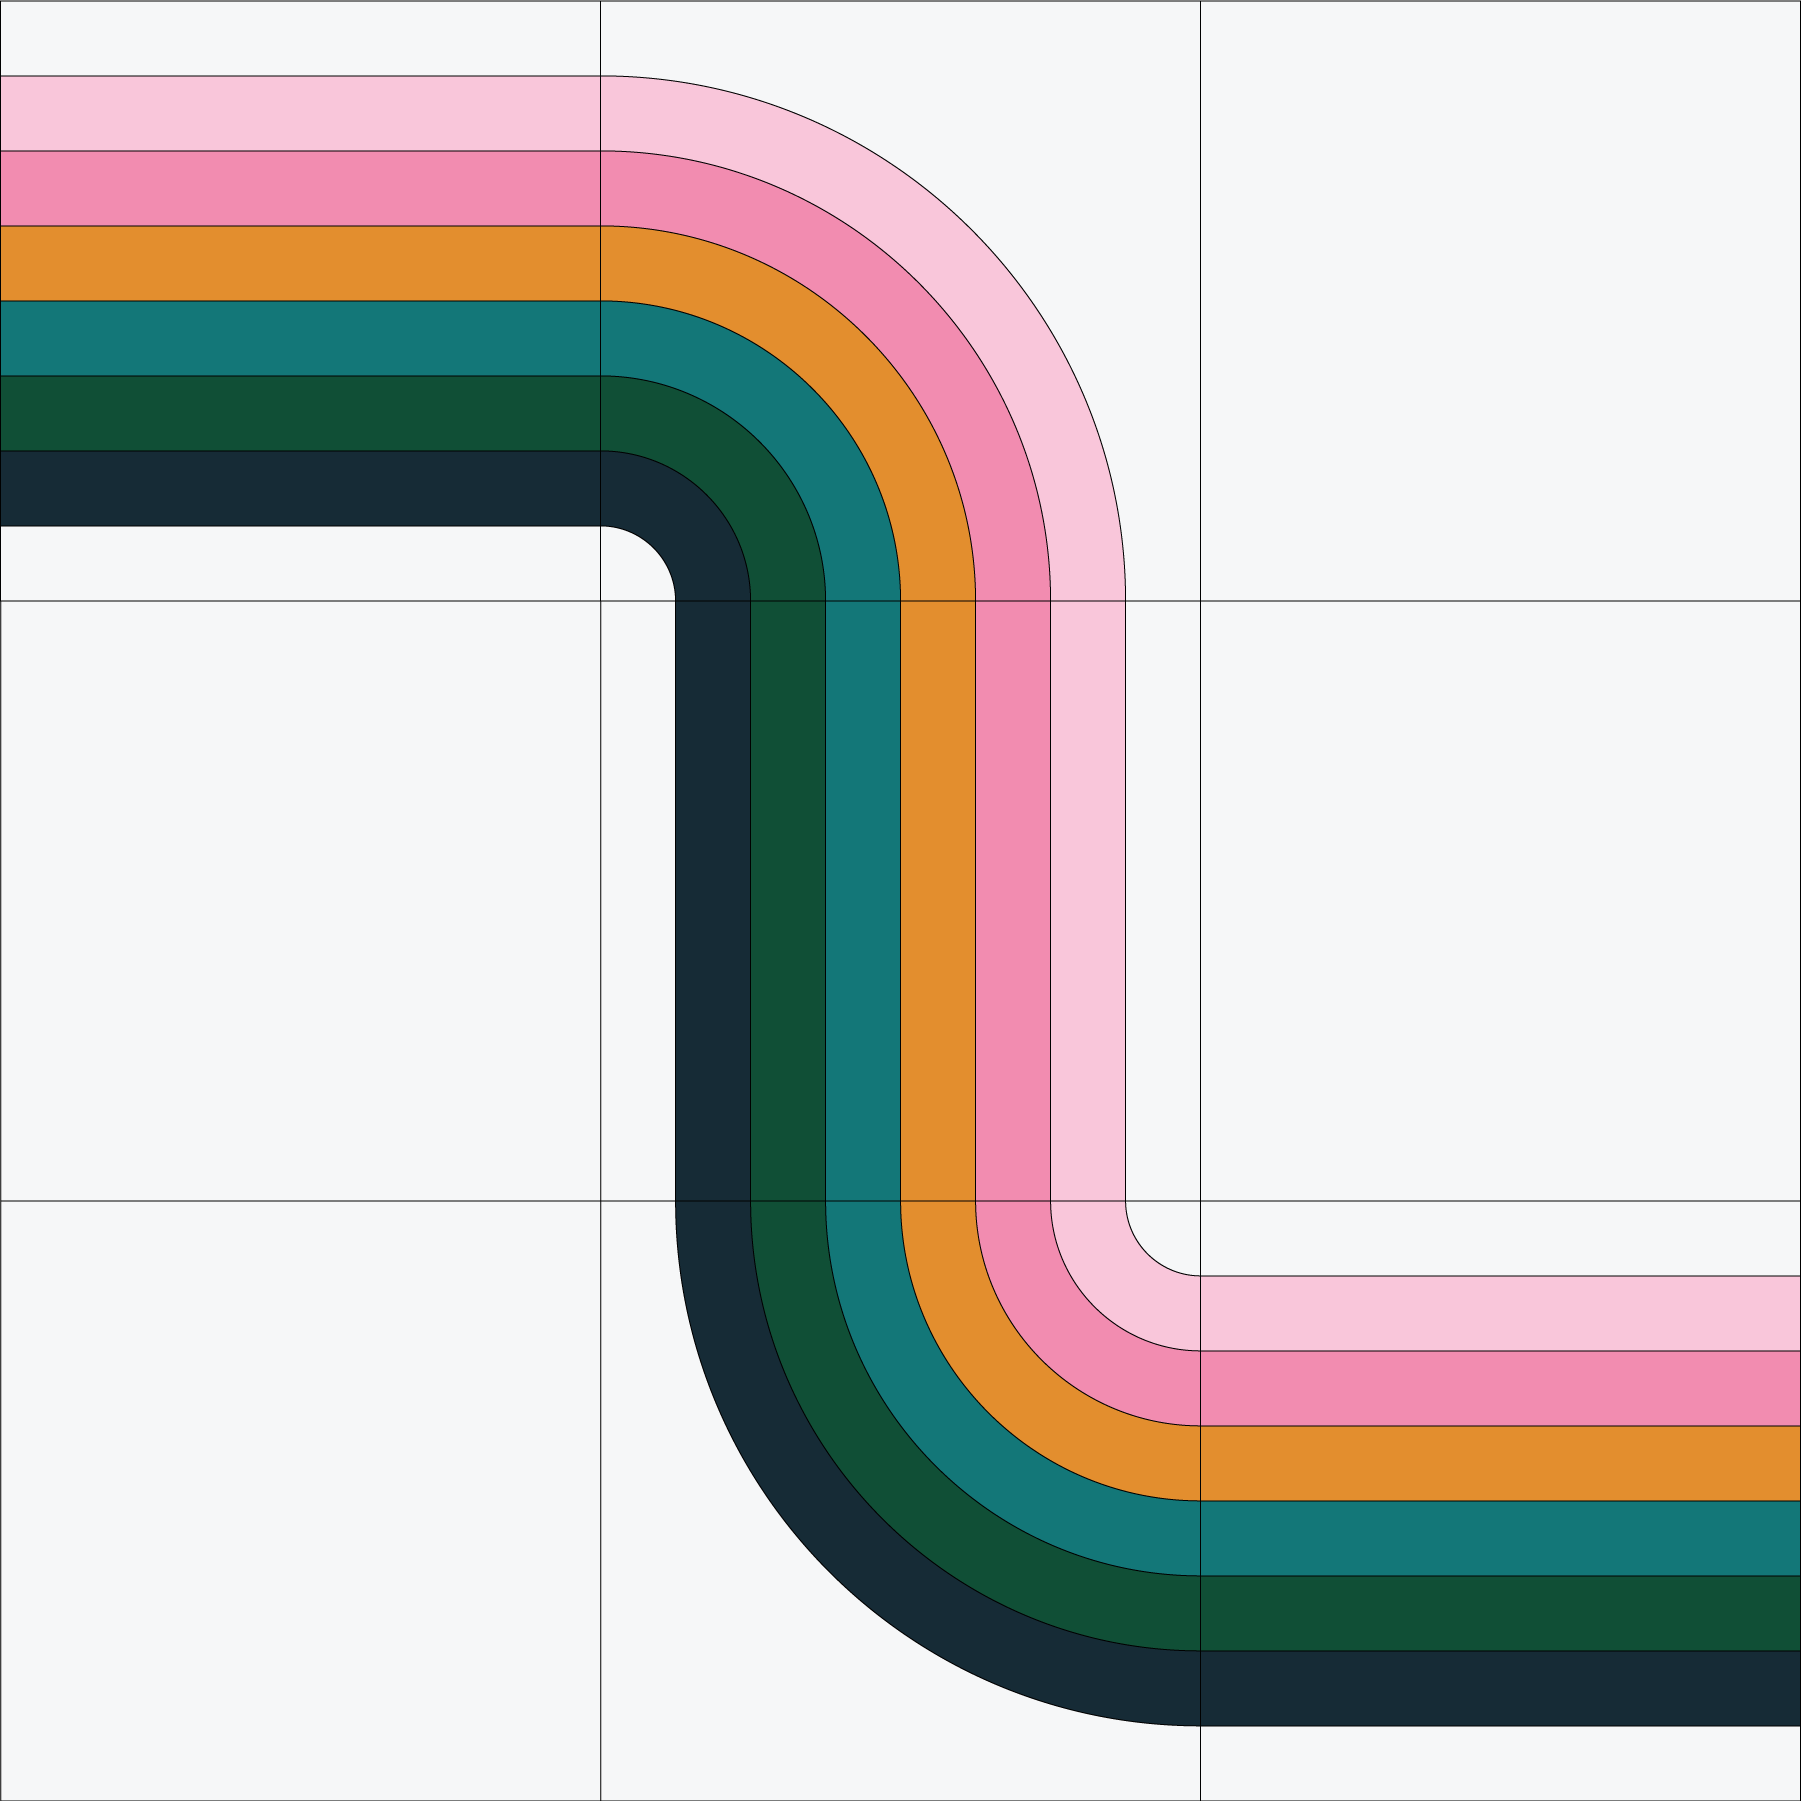
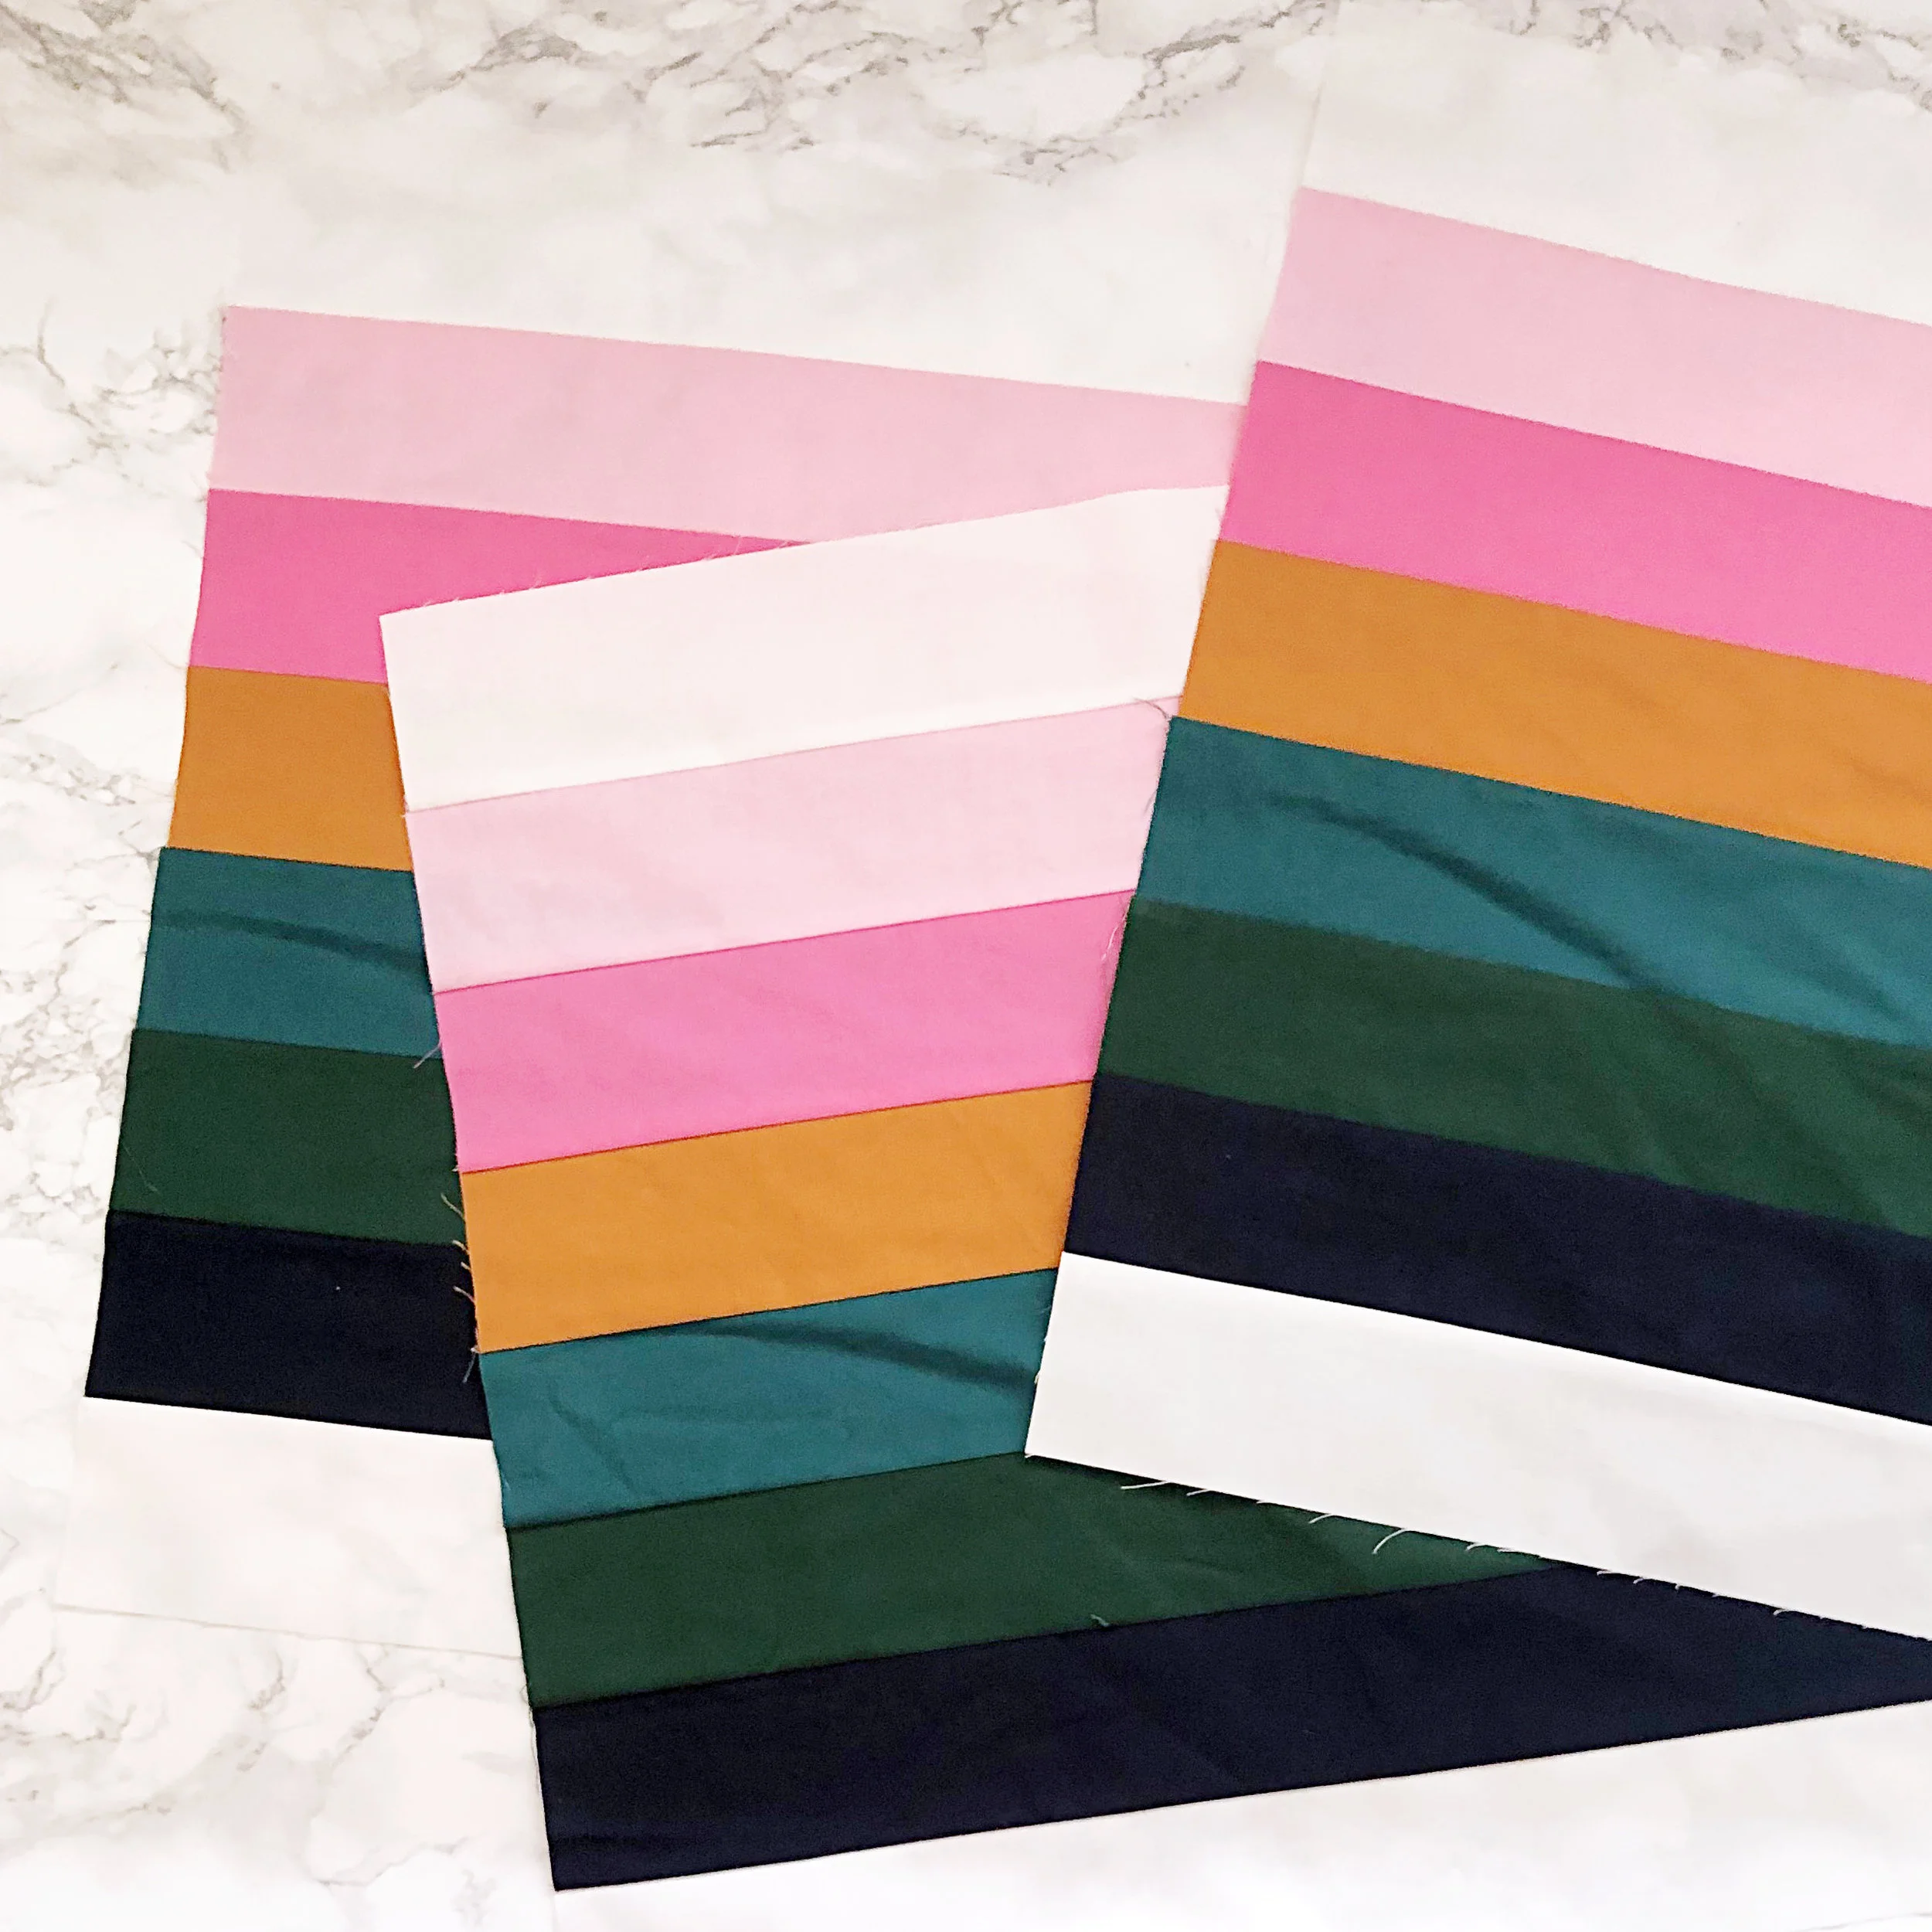
I am making the throw size, so the first seam of the first row is going to be attaching a straight Block B and a curved Block A1.

For throw and queen size, remember that last week we pressed the seams of the B blocks in specific directions, so make sure you are using the correct B blocks in the correct places. (Refer to the layout diagrams if you need help). All the seam allowances of the stripes should be going in opposite directions with each seam.
Align and pin at each stripe seam.

The reason for the opposite directions is because the seam allowance ridges will nest and almost lock together. This will help you align all the stripes.
(On the baby quilt, there is one seam where the seam allowances are going the same direction because of how the curves are organized. You should still pin at each seam, but the seams won’t quite ‘lock’ together in the same way as the other seams.)
Now it’s time to piece! When you sew, do so with the curved block on the bottom. This is because the edge of that block is stretchier, and the feed dogs will help ease it to be the same size as the other block. In fact, you might even see that the curved block edges kind of bow out in between the pins. In the photo below, the curved block is on the bottom. (In this particular case the bowing is not very pronounced. Yours might be more pronounced, thats ok!)
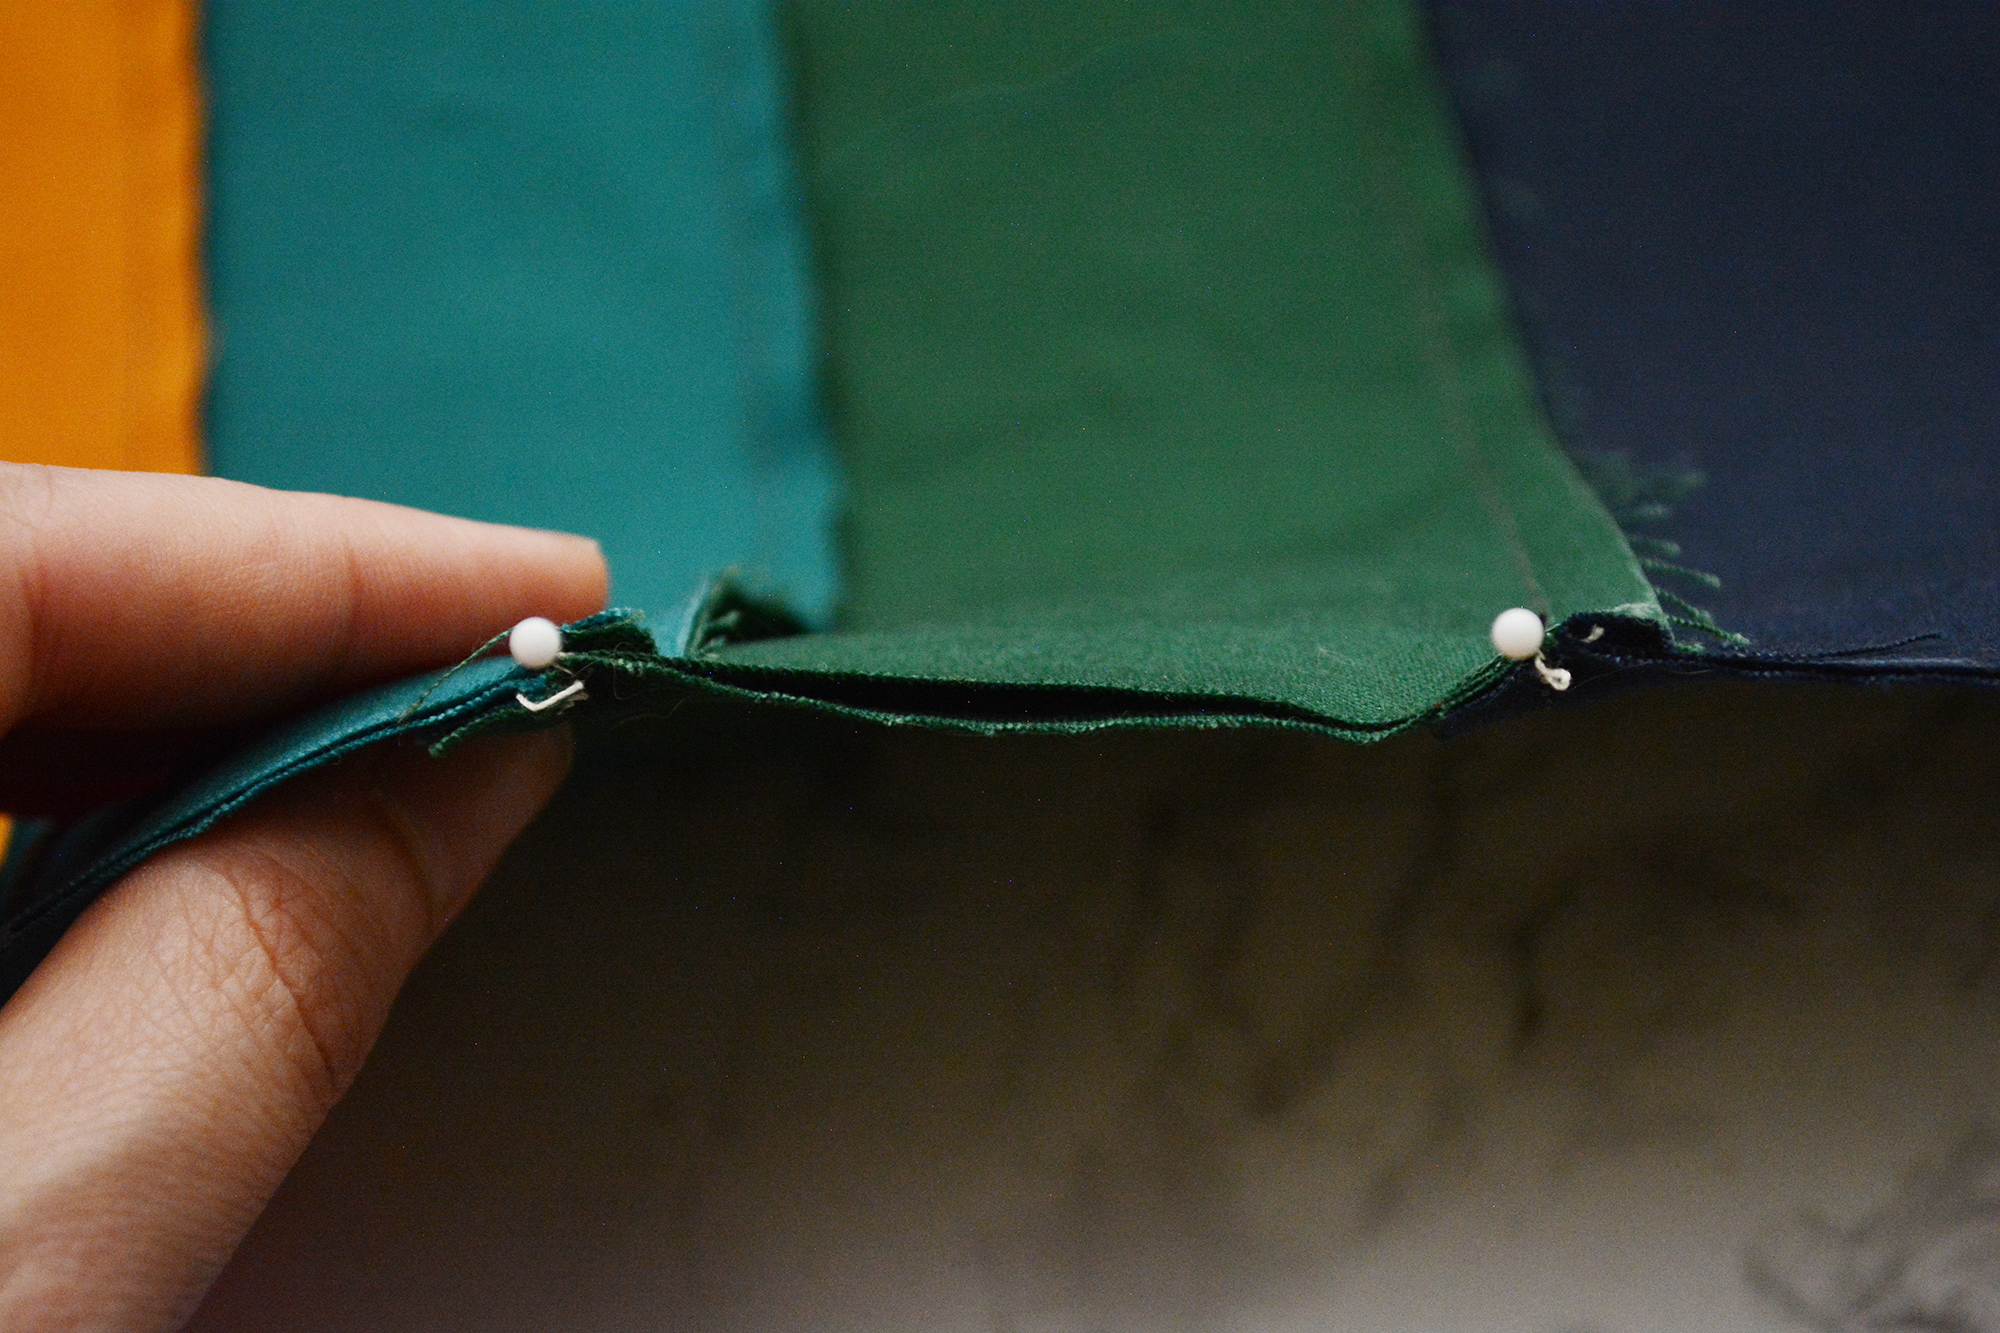
Just like when we pieced the curves, leave your pins in until you sew all the way up to the them, or - very carefully - sew over them. If you take the pins out too early your stripes might become misaligned.
Take care that your seam allowances stay pointing the right way when you sew over them.

After piecing, press the seam. You’ll press the seams of each row in opposite directions from the previous row. So for instance, if you press the first row seams to the right, press the second row to the left, the third row to the right, etc. This will help you align the blocks when you join the rows. It doesn’t really matter if you press the first row to the left or right, as long as you alternate between rows.
Once your rows are pieced and pressed, start sewing them together. Pin at each seam, whether it’s a stripe or the edge of a block, and stitch together.
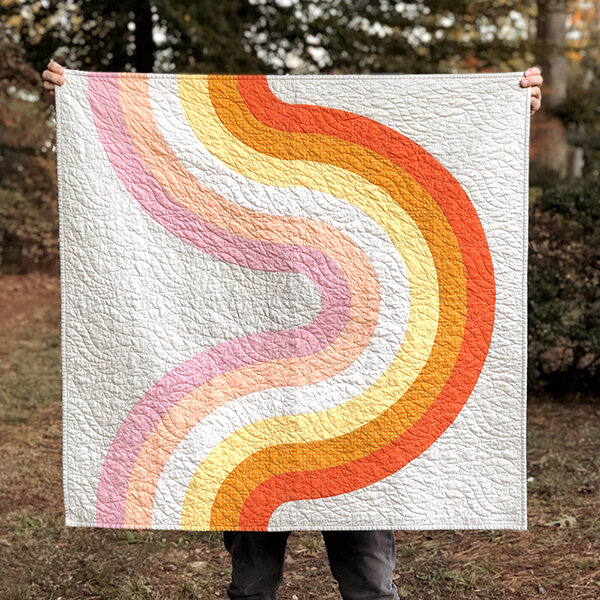
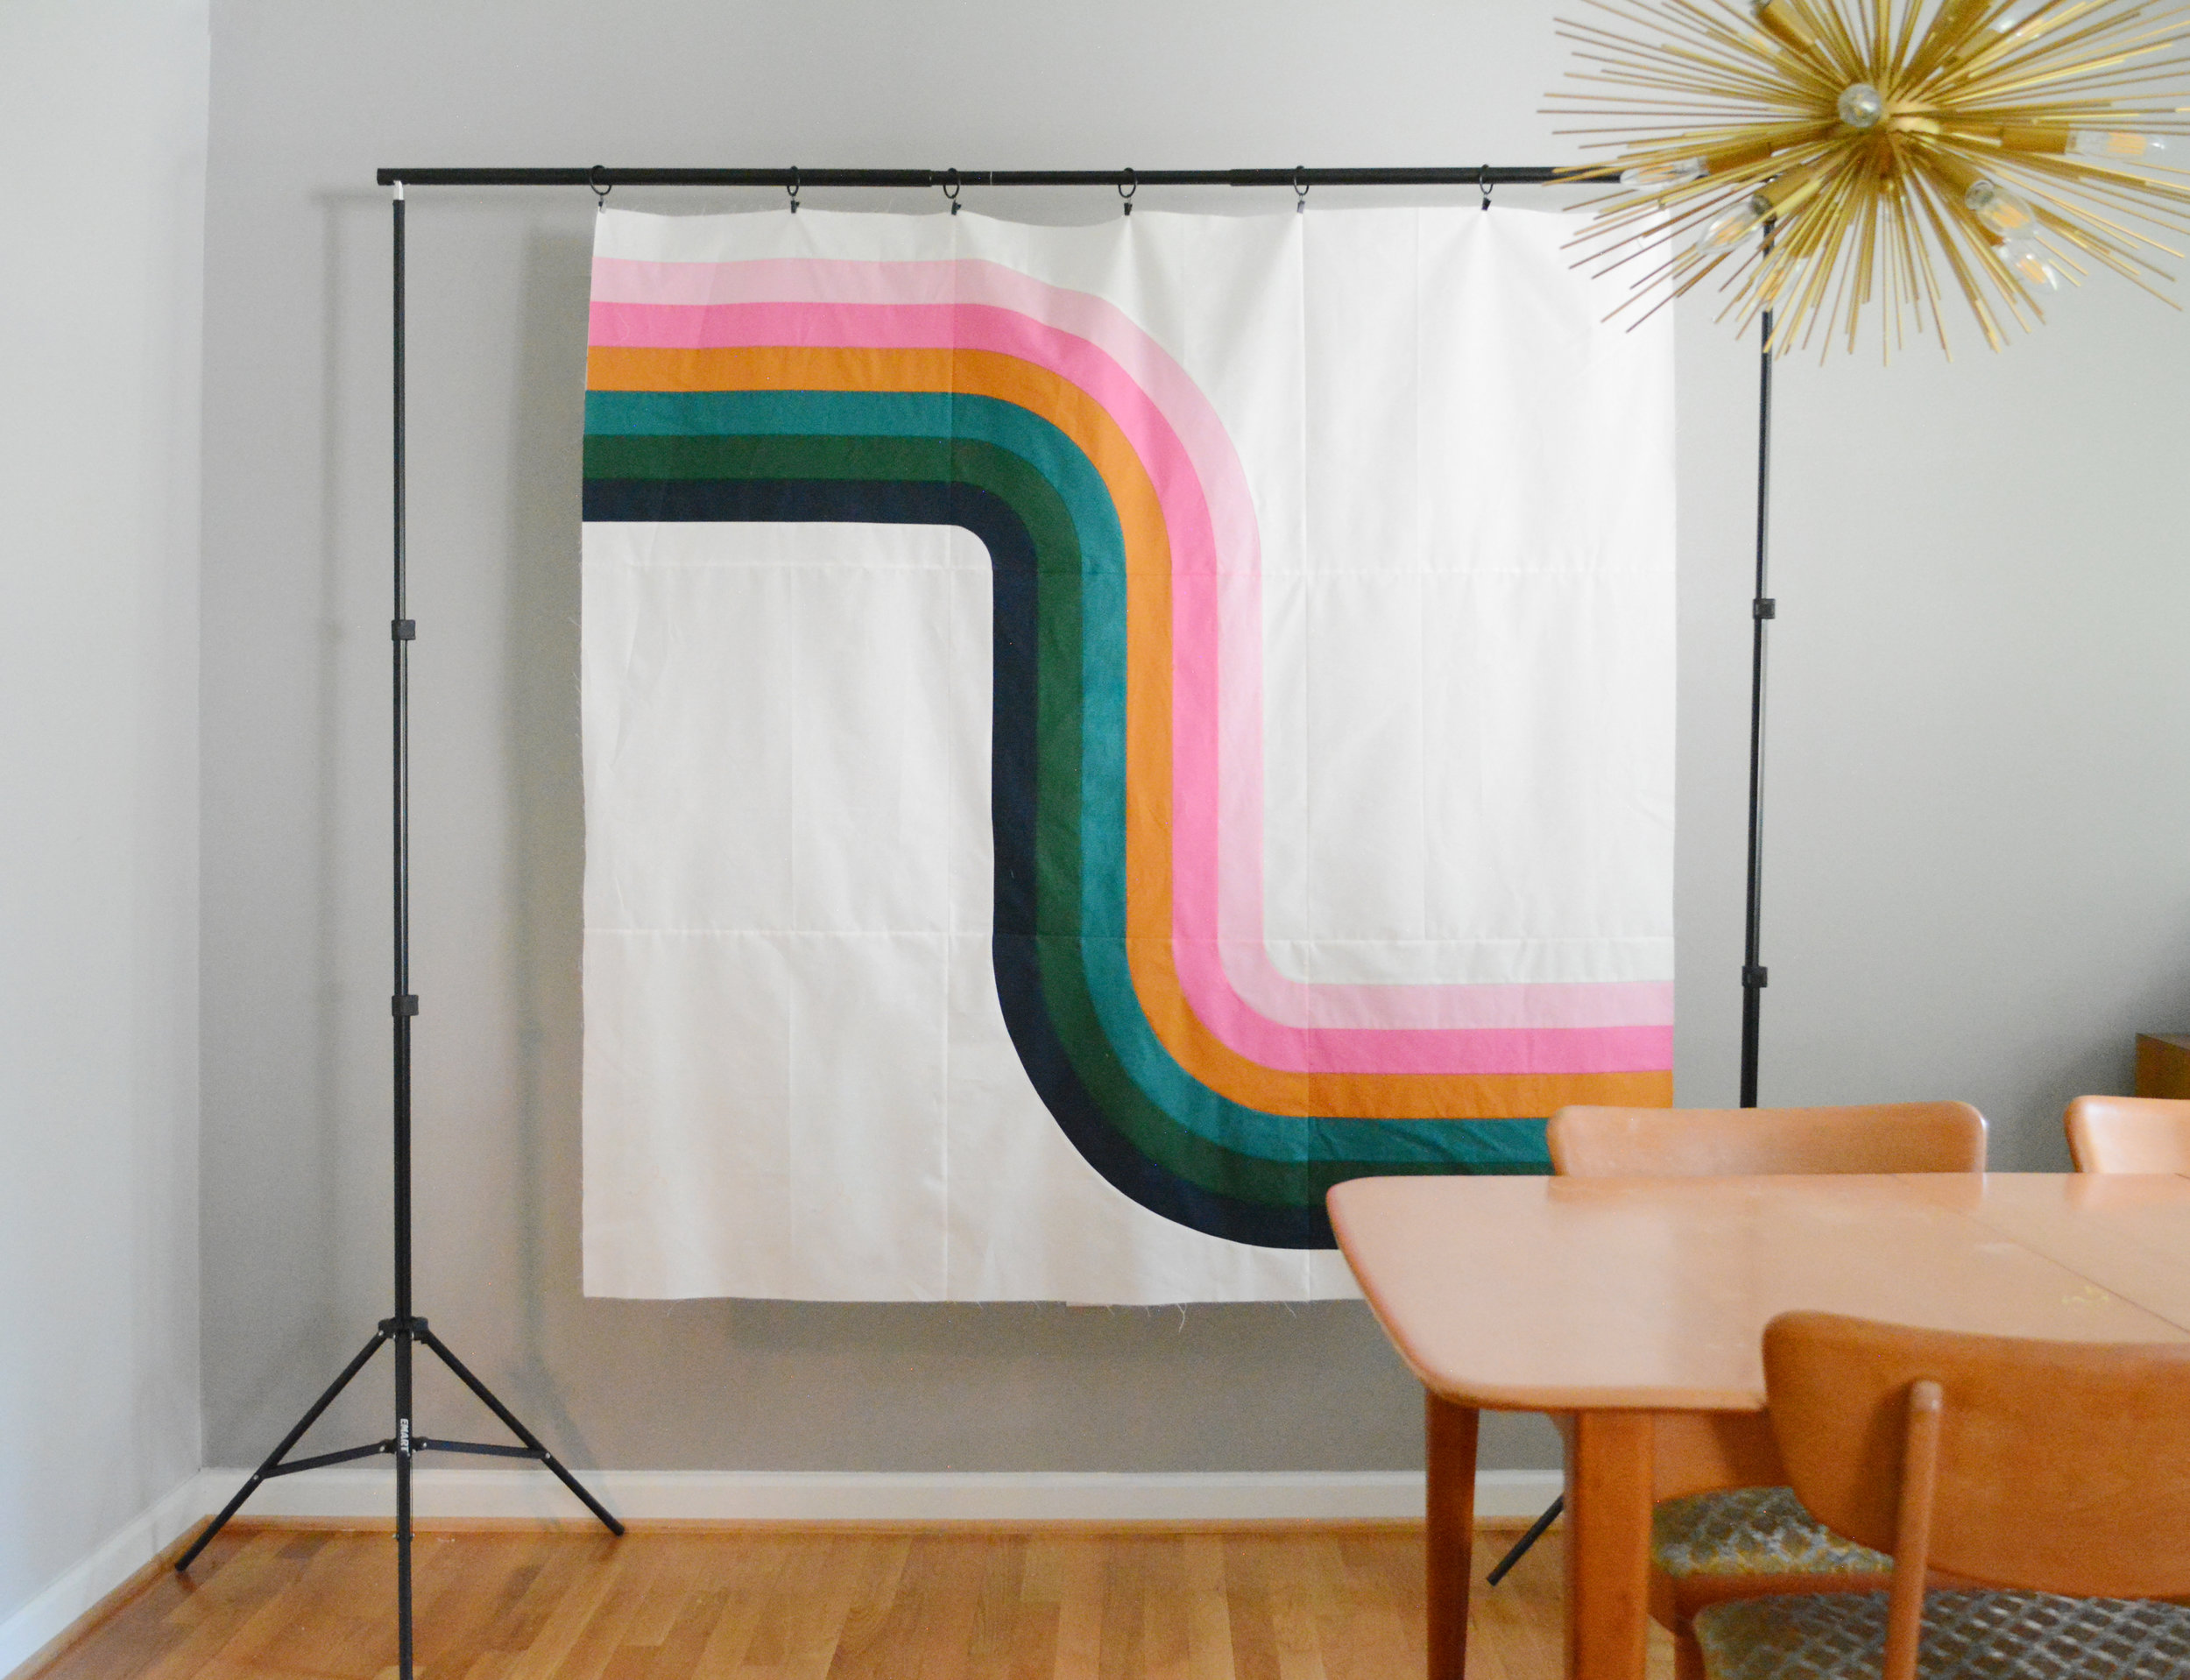
Once your rows are joined, your quilt top is finished!! Give it a good press, then admire!

Congrats on finishing your Looper quilt! Thanks so much for sewing along with me. I hope you enjoyed it!
If you’re a newbie quilter, check out the end of this post for a tutorial roundup that covers basting, quilting and binding. And tune back in in 2 weeks for a bonus pattern matched binding tutorial!
PRIZES
This prize pack is a great one, so keep on posting those Looper pictures! To win the $50 Cottoneer gift card, Ruby Star Society bundle and keychain, and pool float, simply keep posting photos of your Looper progress on Instagram using both the hashtags #looperquilt and #looperqal. These need to be static posts in your grid, not stories. It can be pictures of your cut pieces, pieced blocks, finished quilt, anything Looper related! Photos posted between 8am Monday Sept 9th and 8am Monday September 16th (all times EST) will count as entries. Open to international people too. You must be actively on the email newsletter list to win.
All posts with both those hashtags are also entries for the grand prize, which is complimentary longarm quilting by Kaitlyn of Knot and Thread Design for a throw sized Looper! The deadline for this prize is also 8am on September 16th. Winner will be chosen randomly.