

BONUS: Pattern Matched Looper Binding Tutorial

BONUS: Pattern Matched Looper Binding Tutorial
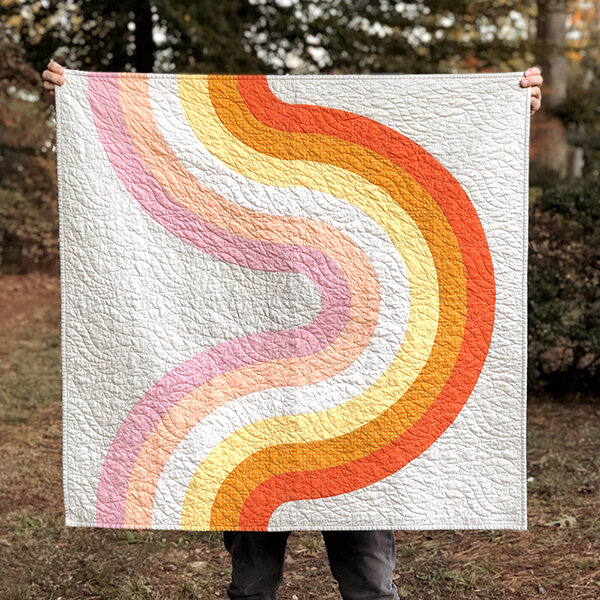
One way to take your Looper to the next level is with pattern matched binding. This means that wherever your stripes intersect with the edge, your binding will also have stripes, continuing the design instead of visually cutting it off. It’s a little extra effort but, in my opinion, worth it, and you can do it using just your scraps!
The first step is to cut squares of Fabrics 1-6 (your stripe fabrics) that are 3” x the width of your binding. I usually do 2.5” binding, so I cut squares that are 3” x 2.5”. You’ll need a set of squares for each place the stripes hit the edge of the quilt. If you’re making the baby, throw, or queen layouts as shown in the pattern, that means you’ll need 2 sets of squares.

From the same fabric as your background, cut the number of binding strips you’d need to bind the whole quilt. I am binding a baby size so it’s 4 strips (again I’m doing 2.5” binding so they’re 2.5” x width of fabric).

Piece together your sets of 6 stripe squares with 1/4” seam allowance, making sure they’re in the same order as the stripes in your quilt. Press seams open.

Now we’re going to attach background strips to each side of both pieced stripe units. Normally when you do binding, you attach it all the way around and leave tails in one place to join the ends of the binding together. For this method, we’re going to attach the binding in sections, starting at the stripes so they’re aligned with the quilt, and then attach the rest of the binding, joining tails in multiple places.
There is a little bit of vague inexactness with this step, because you want to distribute the background binding in roughly the right proportion as needed for the length of your edges, planning to join the tails at some point that isn’t too close to a corner. You can cut binding strips in half if needed to achieve this. For instance, here is how I distributed the binding for the baby size, and where the tails would be joined (1 means a full strip and 1/2 means a half strip):

If you’re not sure, just lay everything out on the ground to roughly plan things out. Then piece your background binding strips to each side of the stripes as needed.

Press your binding sections in half as you normally would.
Starting with one set of stripes, pin binding to quilt top, making sure the stripes are aligned. Remember to check alignment on the side of the binding against the quilt, not the side you can see.


Attach your first binding section, starting at the stripes and sewing until you get to your first planned tail join point.

Now, working backwards from where you started, pin the binding to the quilt very accurately, mitering the corner and everything, until you get to the tail join spot on that side.

Starting at the tail join spot, attach this section of binding, sewing until you get back to your stripes, doing the corners as usual when you get to them.
Repeat for each stripe set. When you’re done, you should have all your binding attached except for the multiple tail join spots. Here’s what the baby quilt looked like with the binding attached, pre-tail-join:

After that join your tails as your normally would, and finish with your usual preferred method, whether that’s hand stitching, machine stitching, whatever!

Comment below if you have any questions!
(Fabrics in this quilt are Add It Up by Alexia Marcelle Abegg for Ruby Star Society, and the quilting was done by Kaitlyn Howell of Knot & Thread Design.)
