

Week 4: Sew Curved Blocks
WEEK 4: SEW CURVED BLOCKS
IT’S TIME! IT’S TIME TO SEW YOUR CURVED BLOCKS!

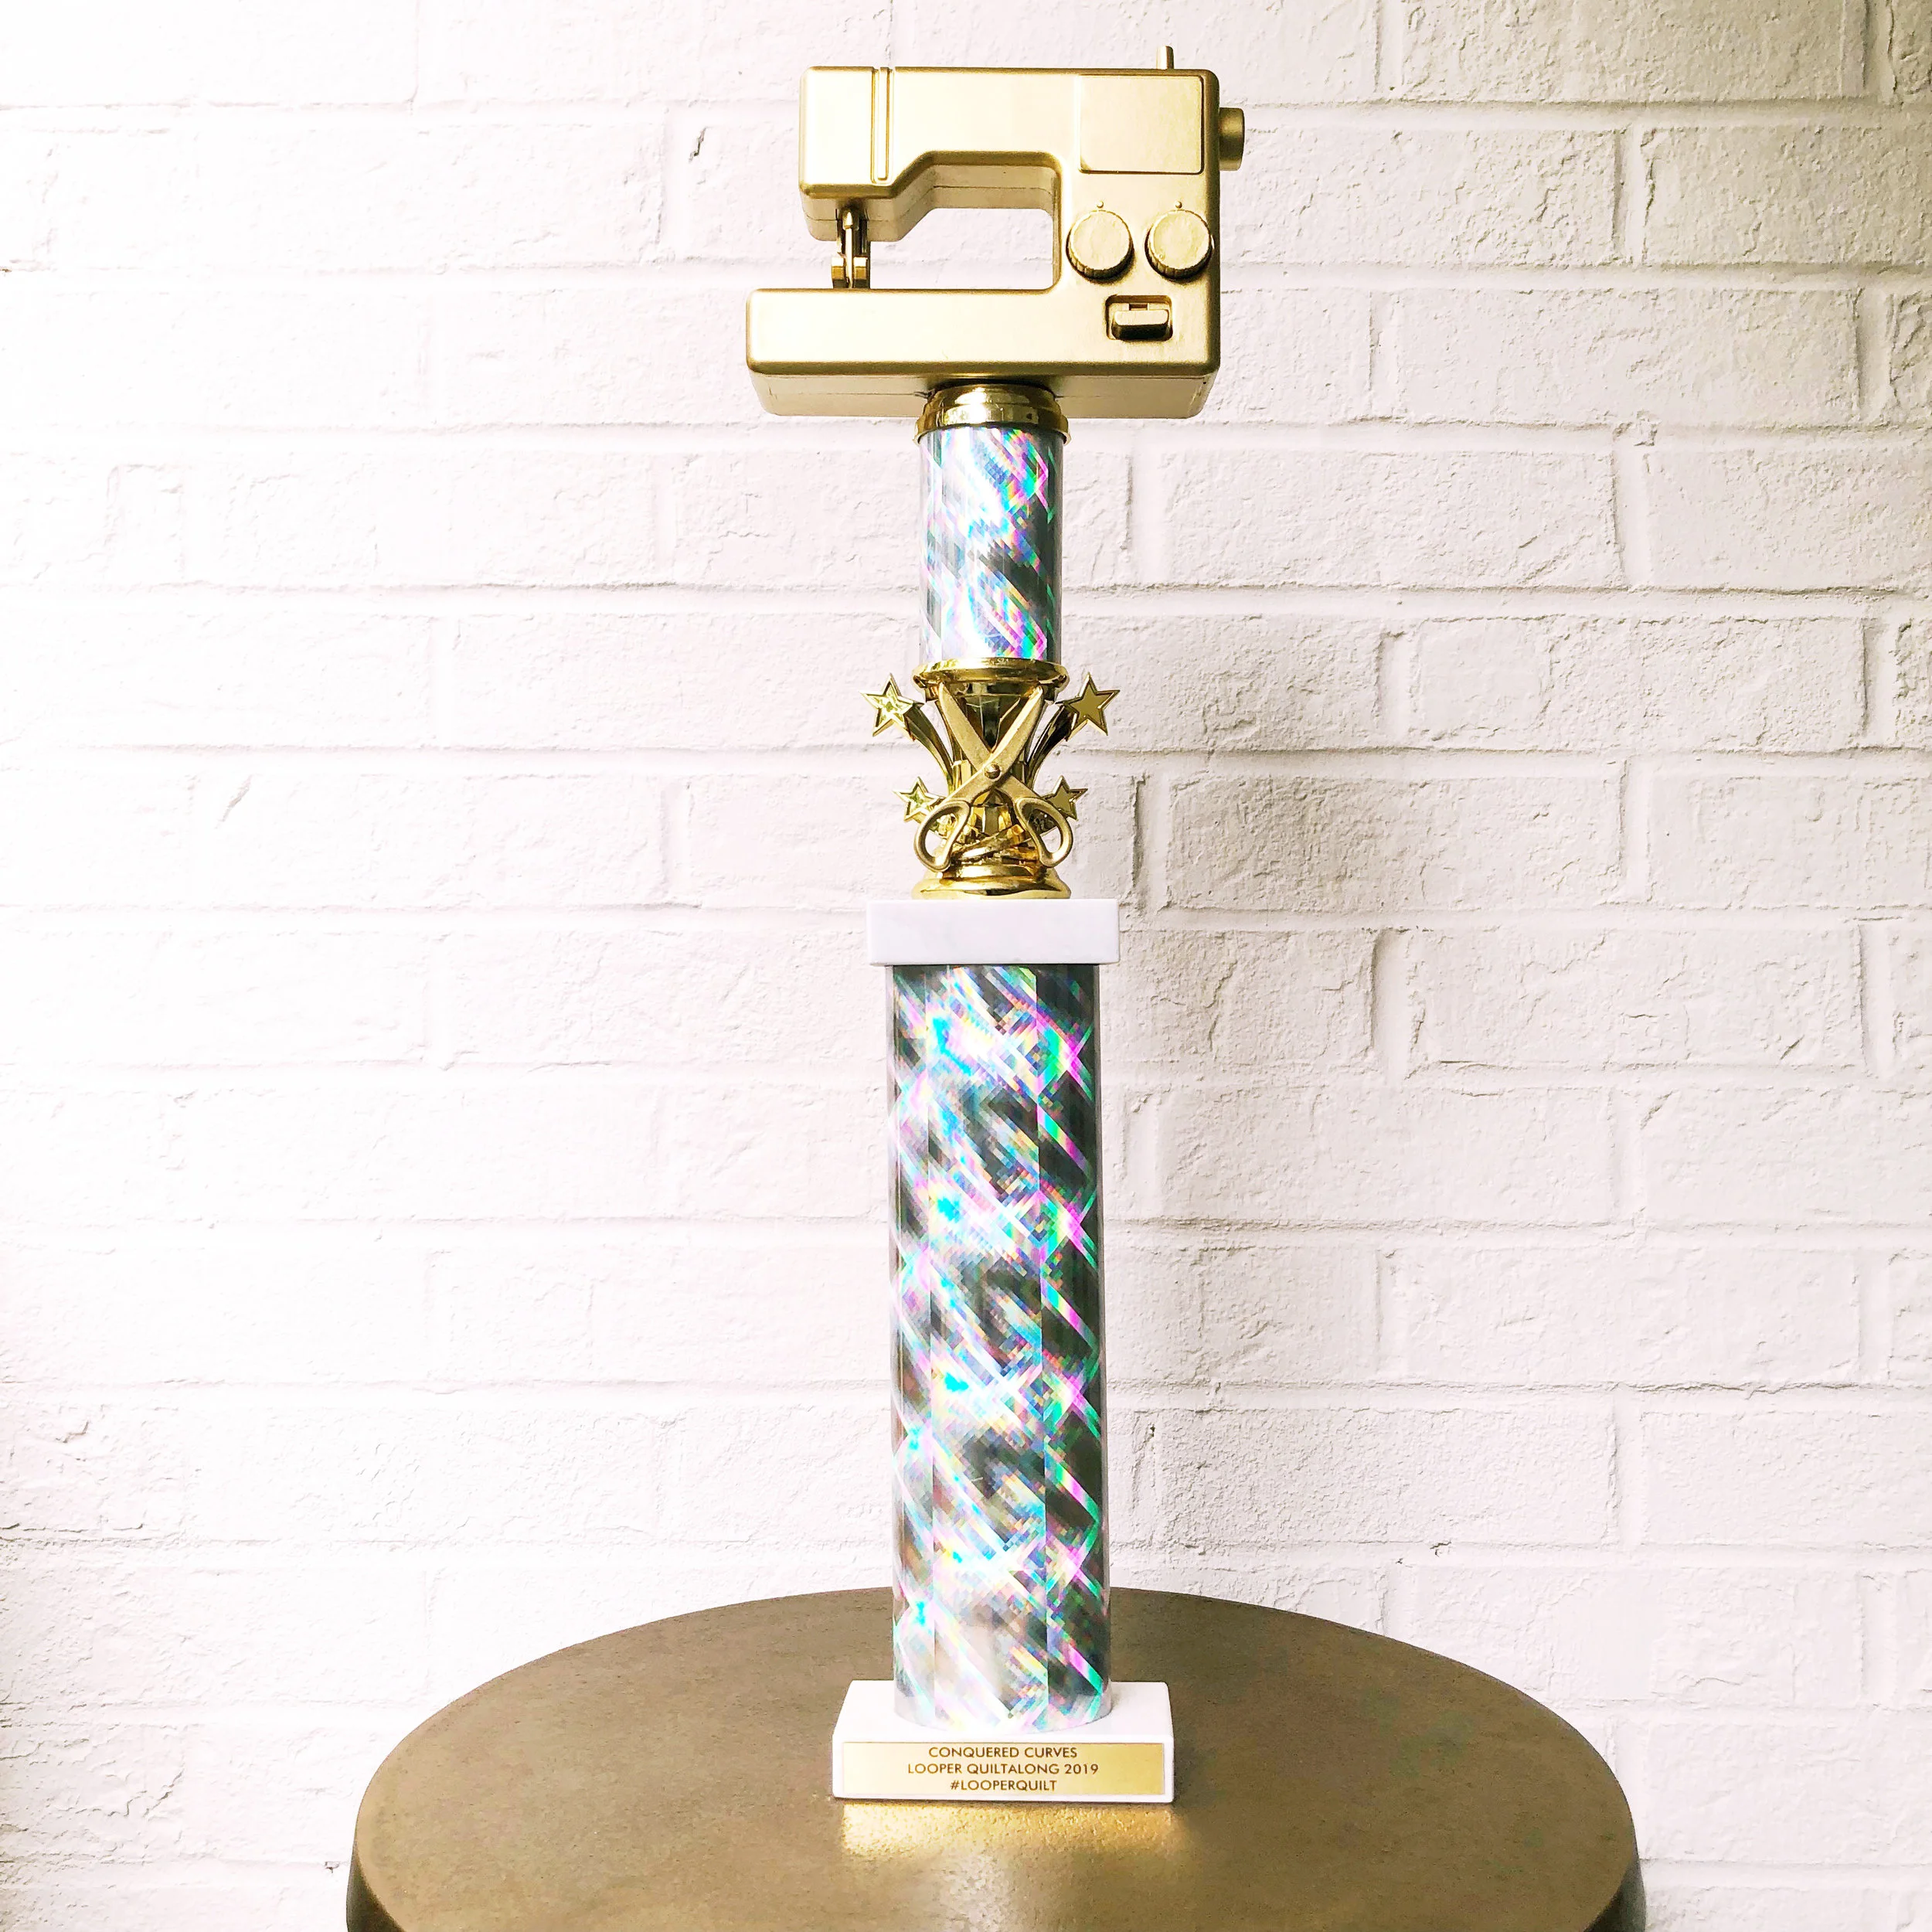
I am super excited about the prizes this week. First off, A TROPHY. A sewing trophy! You could win this for conquering curves!!
Secondly, Craftedmoon is generously sending a lucky winner one of their “Everything will be ok” sewing journals and a “Seam Reaper” enamel pin. Craftedmoon is Sarah Watts’ stationery/goods company, and it’s all for crafty homebodies. They have so much cute stuff!!

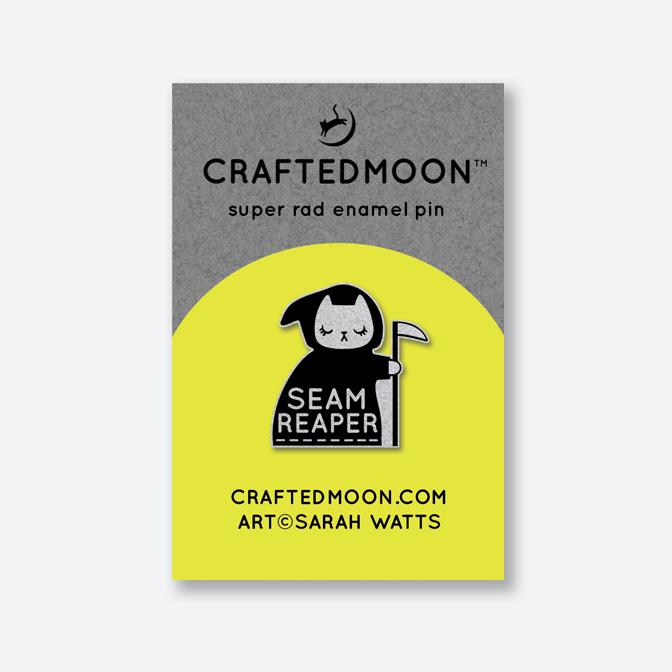
To this I am adding a golden seam ripper you can wear on a chain around your neck. Can you tell this week’s theme is all about not being afraid of mistakes?

Doesn’t that seam ripper look like a magic wand?? Details for how to win all these amazing prizes are at the end of the post. Let’s get to our curved blocks!
But first, a pep talk.
A PEP TALK
Here are some things that, no matter what, will not happen when you attempt to sew curves:
Your machine will not spontaneously explode.
You will not somehow be just completely, hopelessly unable to sew curves.
There are no perfection police, and if there were they won’t be inspecting your Looper.
This lady will not be making an appearance, and you will not be made to walk naked through the streets while people chant “Shame.”
Here are some things that might happen:
You might not sew the best curve ever sewn in history on your first attempt, after which you can either be ok with it, or do it again.
And here are some things that will happen:
You will sew curves.
I know a lot of people are intimidated by sewing curves, but I’d like us all to take a collective deep breath, hold hands, and just give it a shot. It’s ok if you don’t do it perfectly the first time. It’s ok if you mess up. But guess what - every time you sew a curve, you’ll get better. It will feel easier. By the end of this week you will be a pro. And just think of all the project possibilities that will open up!
I suspect you’ll find sewing curves is a lot less scary than you thought. Ok, let’s do this!
PRACTICE is cool
If this is your first time sewing curves, I highly recommend cutting a few practice pieces first. You can even cut them out of your extra Looper yardage, then if your first round goes great, you can just keep making your block! But it’s nice to have the feeling that you can just grab fresh pieces and redo it if it doesn’t go well. If you don’t want to use your extra yardage, you can use scraps, muslin, an old pillowcase - anything.
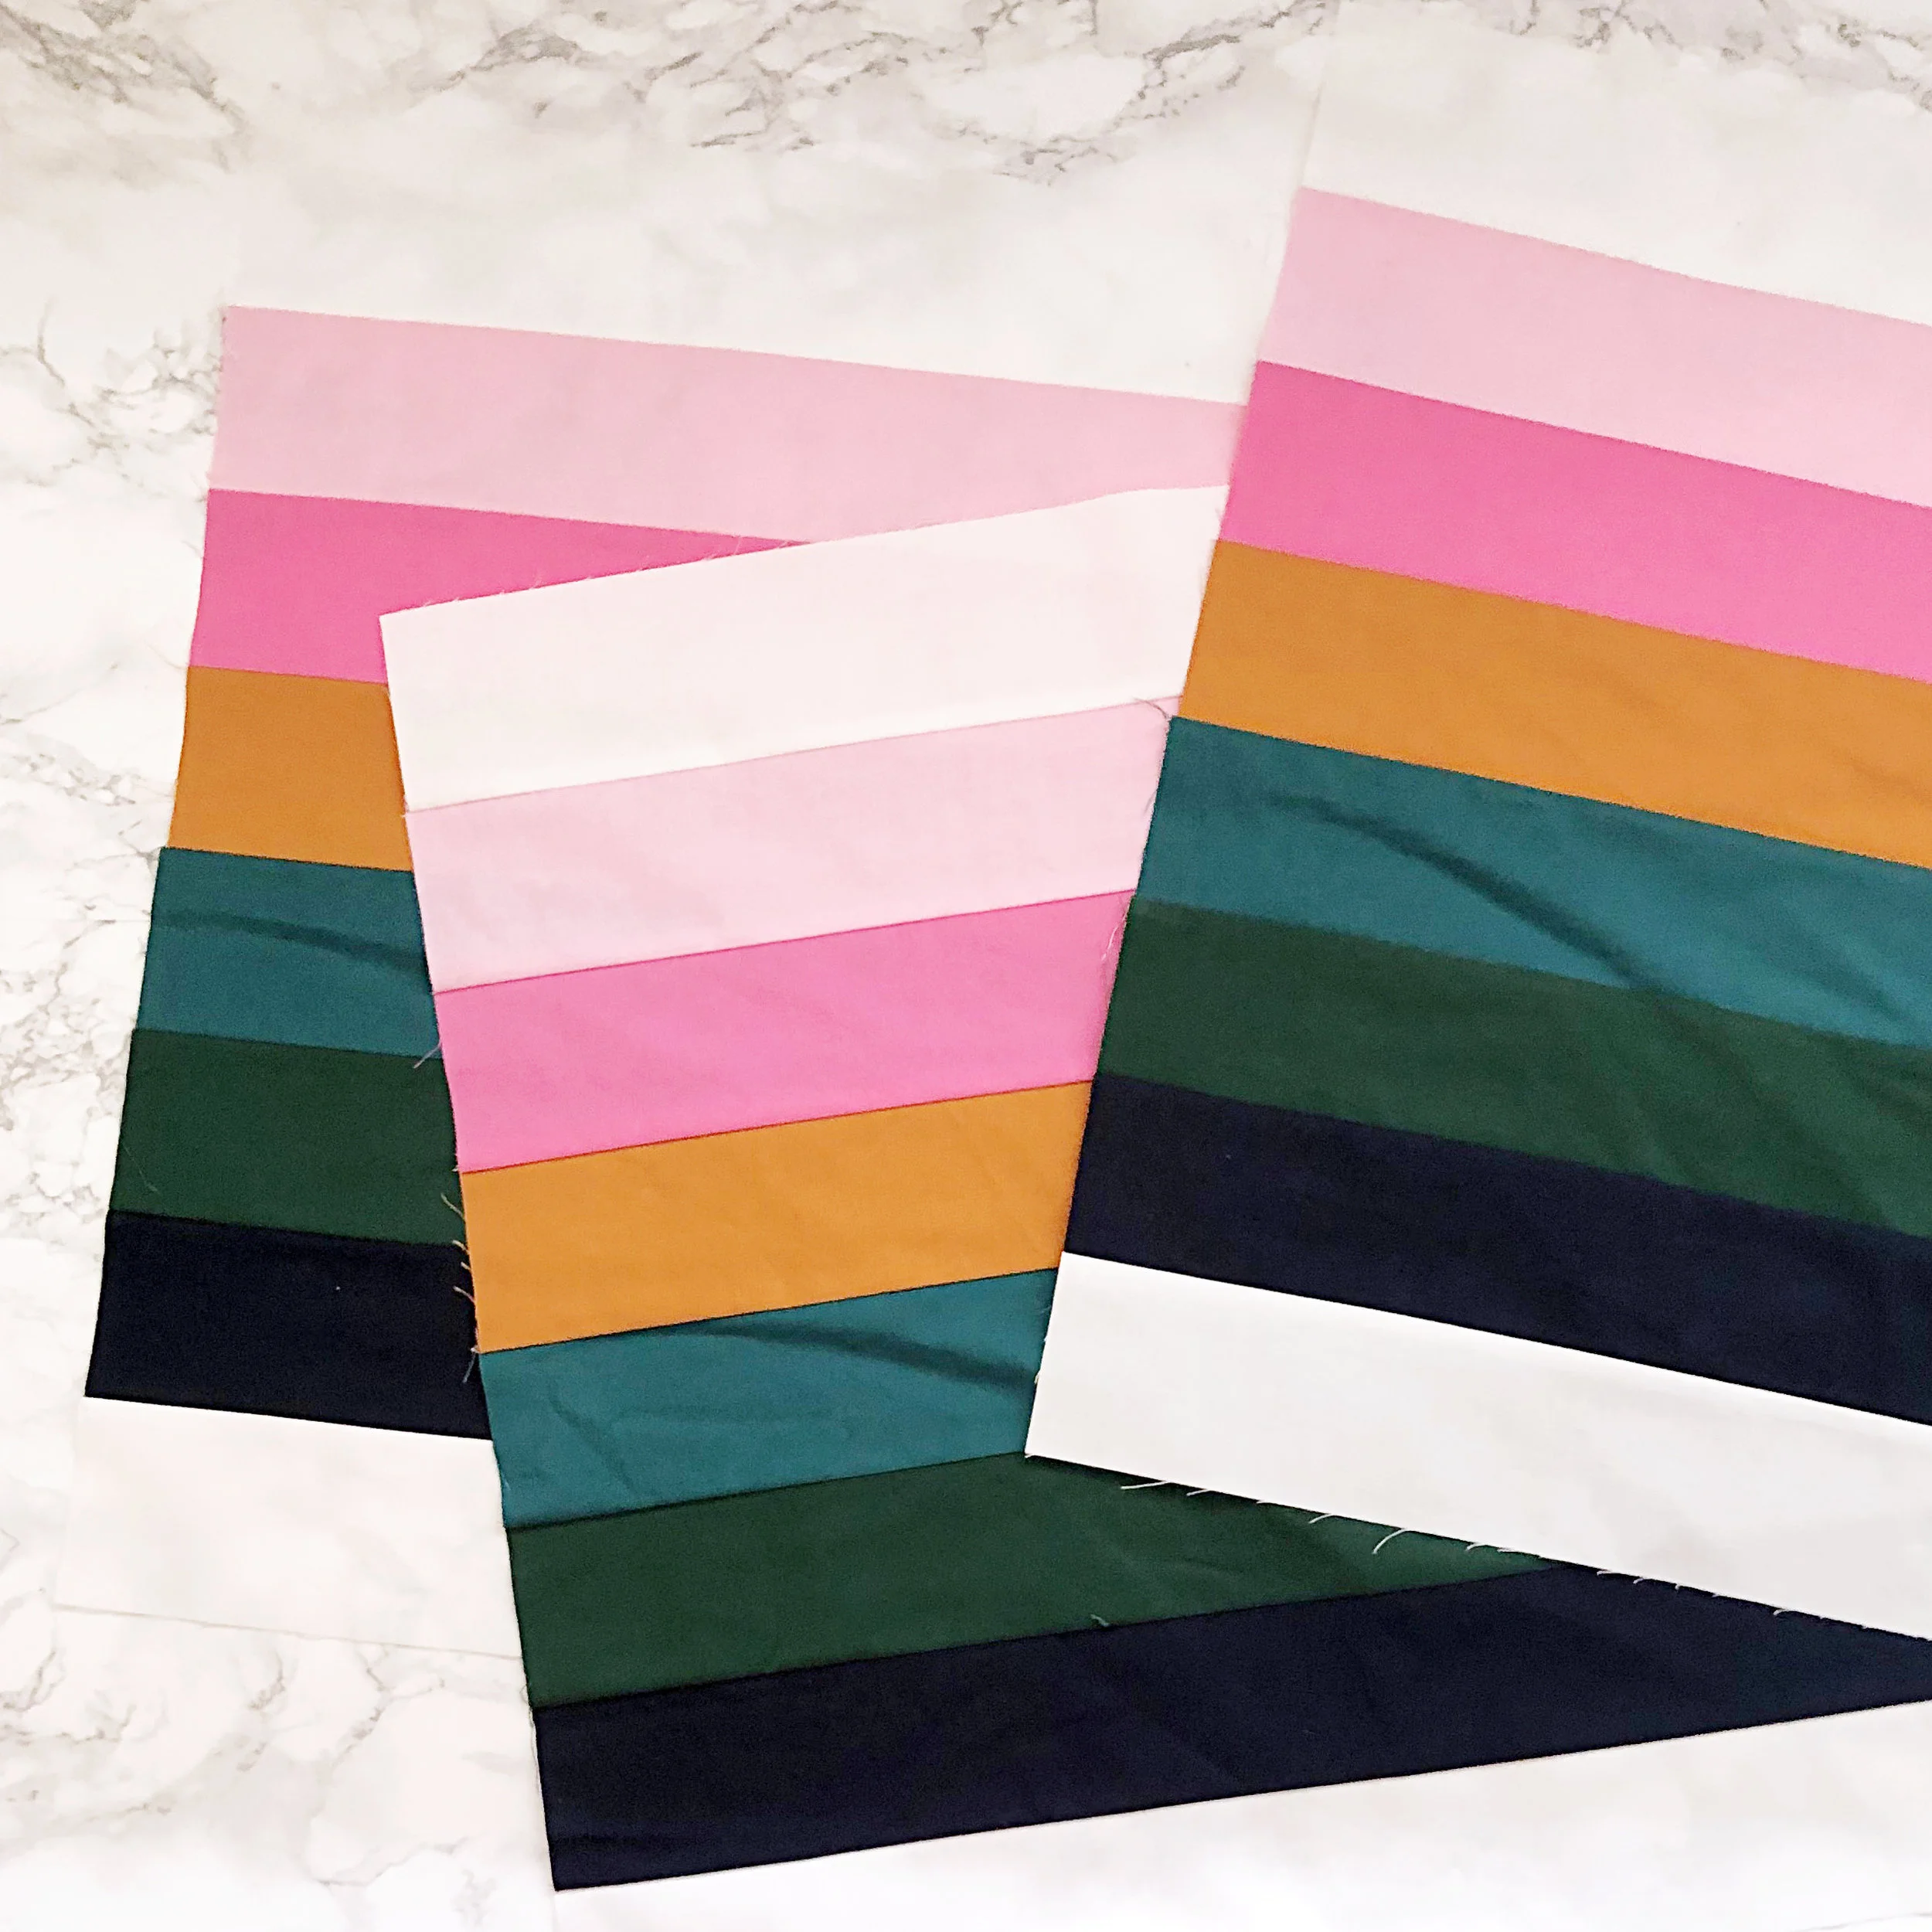
Down to business: Sew some curves
There are two curved blocks in Looper, A1 and A2, but their only difference is the color order of the stripes. They are constructed the same way. Like I said last week, I am always trying to anticipate the mistakes my future self will make, so I always lay out both blocks completely to be sure I have the correct colors in the correct places, and then sew. (Remember to handle the curved pieces carefully.)

We’ll be starting with A, the smallest background piece, and B, the smallest curve. If you feel confused because the cut edges don’t seem to quite match, guess what - they don’t! What matches are the stitching lines. 1/4” in from the edges we are joining, these curved pieces are exactly the same length and shape.

I’ve marked my center snips so they are easier to see (feel free to do the same). Position A and B as shown below, right sides up.

Flip B down over A so that they are right sides together. Line up the center snip on the curved edges and pin. The curves are going in opposite directions - that’s ok. Dashed line in photo shows position of A under B.
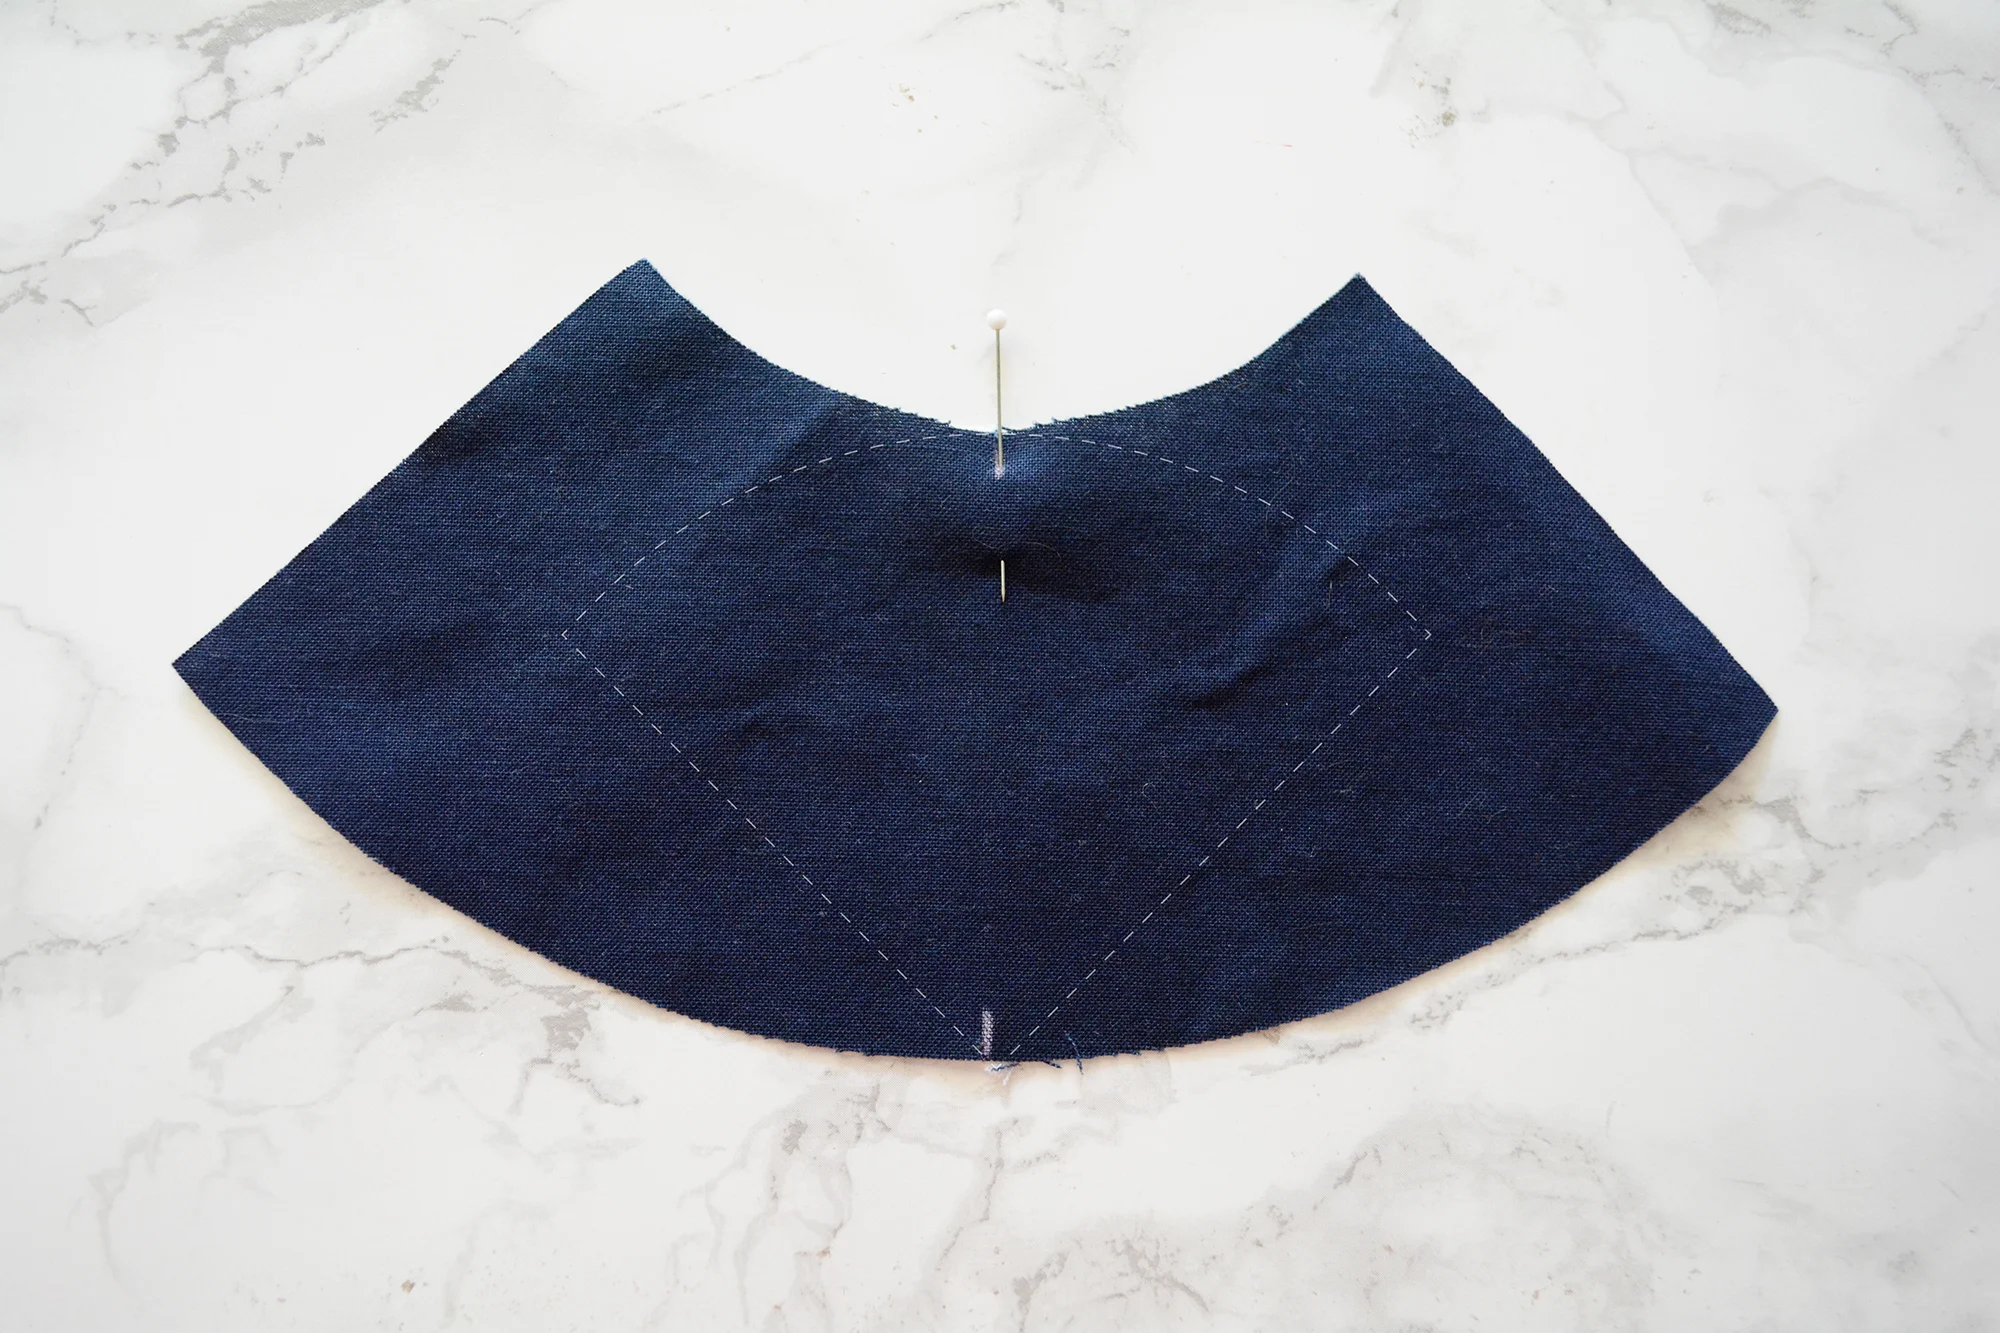
See, it’s under there.

Now bring each straight edge of B to line up with the straight edges of A. Pin in place. B is going to start looking all extra, but that’s ok - we’re only worried about the curved edge we’re going to sew.

Pin the in-between bits, lining up the edges as you go. See how flat it is at that 1/4” stitching line? If there’s ever a time to use pins, it’s on this smallest Looper curve.

Here’s what the back looks like, if that helps you visualize.

Alright, time to sew! Use your 1/4” foot and turn the stitch length down to 2.0 (or a couple clicks below a default straight stitch).

Stitch along the edge, taking it nice and slow. I actually very gently sew over my pins with these curved Looper seams, which is usually a no-no but I think it helps keep everything in place. (Be careful though, if you hit one going too fast you can break your needle.) If you have a needle up/down setting on your machine, set it for down so that the needle always sinks in the fabric when you stop. If you need to smooth out a wrinkle, stop, sink the needle, raise the presser foot, and smooth the excess fabric of B to the left and back.
Here is a video of me sewing this seam, so you can see the above paragraph in action.
Good news, that was the hardest curved seam! They are just going to get easier and easier.

Press the seam away from the smaller piece. I always start on the back and just do a little nudge with the iron to get the seam started in the right direction…

…then finish on the front to get it nice and crisp and flat. Just be sure you’re not dragging the iron around and warping the curves as you press.

For the next seam, which will be attaching piece C, I’ll show you an alternative to pinning - a handy dandy water soluble glue stick pen. I have this one. Water soluble means it’ll wash out the first time you wash your quilt.


The glue stick takes the place of pins. Apply the glue to the seam allowance on the top edge of B. Just like last time, flip C down over B so right sides are together. Align and stick the center marks.

Align the ends like before, and then the rest, pressing it all to stick it into place. You might have to reapply the glue if it starts drying.

Now you can sew that edge the same way, but not have any pins to worry about. You will still need to manage the extra fabric and make sure you don’t accidentally sew a pucker into the seam.

I still prefer pins, because I like feeling like I can adjust the fabric as I’m sewing if I need to. But maybe you will like the glue pen better!
Press the seam towards the larger piece (C) like you did before.

You’re doing it! You’re sewing curves!
Keep adding larger and larger pieces. The curves will get easier and easier to sew.

The final piece for your block is the large background piece, H. Even though it’s shaped differently, you are attaching the curved edge, so all the steps for this seam are the same.
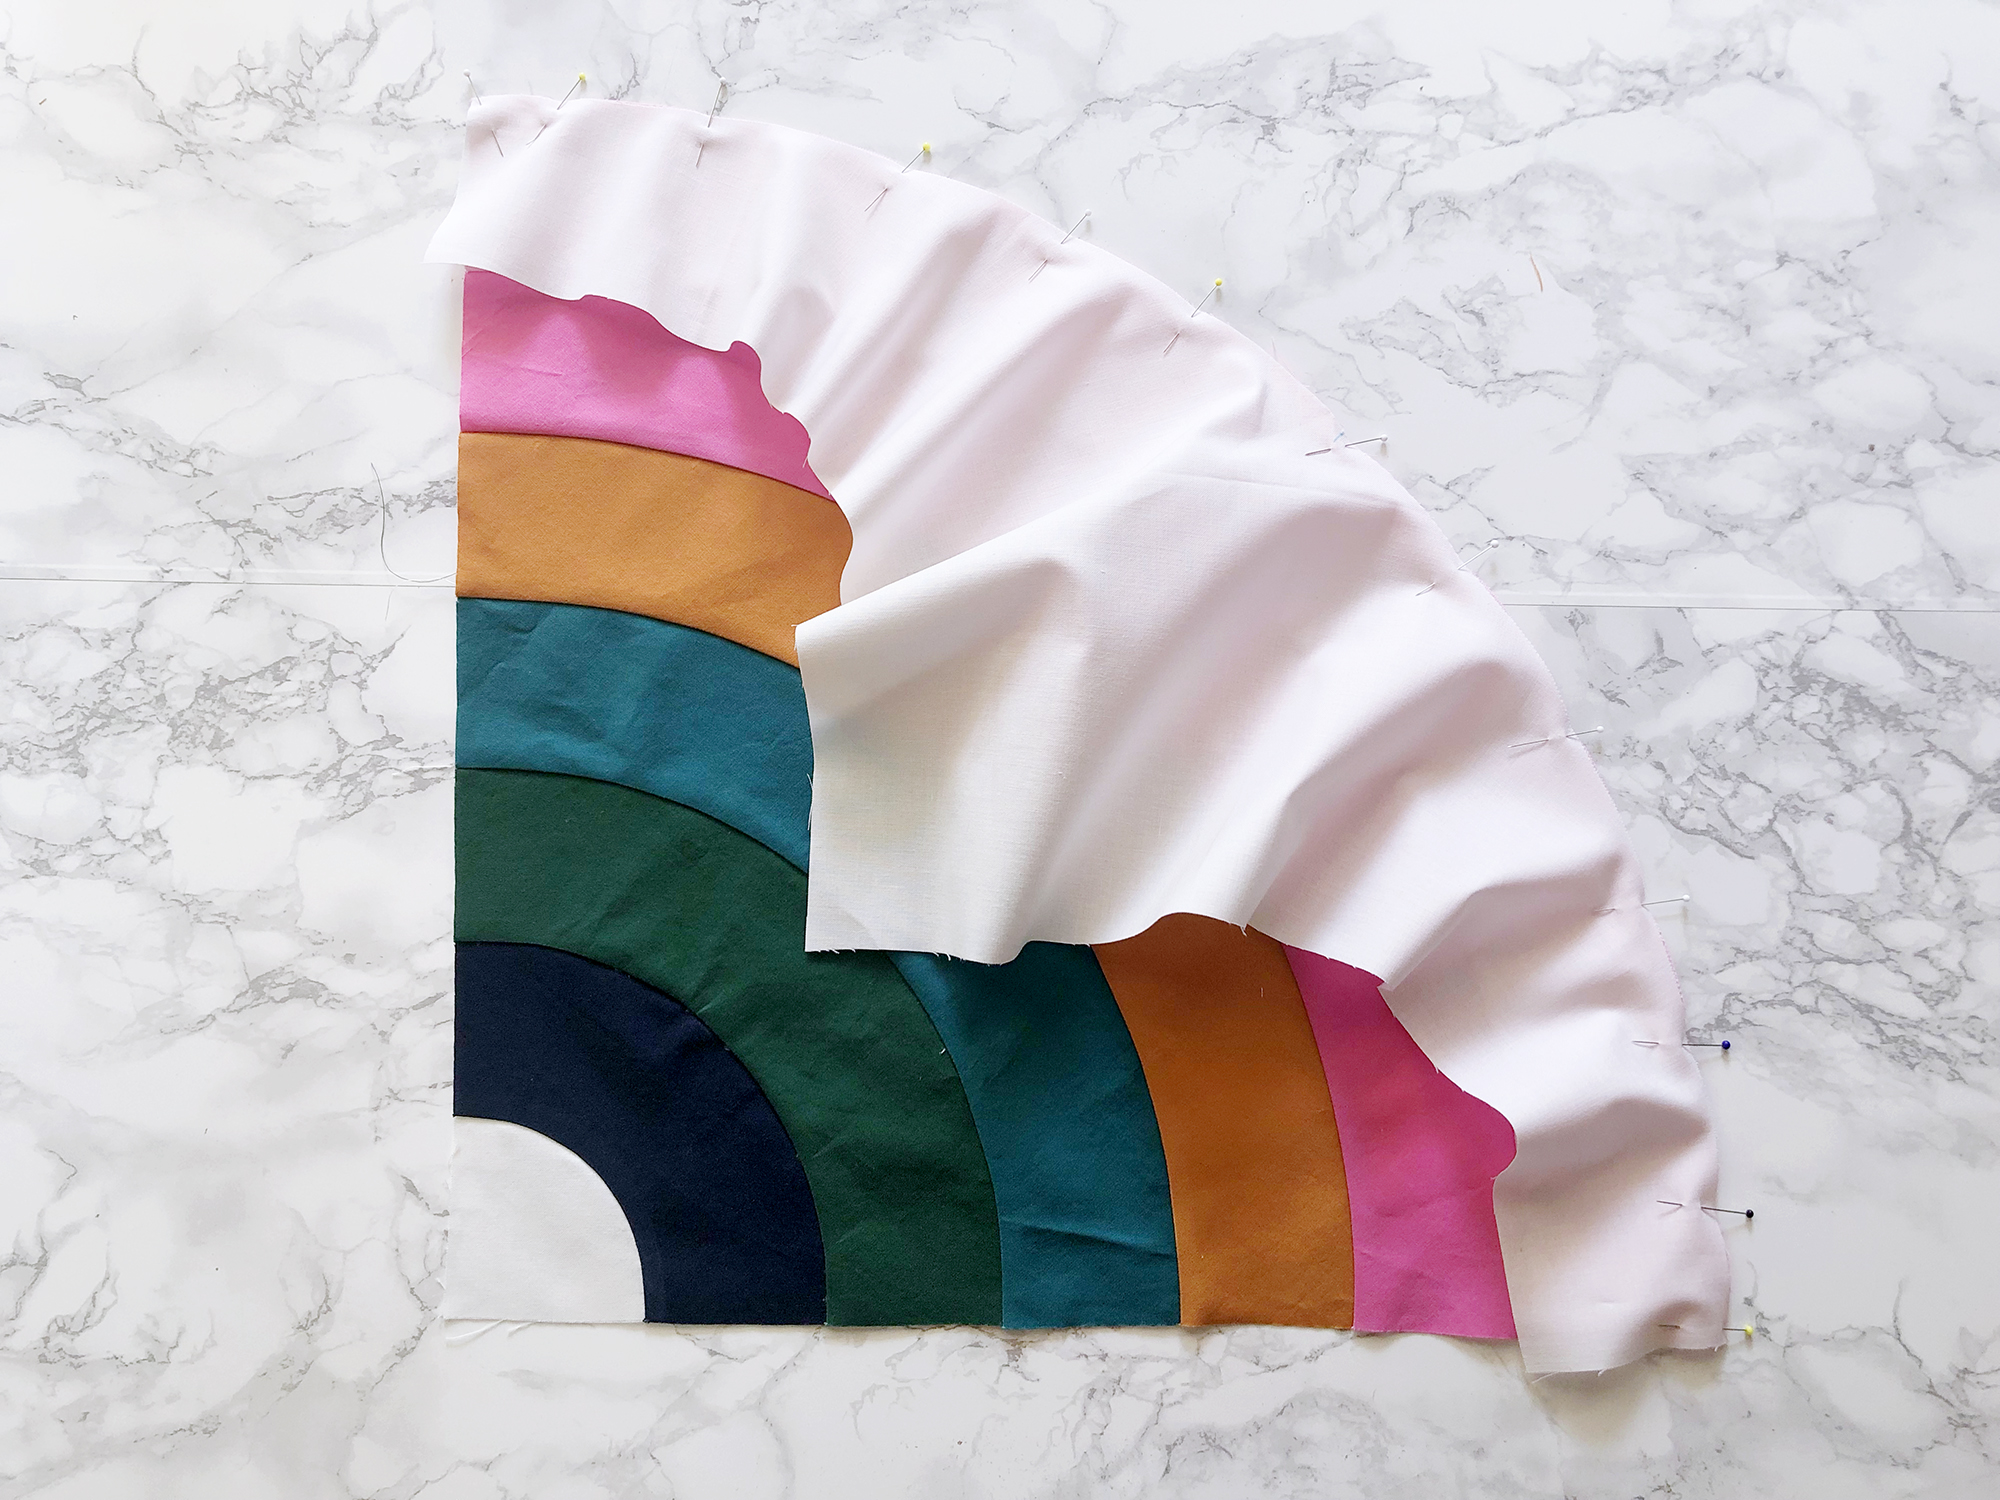
And that’s it! You’ve made a curved Looper block!!
At this point you can trim any errant edges to even up your block, HOWEVER it is very important not to trim too much off any of the background pieces, otherwise your stripes won’t line up when you sew your blocks together. So keep your trimming activities to just making the edges straight if needed.
Once you feel confident piecing these blocks, you can batch sew them to make it super speedy - for all the curved blocks in your quilt, pin all the A/B seams then sew/press, then pin all the B/C pins then sew/press, etc.
TROUBLESHOOTING
Here are some common problems you might have, and how to fix them:
The first curve, the smallest one, just feels way too crazy to sew. I feel ya! The way the block is constructed, you are starting with the smallest curved seam, which is the hardest because at that size there is a more drastic difference in the ratio of edge lengths. This makes it feel like there is a lot of extra bunchy fabric. If that is just too overwhelming, try one of the middle seams first, then go back to the smaller ones.
The layer on top ‘grows’ and ends up longer than the bottom layer. If you are getting to the end and finding your curves are getting longer and longer, that means the upper layer is stretching as you sew. While sewing, every so often stop and take the extra fabric to the left of the needle and move/smooth it away from you, towards the part you’ve already sewn. If you smooth it the other way, towards you, you’ll accidentally be stretching the edge. (If you need to, sink the needle and raise the presser foot.) Here’s what that looks like in photos:


There is a pucker. This means that a small bubble formed in front of your needle, turned into a little fold and then got sewn in place that way. While you’re sewing, if you see one of these little folds forming, stop, lower the needle to hold the fabric in place, raise the presser foot, and smooth the excess fabric to the left and back. Then lower the presser foot and keep sewing. If you see a pucker in your seam after it’s finished, you can seam rip just 1-2 inches around the pucker and re-sew just that section. Lastly, try pressing before you seam rip - a lot of times what looks like a pucker from the wrong side magically disappears from the right side with a little heat and steam!
IN CONCLUSION
So, to sum it all up: YOU CAN TOTALLY DO THIS!
Here are your goals for this week:
Baby size: Piece two of your curved blocks. Next week everyone else will be sewing straight blocks, but since you don’t have any straight blocks, you can sew your other two curved blocks then.
Throw/Queen size: Piece the two curved blocks in your layout.
Your own design: This week and next week are all about piecing. Try to split it up evenly between these two weeks. The straight blocks next week will go a lot faster, so if you have a lot of curved blocks in your layout you can save some of them for next week.
PRIZE TIME
To win the Craftedmoon journal and pin, and the golden seam ripper, it’s the same as last week - simply post a unique photo of your Looper progress on Instagram using both the hashtags #looperquilt and #looperqal. These need to be static posts in your grid, not stories. It can be pictures of your cut pieces, pieced blocks, anything Looper related! Photos posted between 8am Monday August 16th and 8am Monday September 2nd (all times EST) will count as entries. Open to international people too. You must be actively on the email newsletter list to win.
(And as usual, all posts with both those hashtags are also entries for the grand prize, which is complimentary longarm quilting by Kaitlyn of Knot and Thread Design for a throw sized Looper! This is an awesome prize so keep on posting!)
To win the trophy, post a Looper-y photo on Instagram using the hashtags #looperquilt and #looperqal, and tell a story about learning to sew curves! It can be a tip you found useful, a mistake you made but learned from, a tale of triumph, anything! I’ll be reading them all and awarding someone the trophy.
Now go forth and sew curves!