


Week 3: Cutting
WEEK 3: CUTTING
Hooray, it’s time to start cutting out your Looper quilt! But before we get into it, here are the prizes to win this week:
One lucky winner will be receiving a set of beautiful reel pattern weights from Foxglove and Field, a 3 yard cut of Sarah Watts’ coveted OOP octopus fabric and a pack of adorable tags for your finished project by Kylie and the Machine. Details on how to enter are at the end of the post.


I have been using and loving these pattern weights for cutting out Loopers, they’re awesome! And that octo fabric would be an amazing background fabric for a solid striped Looper, just sayin. Now let’s get cutting!
GETTING READY
If you’ve prewashed your fabric, you will want to press it and refold it in half on grain. To do this, line up the selvages and move them back and forth until the bottom fold lays smooth and flat. The cut edges might not be lined up - that’s ok.

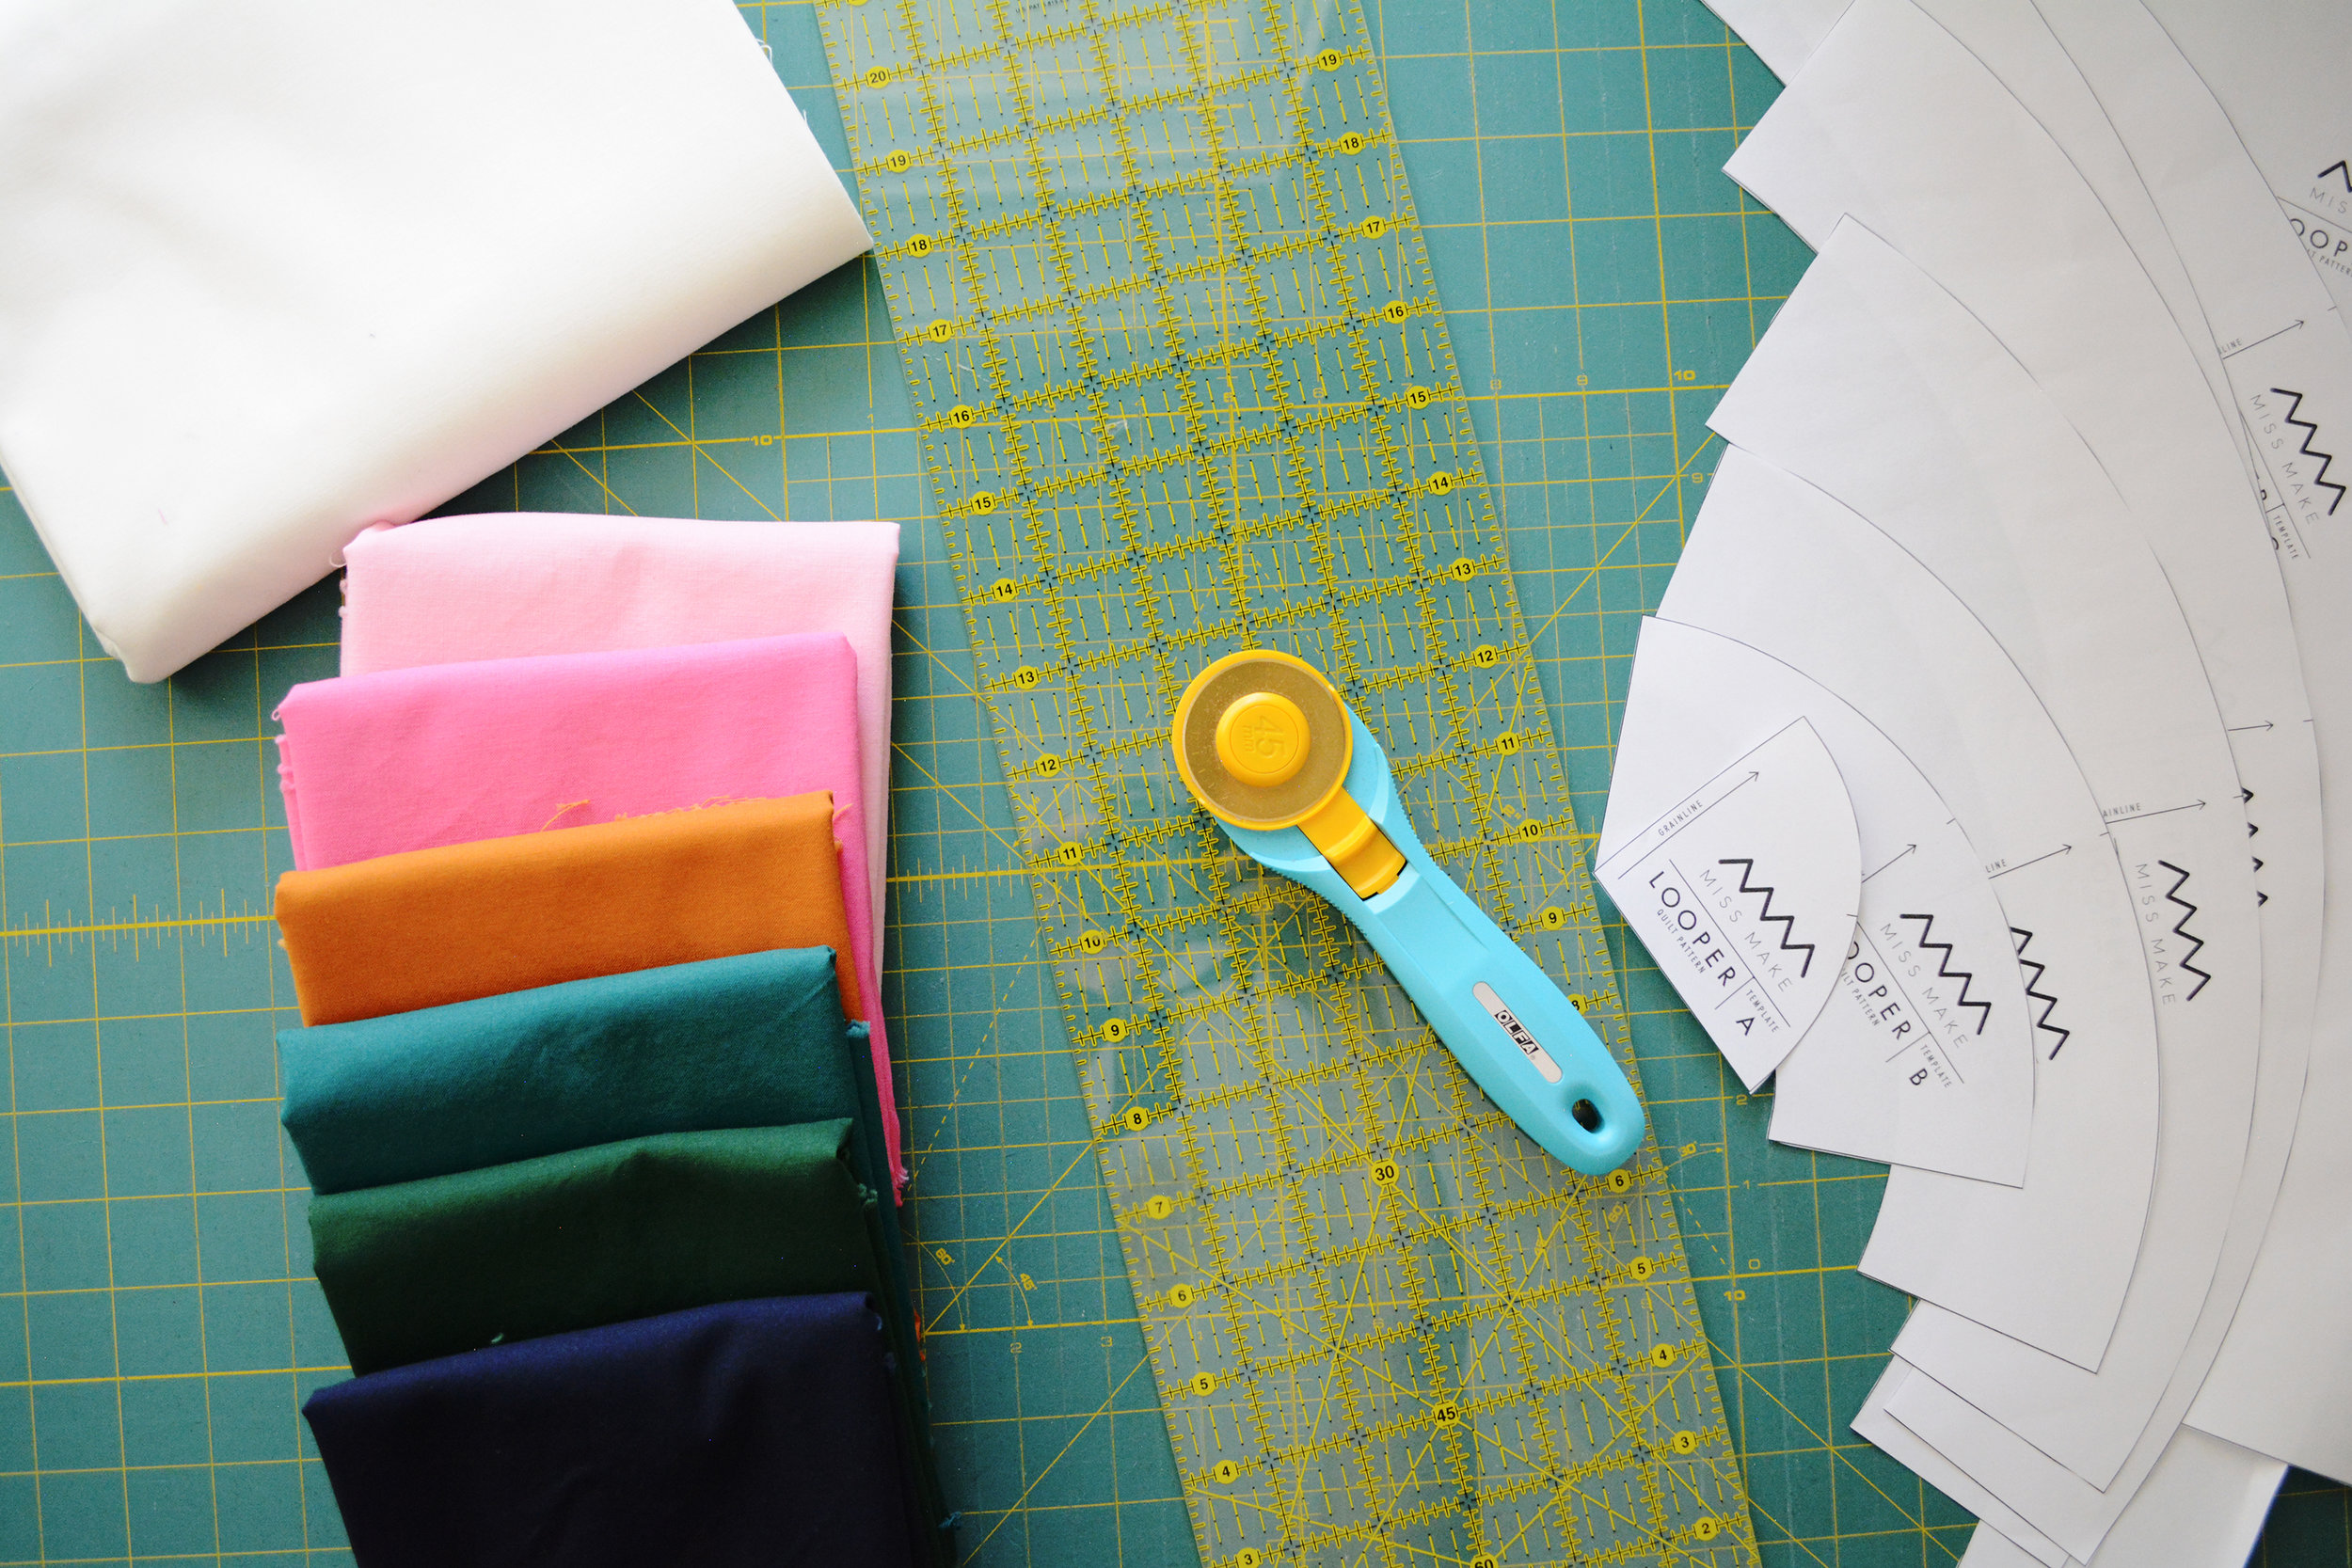
FABRICS 1-6: CUT STRAIGHT PIECES
Note: The baby quilt layout doesn’t have any straight pieces, so if you’re making that size you can skip to the next section!
You will find the cutting layouts on pages 7-9 of the instruction booklet and 4-5 of the PDF. I prefer to cut out the straight pieces first for a few reasons. First, most of the time, you’ll be starting with fabric that is already folded in half. You’ll be unfolding it to cut the curved pieces, so you might as well cut the straight pieces first while it’s still folded. Second, I like to get the straight pieces out of the way so that you know you can be relaxed with the layout of the curved pieces, without having to mentally reserve fabric for additional pieces. I generally cut all the straight pieces for Fabrics 1-6, then go back and cut the curved pieces.

Cut 3” WOF (width of fabric) strips in quantity indicated for the size you’re making. A WOF strip just means to cut a hunk off the fabric in that width. (Don’t forget to trim off the initial cut edge first to make a nice straight edge.) Then trim each folded strip down to 20.5” by cutting off the fold and selvage edges, to create two 3x20.5” pieces.
This is mentioned in the instructions but it bears repeating here - these strips make the most of the fabric width. If you’re using a slightly narrower fabric or a fabric with a wider selvage, it might look at first like you don’t have enough fabric to trim it down to 20.5” and not get a part of the selvage in the piece. But you have enough! Press out the crease and refold the strip so that the ends of the usable parts of the fabric are lined up. The selvage will be hanging off the end on its own. Then you’ll have enough. Alternatively, you could just open the strip and cut the two 20.5” pieces individually in a single layer.
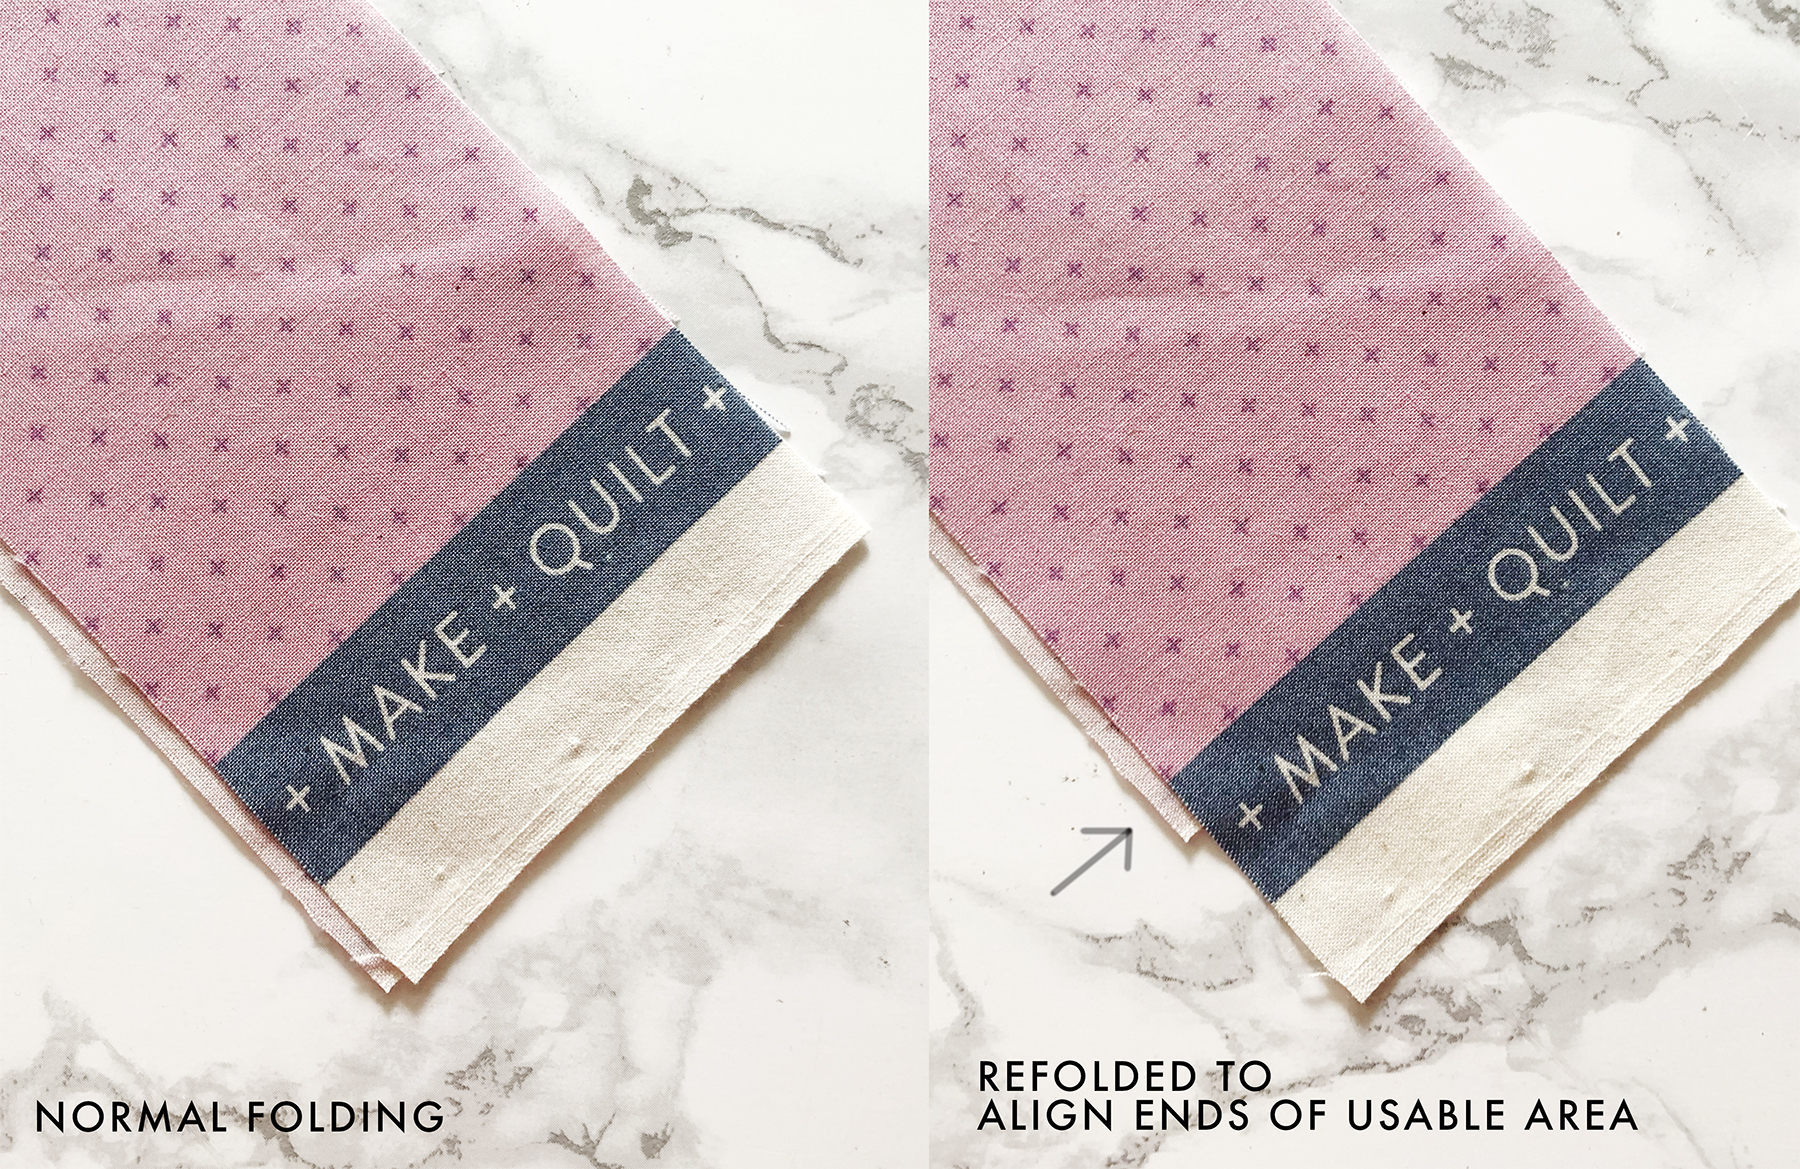
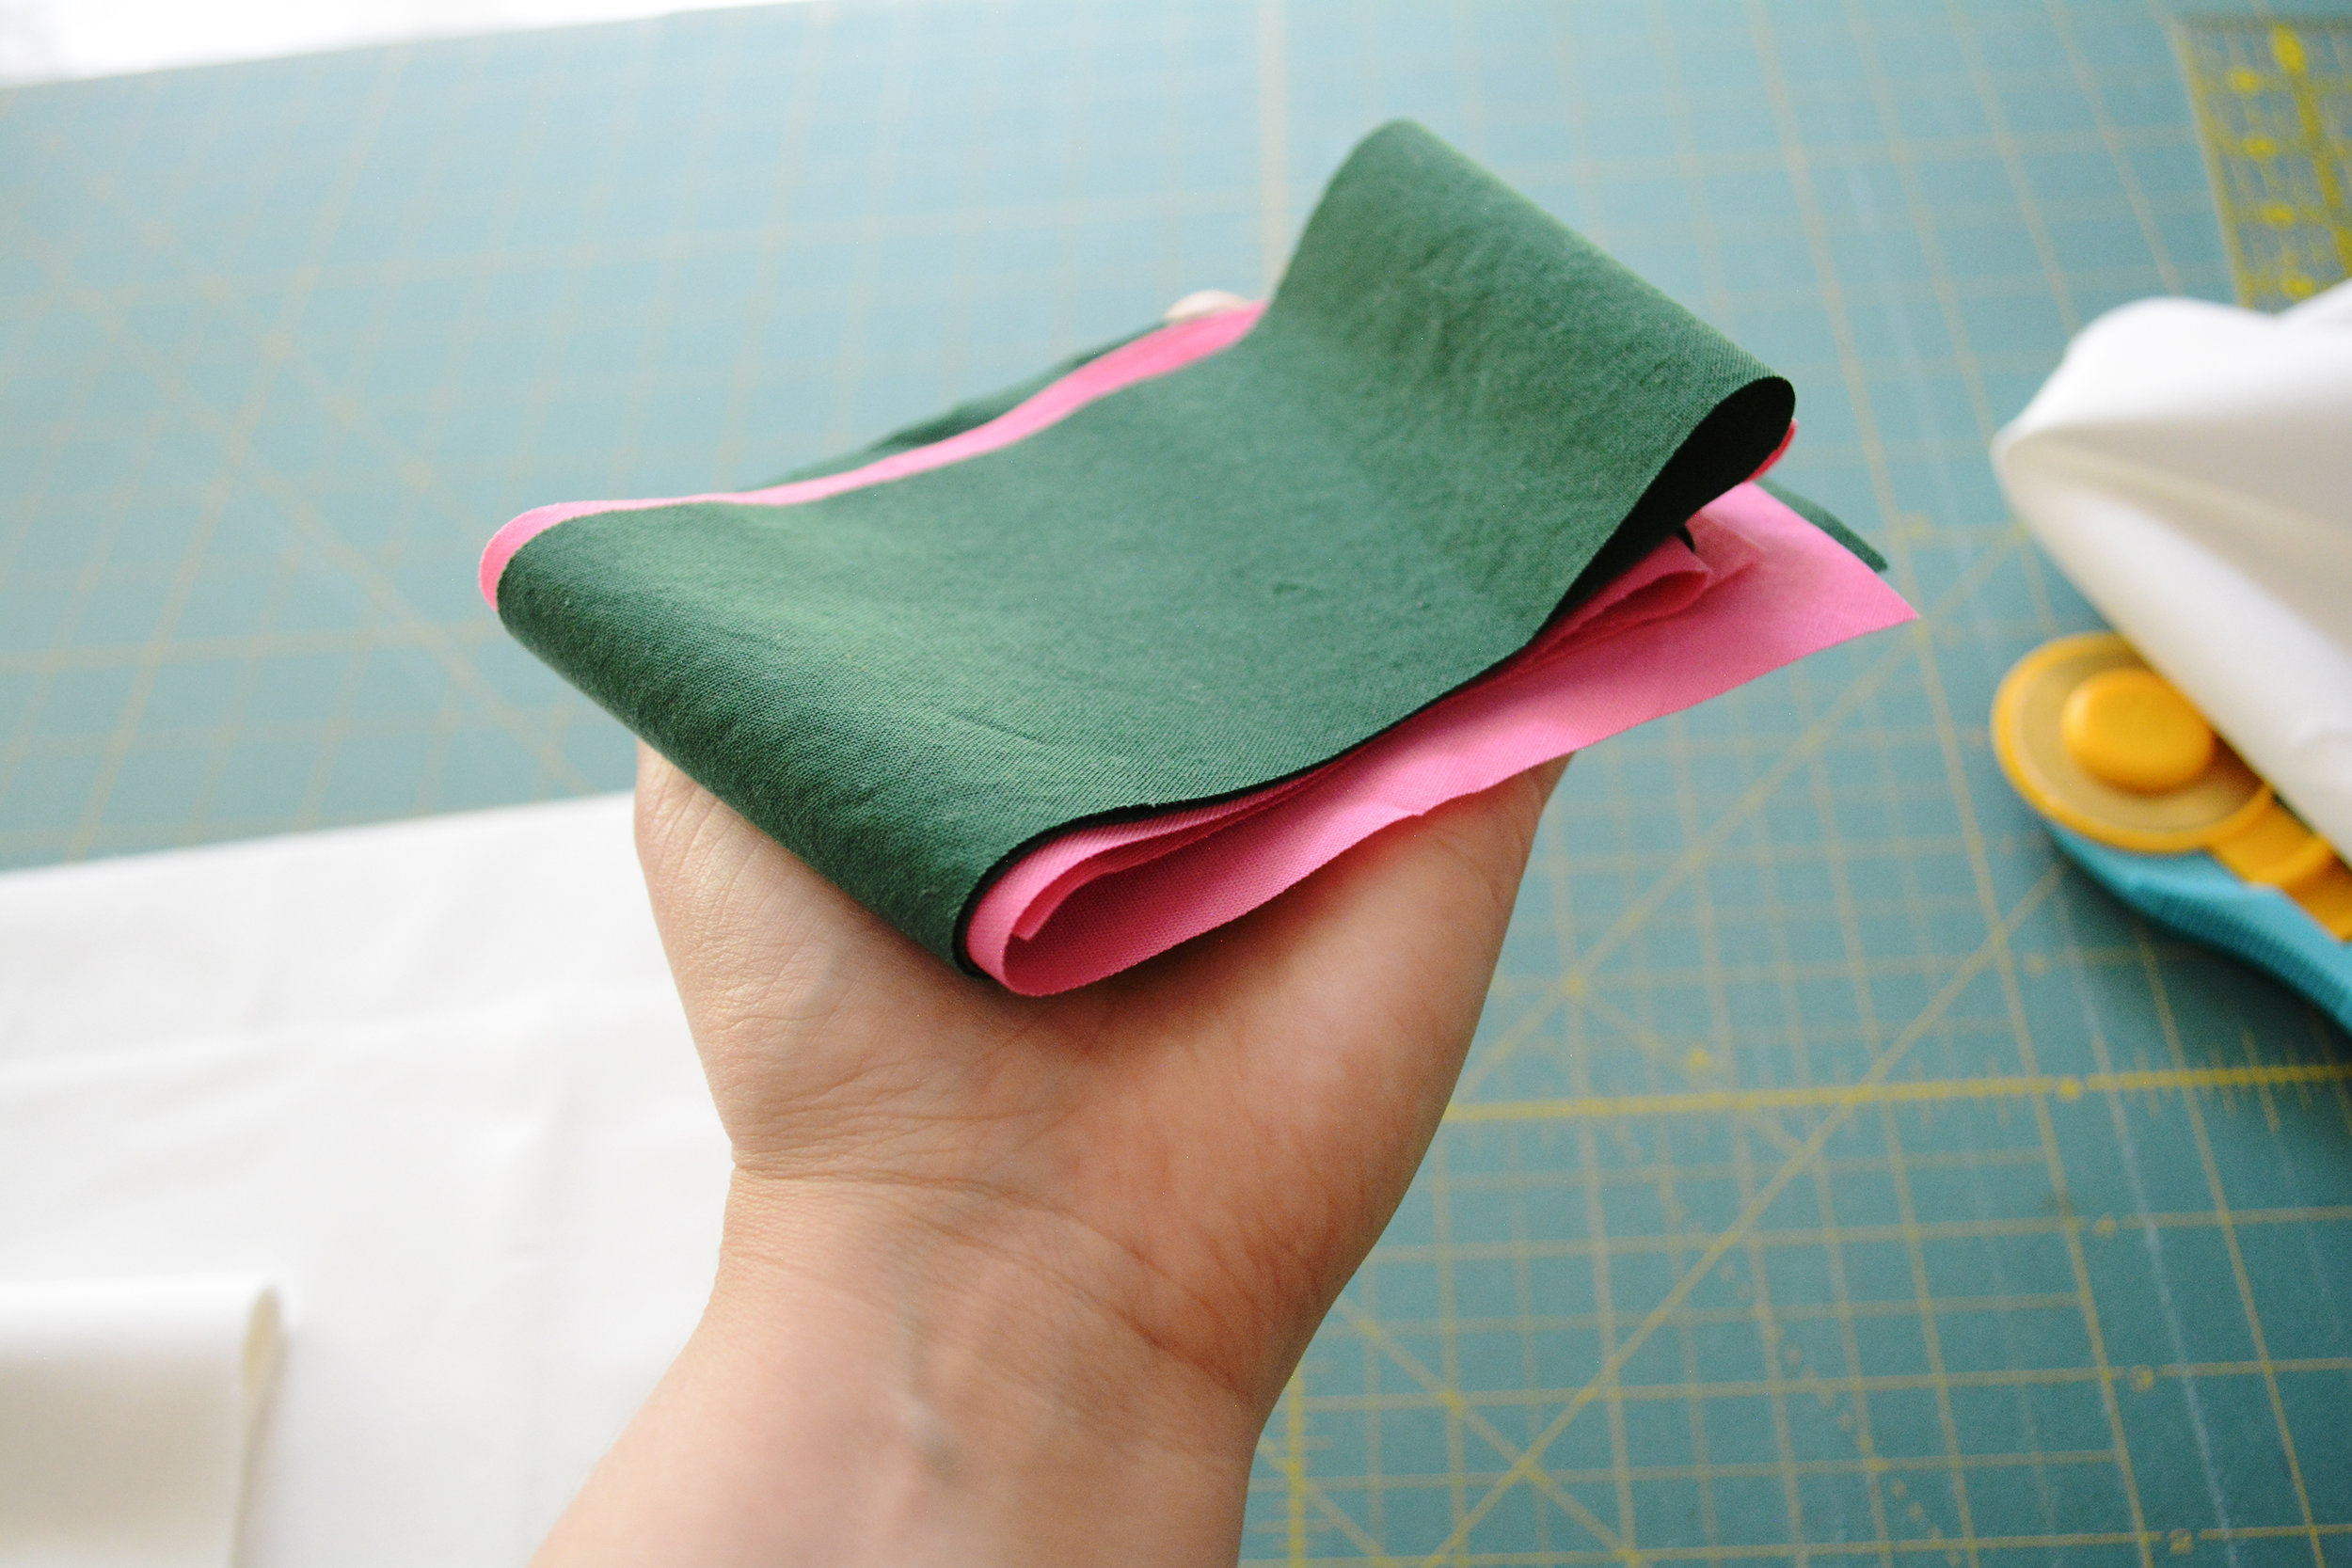
Note: in the photo above, the layers are slightly offset so you can see them in the picture, but of course you’d want to line them up with each other when cutting.
FABRICS 1-6: Curved Pieces
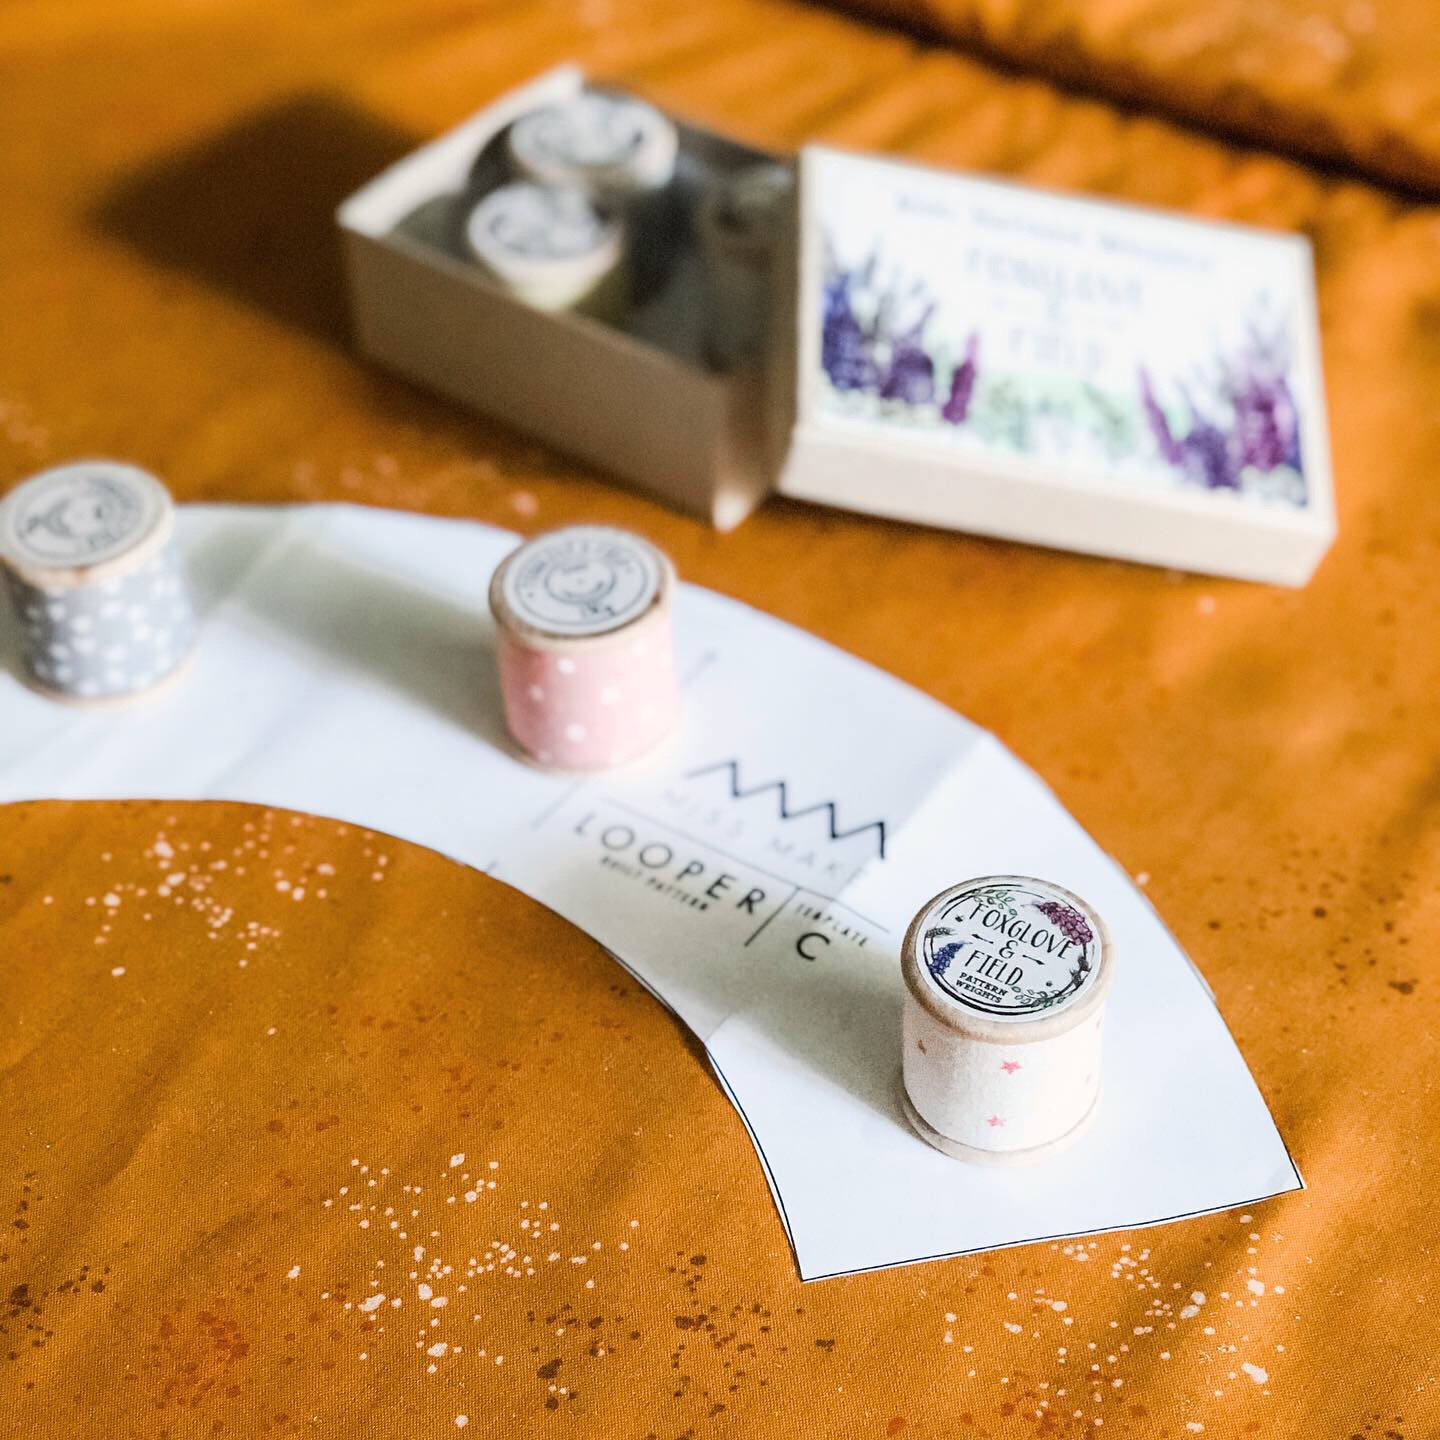
Now it’s time to use the curved templates you cut and prepped last week! You should have eight templates, A, B, C, D, E, F, G, and H. You can set aside A and H for now, those are for the background fabric.
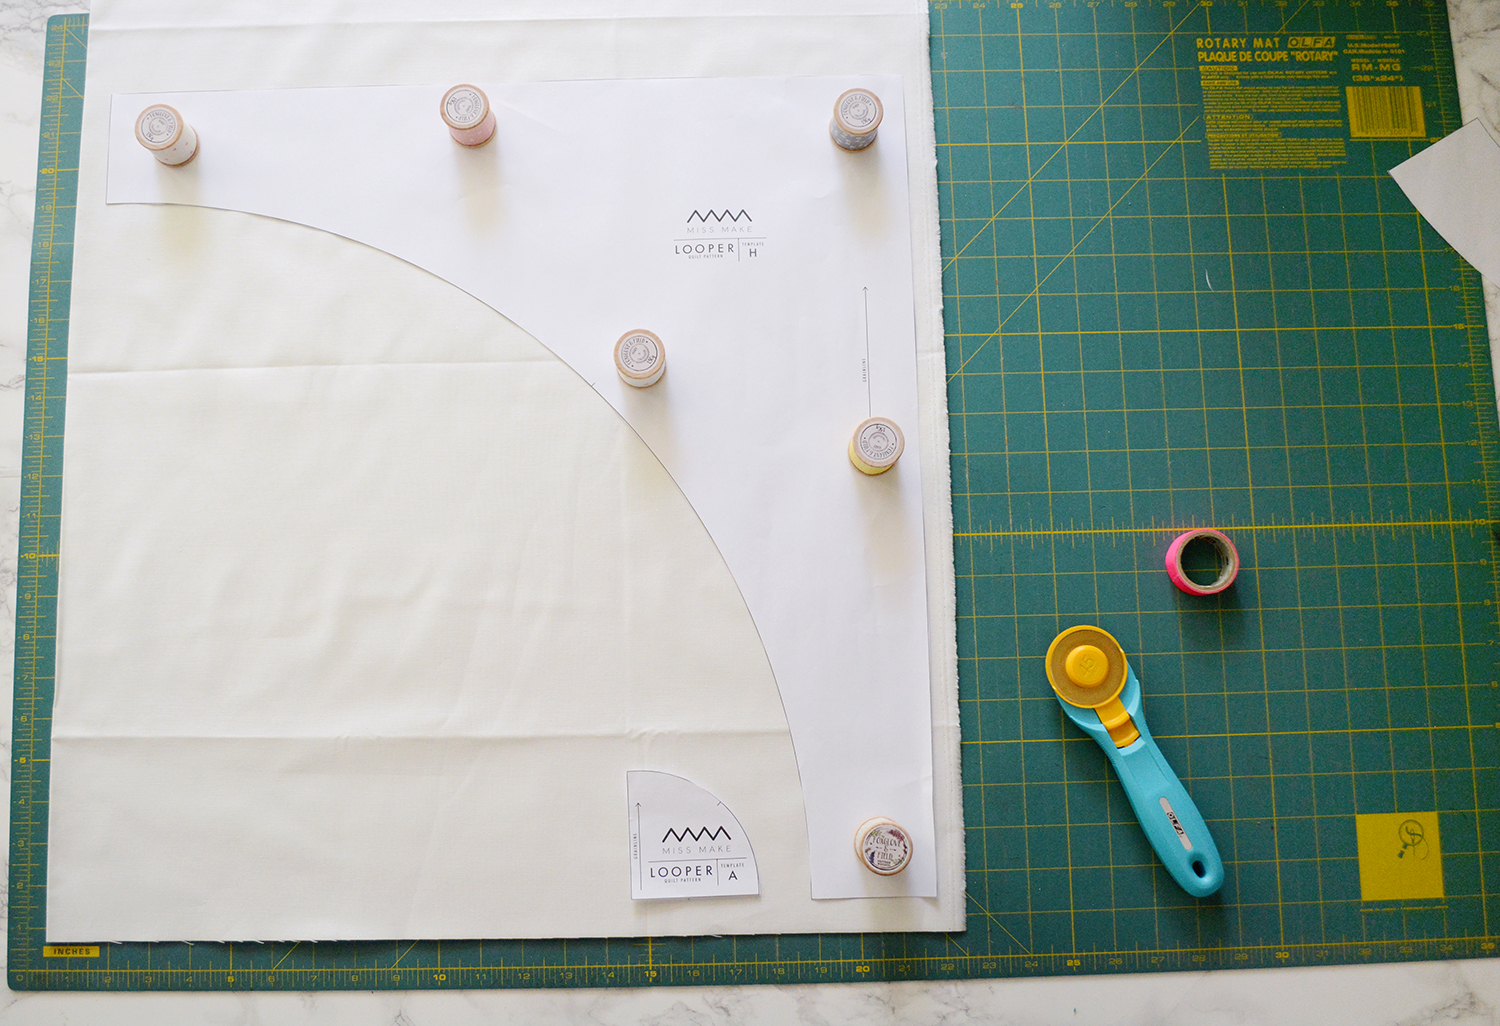
First, general template cutting guidelines: to cut a curved piece, open your fabric to a single layer. Place the template on the fabric so that the grainline on the template is parallel to the selvage. A quick way to do this is to lay an acrylic ruler on top and line both the edge of the fabric and the grainline up with lines on the ruler.

Use pattern weights to hold the template down, then cut around it with a rotary cutter.
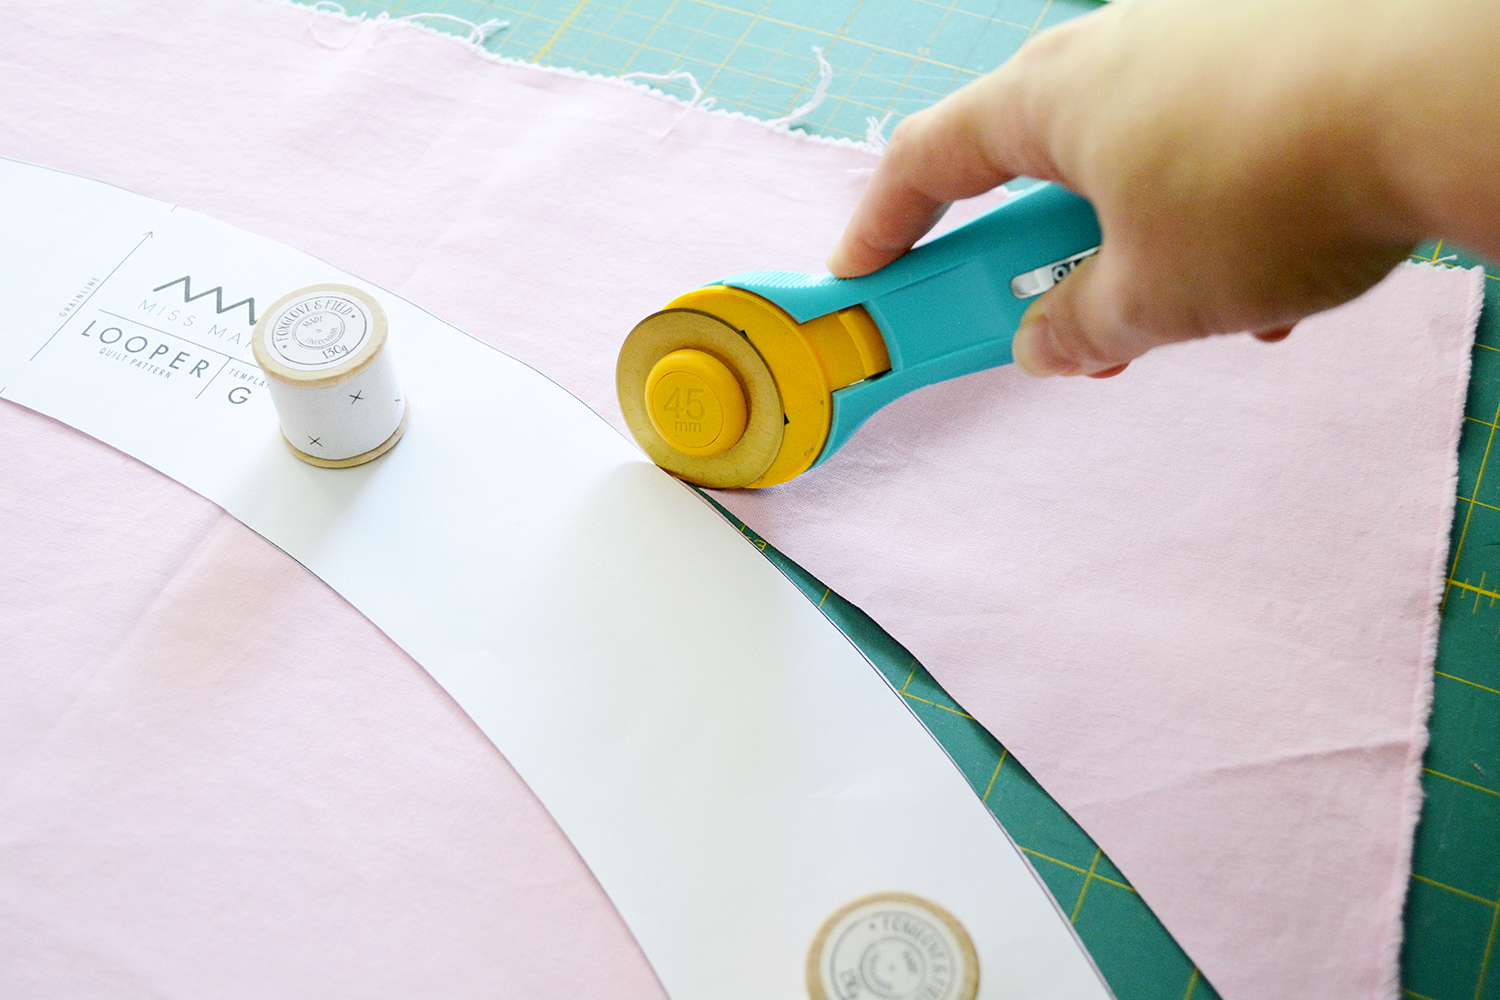
Before you move the template, use scissors to snip through the fabric at both small lines on the edge. Do not snip more than the line, which is 1/8”. These snips mark the centers of the templates and will be used to align the pieces when sewing together.

A common alternative practice is to fold the fabric pieces in half and finger press them to find the center, however I find that on the larger Looper pieces that are so long and narrow, this is more difficult to do accurately, and the extra handling can stretch out the fabric.
I find it easiest to work in fabric pairs when cutting the curved pieces. Working from the outside in on the finished quilt, in all sizes, each corresponding stripe has the same pieces cut - both outside stripes, Fabrics 1 & 6, use Templates B & G; both 2nd-to-outside stripes, Fabrics 2 & 5, use Templates C & F; and both inner stripes, Fabrics 3 & 4, use Template D & E.

Since experience has taught me to anticipate and prevent the mistakes my future self will make, I physically place all fabrics and templates not being used in a safe place away from my cutting table so that I don’t accidentally grab the wrong thing, or get confused.
Cut template pieces in the quantities indicated for your size. As you cut, you might find it helpful to label the curved pieces with the template letters so they’re easy to identify later on. Washi tape and sharpie work well for this, but write the letter on the tape before you put it on your fabric in case the sharpie bleeds through (ask me how I know this, haha).

If you want to be extra speedy, you can layer the corresponding fabrics on top of each other while you cut! So for instance, lay Fabric 1 on top of Fabric 6, making sure the selvages are very aligned and everything is very smooth, and then cut templates B and G through both at once.
BACKGROUND FABRIC
The pieces of the background fabric are cut in the same way as Fabrics 1-6. The only new player to introduce are 20.5” WOF strips for throw and queen sizes. These bad boys will be then trimmed into 20.5” squares to become Block C in your layouts. (That also means that every time you cut one, you’ve finished a block for your Looper! Look at that!)
You’ll cut the background templates, A and H, the same way you cut the others. If your background fabric is non-directional, and you can fit Template H on it with it folded, go ahead and cut them 2 at time with the fabric folded!
Cut the 3”x20.5” pieces, 20.5”x20.5” pieces, and Templates A & H in quantities indicated for your size.
Directional background fabric
Here’s what you need to know if you have a directional background fabric:
Baby: For Template H, just follow the cutting layout in the instructions and you’ll be good! Just be sure to cut a Template A to correspond with each H.
Throw/Queen: One of the 3” WOF strips will form the edges of the vertical straight block (Block B) in the center of the quilt, between the curved blocks, so you’ll need to cut that a little differently for the print direction to be the same as the other blocks. Cut one less 3” WOF strip, then cut two 3”x20.5” pieces vertically next to the templates as shown below.
CUTTING YOUR OWN DESIGN
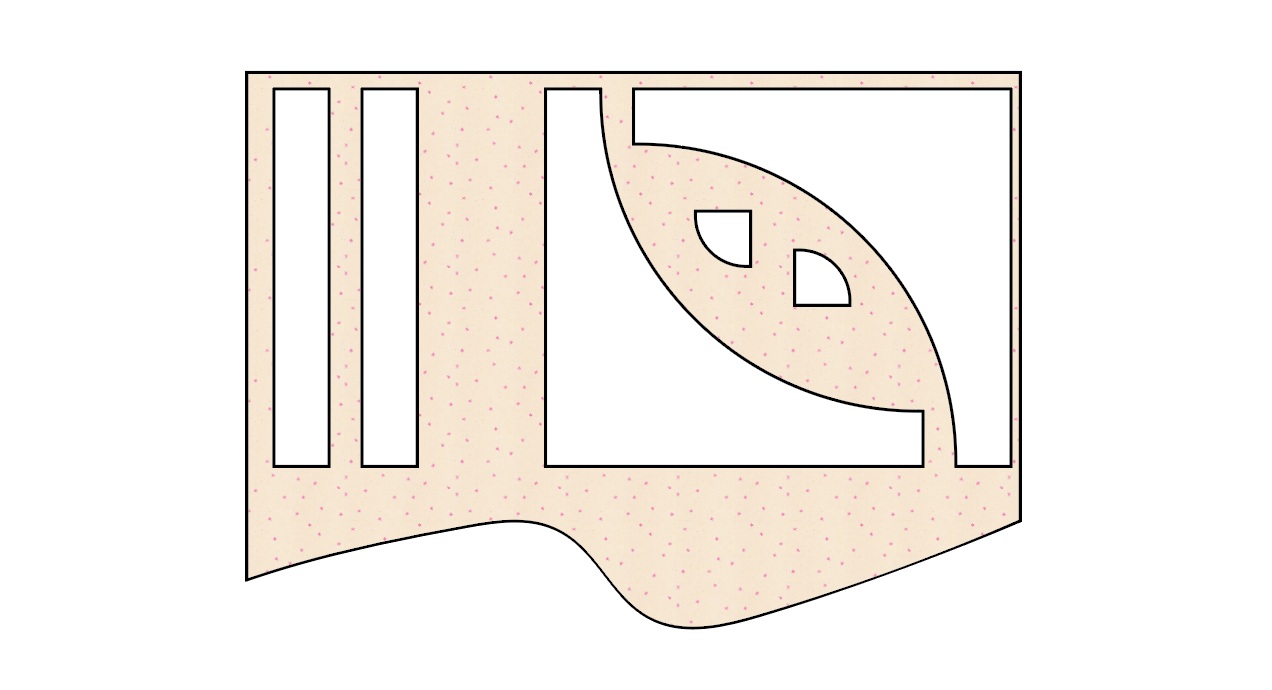
The best way to go about cutting your own design is to make a master list of all the pieces you need. Label all the pieces in your design, and then total up the pieces needed for each fabric to make your own customized cut list.
IN CONCLUSION
To wrap it all up, this week the goal is to:
Cut all the pieces indicated in the instructions for the Looper size you are making.
One final piece of advice - try to handle the cut curved pieces as little and as gently as possible! All the edges are bias cut edges, which stretch and distort very easily. Call me crazy but I go so far as to fold them in half or into thirds so that when I pick them up, their own weight isn’t pulling on them.
Also, if you’re interested in doing pattern matched binding, save your scraps! I’ll be doing a tutorial right after the quiltalong.
Next week we are going to jump right into it by piecing our curved blocks, yaaay! So eat your veggies, stay hydrated, and I’ll see you next week for some curvy fun.
ENTER TO WIN FOXGLOVE & FIELD PRIZE PACK
To enter to win the prizes listed at the top of this page, simply post a unique photo of your Looper progress on Instagram using both the hashtags #looperquilt and #looperqal. These need to be static posts in your grid, not stories. It can be pictures of your cut pieces, fabric pull, anything Looper related! Photos posted between 8am Monday August 19th and 10pm Sunday August 25th (all times EST) will count as entries. Open to international people too. You must be actively on the email newsletter list to win.
And as usual, all posts with both those hashtags are also entries for the grand prize, which is complimentary longarm quilting by Kaitlyn of Knot and Thread Design for a throw sized Looper! This is an awesome prize so keep on posting!
(The spirit of all Looper quiltalong giveaways is to share genuine Looper experiences, so please don’t spam the same photo over and over, or use secondary accounts to spam photos. Anyone doing so will be disqualified from winning any prizes. Please honor the spirit of the giveaway, thank you! :)

