Quilting Advice for Garment Sewers
So here you are.
You’re a garment sewer and you’re actually considering making a………………quilt.
It’s ok, I will hold your hand and we will walk together. But we don’t need to walk through the whole winding Ikea path of sewing, we already know what they have in the first part and we don’t need anything there, we just need to find the door with the shortcut to the quilting section. So here is the shortcut - my (hopefully concise) take on what you need to know, without too much extra, based on my own experiences and opinions.
QUILT TERMS
Here are a few important words:
Quilt top: This is the “front” of the quilt, the part with the main design, the part that’s showing when it’s on a bed. You make this first.
Batting: This is fluff material that goes in between the layers of your quilt to make it puffy. Common ones are cotton, polyester or a mixture of both. The batting for your quilt should be about 3” bigger than the top all the way around (generally you’ll buy a standard size and trim it down).
Quilt Back: This is the back of the quilt, usually has less going on than the front, not showing when the quilt is on a bed. Yes it’s quilt top (not front) and quilt back (not bottom). I don’t know why. You can make a quilt back by piecing together fabric yardage, get 108” wide quilting backing yardage, or you can use a cute flat sheet. Your quilt back needs to be about 4” bigger than your quilt top all the way around (so if your quilt top is 60”x60” your backing should be 68”x68”). This can be eyeball-trimmed in the basting step (more later).
Quilt/Quilting: This is both the act of sewing all the layers of a quilt together, and also used to refer to what that looks like. And of course it’s also the overall thing you’re making. Like, I can’t wait to quilt my Looper quilt! or, Hot damn! Look at that quilting!
Quilt Sandwich: Yes, sandwich. This is when you stack the layers of the front, batting and back and baste them together (either with special curved safety pins or spray adhesive) to temporarily secure them for quilting.
Piecing: This is the verb for sewing together the quilt top or back.
A VERY BASIC OUTLINE OF THE PROCESS OF QUILTING
Quilt top is pieced.
Quilt back is pieced or procured.
Quilt top, batting and back are basted together.
Quilt is quilted.
Backing and batting are trimmed to be even with quilt top.
Raw edges of quilt are bound.
Guess what - you can also choose to just make the quilt top, and have other people (professionals!) do the other parts! More on that further down.
A FEW BIG THINGS THAT ARE DIFFERENT from garments
Seam allowance: The standard seam allowance for piecing is 1/4”. This is probably going to feel pretty small after you’re accustomed to 5/8” but you’ll get used to it! You will want to be pretty accurate because there isn’t much room for error. Consult your machine manual if you’re not sure where 1/4” is on your machine.
No seam finishing: When you are piecing the quilt top, if you are using quilting cotton there is no need to finish any of the raw edges.
No backstitching (sort of): When piecing, you can turn your stitch length down to 2.0 (or down to about 80% of whatever your normal stitching is) and forgo backstitching, because you are constantly sewing over the ends of seams and then they get quilted over. The only exception is the beginning or end of any seam that will be on the outer edge of the quilt top. I always backstitch those because they won’t get sewn over until you quilt the quilt and they can start wiggling open.
You don’t have to fit a three dimensional object: This kind of goes without saying, but do not forget to relish the fact that when you quilt you can just C R E A T E, without worrying about it fitting anything! It’s like making a collage out of fabric. Yes garment sewing is also creating, but this is different. For me, it feels a little freer and lower pressure. It’s so fun to see how different colors and prints interact with each other as you piece your quilt top.
SPECIAL TOOLS YOU’LL NEED
In addition to whatever sewing tools you’re currently using, you will need:
Acrylic ruler: This is a must for any straight cutting. 6”x24” is a good size to get first. There are a million and one quilting rulers but I had only one ruler in that size for years without a problem. I like the marks on the Omnigrid Quilter’s ruler. It must be an acrylic ruler. Do not use a thin plastic ruler, you will slice the ruler and possibly your fingers. Do not use a metal or wooden ruler, you need to be able to see through it.
Rotary cutter: A lot of you might already have this. I like the 45mm size, not too big, not too small. Get in the habit of always, always closing the cover on your blade when you set your rotary cutter down, even if it’s for a second (some of them automatically close). I have Shaerie of Sew LA to thank for drilling this habit into all the employees there! It’s mostly for safety (rotary blades are SHARP), but it’s also really easy to ding the edge of a rotary blade and ruin it. So if you knock it on the floor while it’s open you can a) slice your ankle/foot/toes or b) ruin the blade, and replacement blades are expensive! This habit has helped me use a single blade for months and sometimes years.
Cutting mat: If you already have a rotary cutter you also have a cutting mat (or there are a lot of sliced surfaces in your house). I recommend getting one that is at least 24” in one direction so that you can fit the whole width of folded quilting cotton plus some wiggle room. This makes your life way easier when cutting. I have the 24x36” Olfa self healing mat, it is on the pricier side but I’ve had the same one for almost 10 years and it’s doing fine. There is also an 18”x24” size but I like having a whole yard to work with, plus if you’re going to use it for garment sewing too the larger size makes a lot more sense. Protip: don’t leave a cutting mat in your hot car! It will warp.
**SPECIAL LOOPER EXCEPTION TO THE ABOVE: The baby size of the Looper quilt has no straight cutting, so technically if you make that size you don’t need these items, you can cut out the pattern pieces with pins and scissors using the grainlines in the way you’re used to. HOWEVER, don’t forget about that 1/4” seam allowance. You will have to cut very, very accurately. Also, if you buy these tools you will use them in garment sewing too!**
1/4” Presser Foot: The edge of this presser foot is literally 1/4” away from the needle, so when you piece your quilt top you just line the edge of the fabric up with the edge of your foot. This is especially helpful when sewing the curves in Looper. There’s a very good chance your machine came with one, so check your manual. It might be called something different (for instance Bernina calls it the “patchwork foot”). If not you can buy one separately.
Walking foot: If you decide to quilt the quilt yourself (more on that below), this is what you need to sew straight line quilting. And either way I recommend it for binding.
Curved basting pins or water soluble spray adhesive: Needed if you decide to quilt your quilt yourself.
GENERAL ADVICE for quilting
For the love of all things good and holy, please listen to me when I say this: if this is your first quilt ever, and you intend to quilt it yourself, make the baby size. In my years of teaching sewing, anyone who did not heed this advice regretted it later. The last thing I want to be is discouraging, but the process of basting and then quilting a giant hunk of fabric with multiple layers on a regular sewing machine while also trying to learn the process is really hard. I just want to save you from grief and stress and anguish and sweat and make sure your first quilting experience is a happy experience.
I’m sure you can find people that recall breezily how they free motion quilted all their children’s names onto their first quilt on their tiny home machine, they are pretty sure it was a queen size and no, it wasn’t any trouble at all! These people probably always parallel park on the first try and never accidentally make scrambled eggs when they’re trying to make an omelette, or they never even made that quilt because the internet is full of lies. So again, if you’re going to quilt it yourself, for the first one, make the baby size, and work up from there.
If you’re going to send your quilt away to be quilted, I say, make any size you want! The hard part is the layering and the basting and then getting all that in your machine. But piecing is just sewing together single layers of fabric, which is pretty simple if you’re already used to doing that, even if they’re bigger pieces than you’re used to working with.
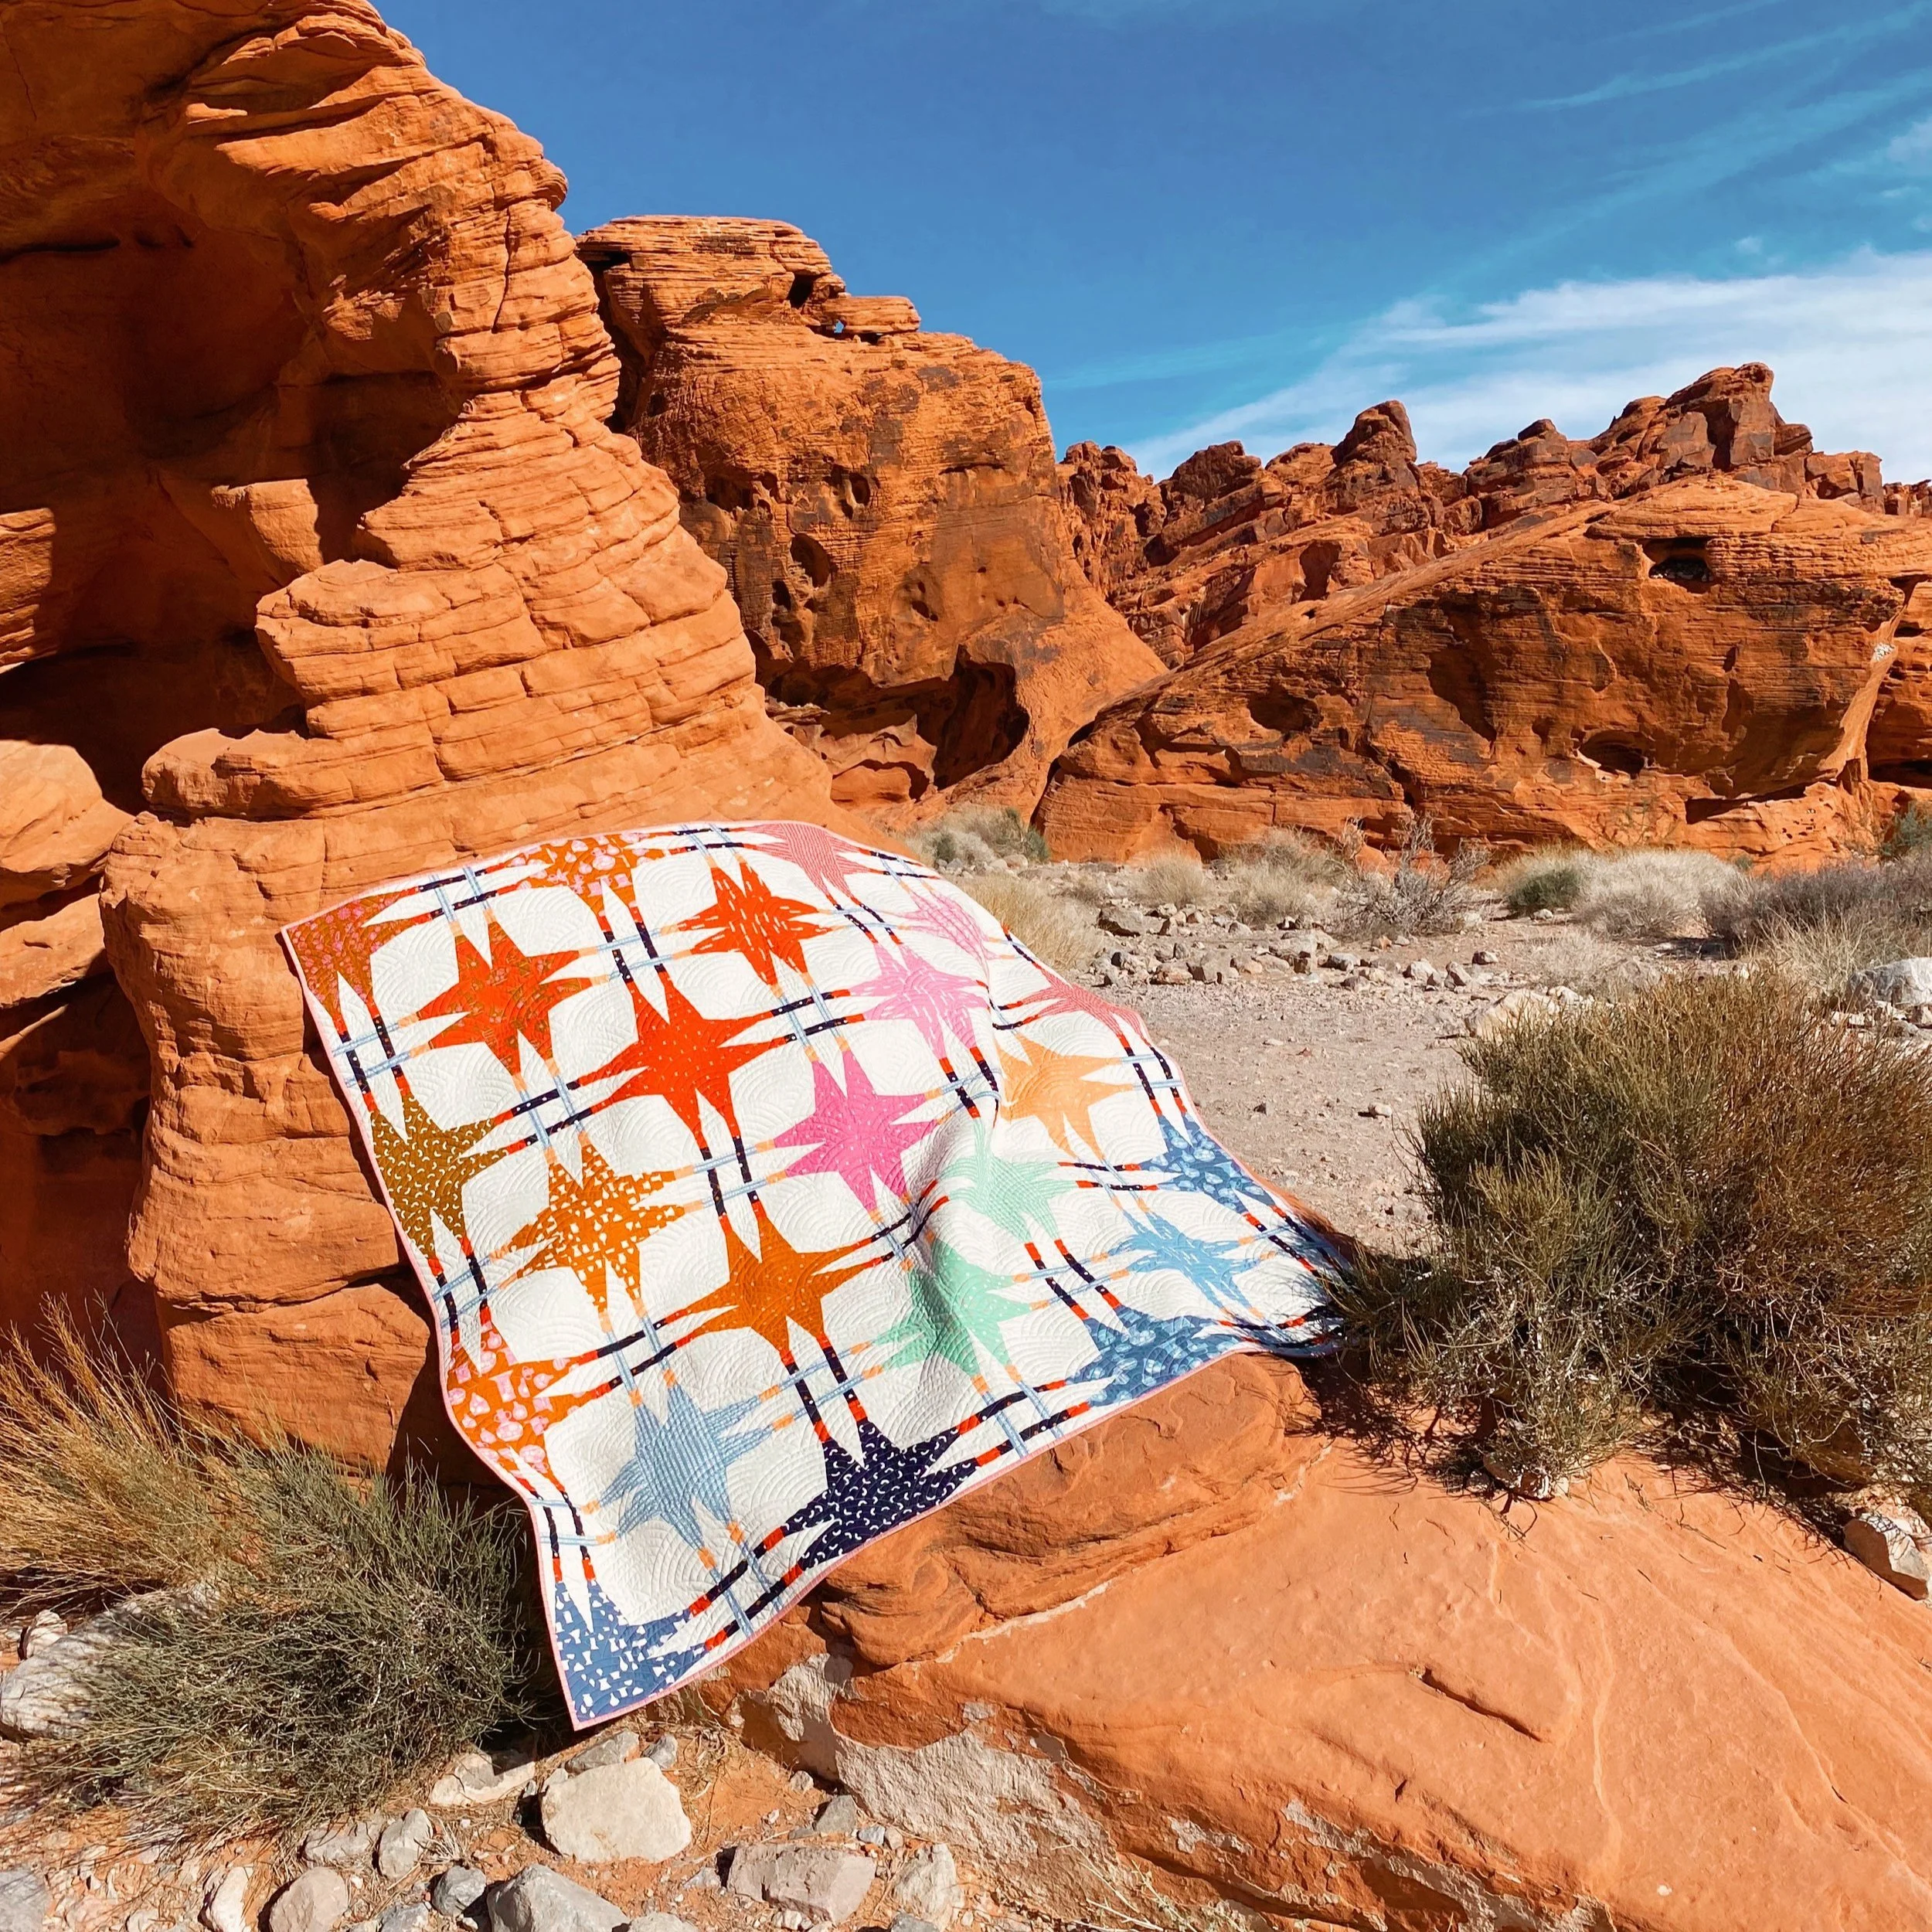
But what do I mean, send your quilt away to be quilted? Why yes, this is a magical thing you can do! You can make the quilt top, carefree and exuberant, box it up with its backing and mail it away, and it reappears several weeks later beautifully quilted way better than you ever could have done it. How? A very skilled person uses a machine called a longarm that takes up a whole room to quilt your quilt with either a freehand or computerized design. Some places will sell you backing yardage at the same time so you don’t have to make a backing, and some places will bind it for you too! Kaitlyn from Knot and Thread Design quilted and bound the queen Looper sample (this was actually the first time I had someone else bind a quilt), and Sarah from Crinklelove quilted the throw sample (below). There are lots of others out there too, google it! Of course this all costs money, but in my opinion it is well worth it for how awesome your finished project will look.
I am personally pretty sure I’ll never self-quilt a quilt bigger than a baby size again. I have quilted a decent number of throws and one queen, and that’s enough for me. It’s just not the part of the process I enjoy the most (mostly because of the basting step), and that’s ok. Maybe you will love the quilting part, and that will be your favorite! We are all different and there’s no right or wrong way to enjoy making a quilt.
Edited to add: I am not at all saying that quilting a throw or queen size quilt at home is unattainable, it is totally attainable! People do it all the time. I’m just saying that my advice is, if you are going to quilt it yourself and it’s your first time, do the baby size. People have babies all the time! You can find a baby to give it to. Or a dog. Or a cat. Or a wall to hang it on.
TUTORIAL ROUNDUP
There are so, SO many different ways to do each step of the quilting, it can be overwhelming to research. Here is just one tutorial or blurb for each step of how I make a quilt. If you are curious for other ways, google it or go on Youtube for tutorials galore.
Quilt top: The directions and your sewing skillz will cover you for everything here except cutting with a rotary cutter/ruler so watch this video from Jamie and Amber of Fancy Tiger.. Also check out my own tutorial on the curved Looper blocks.
(Remember, at this point you can send your quilt top away!)
Basting: SuzyQuilts has a great tutorial on basting and also feels the same way I do about spray basting. I always pin baste except for the one time I spray basted and didn’t like it.
Quilting: Here is a two part tutorial about straight line quilting (first, second). I, however, don’t bury my thread tails, I do small controlled backstitches. This is a quilty purist no-no but I don’t mind how it looks and it sure is faster!
Trimming: I couldn’t find a tutorial simple enough for the way I do it - after quilting, I literally use the edge of the quilt top as a reference and trim the backing and batting off with the ruler and rotary cutter, shifting the quilt around on my cutting mat. There are a lot of tutorials involving measuring and trimming to make sure your quilt is squared up but I’ve found that unless the edges are drastically not parallel you will never notice once it’s done.
Binding: This is exactly how I machine bind my quilts, except that I stitch in the ditch on the front to catch the binding on the back, instead of stitching on the back. But now I want to try this way!
A FEW PARTING WORDS
And now we are through metaphorical sewing Ikea, through our quilty shortcut and about to impulse buy a $1 hot dog. You are now armed with what is hopefully enough knowledge to get you through your first quilt project.
A few last bits of advice:
Practice. Practice. Practice. Did I say practice? Every time you do something for the first time, do a test version first. First time cutting with a ruler/rotary cutter? Don’t use your good fabric. Practice with scrap until you are comfortable. Baste a miniature placemat sized quilt and practice quilting. Do a binding test. It’s much easier to see and fix mistakes on test piece than your actual quilt.
Be easy on yourself. Even if you’ve been sewing garments for decades, this is a new skill. It might take some time to feel comfortable. Your first quilt might be a little wonky. That’s ok! Think back to your first garment. Was it perfect? Aren’t you glad you kept going anyway?
The final step. Wash your quilt. This might sound weird - I hate washing a finished garment the first time, how it ruins all my careful pressing - but a quilt I can’t wait to get into the laundry. It means I have crossed the finish line. It is a triumphant baptism that melts away mistakes and transforms a flat, stiff thing into a mass of delicious puff and crinkle and texture. You will pull it warm from the dryer and it will drape itself around you, soft and easy, and then your quilt will be finished.
Please don’t hesitate to chime in with any questions, thoughts, disputes or suggestions!


