About
Shop
Wholesale
Contact
Errata
Sign In
My Account
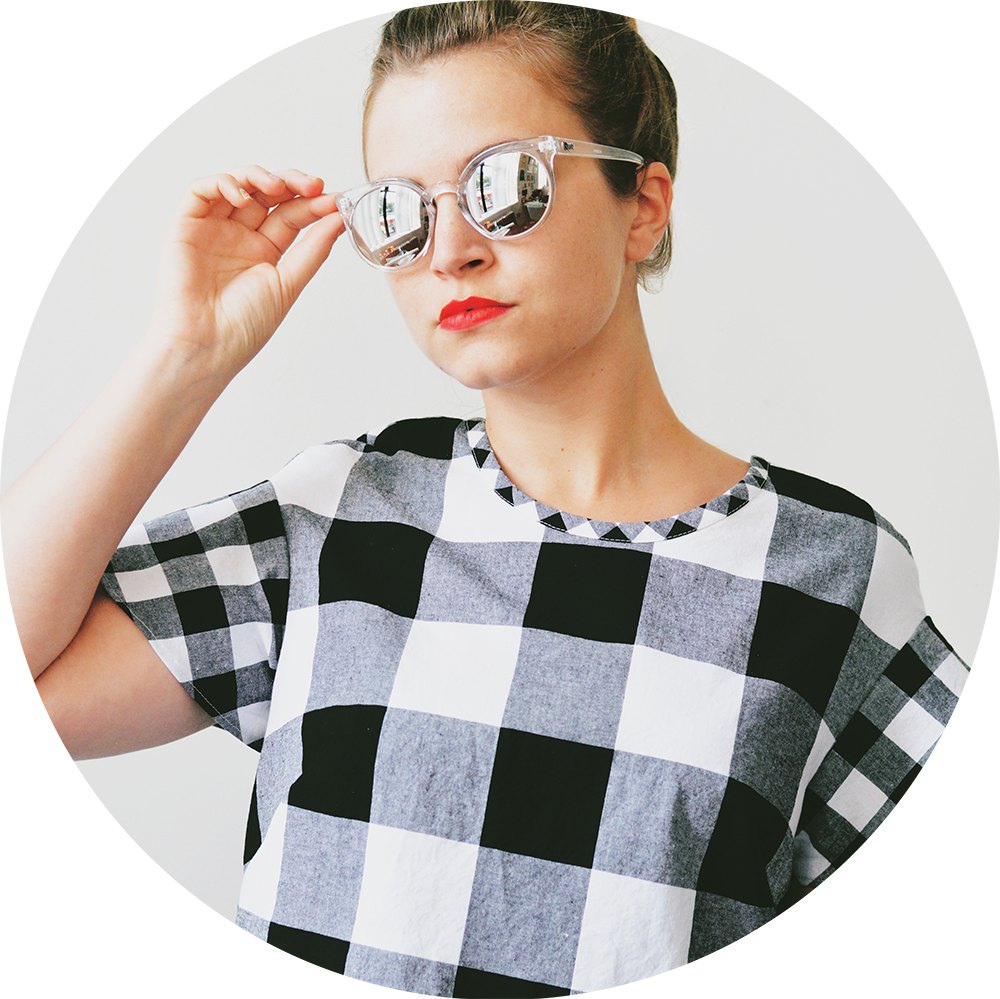
Hi.
I like to make things.
0
0