Week 1 : Choose Fabric

WEEK 1 - CHOOSE FABRIC
Welcome to the Looper Quiltalong! I can’t wait to make Loopers together and see everyone’s individual take on this pattern. (If you haven’t already, be sure to pick up the Looper pattern in my shop.)
Before we get into it, let’s talk about the most fun part - the prizes! This week, one lucky person will win a $25 gift certificate to Fancy Tiger Crafts (heck yeah!) and a Looper kit of choice from my online shop.
Also, throughout the whole quiltalong, you can enter to win complimentary quilting of a throw size Looper courtesy of Knot and Thread Design. How awesome is that?
Details on how to enter for both are at the bottom of the post. Now, on to the quiltalong!
FABRIC REQUIREMENTS
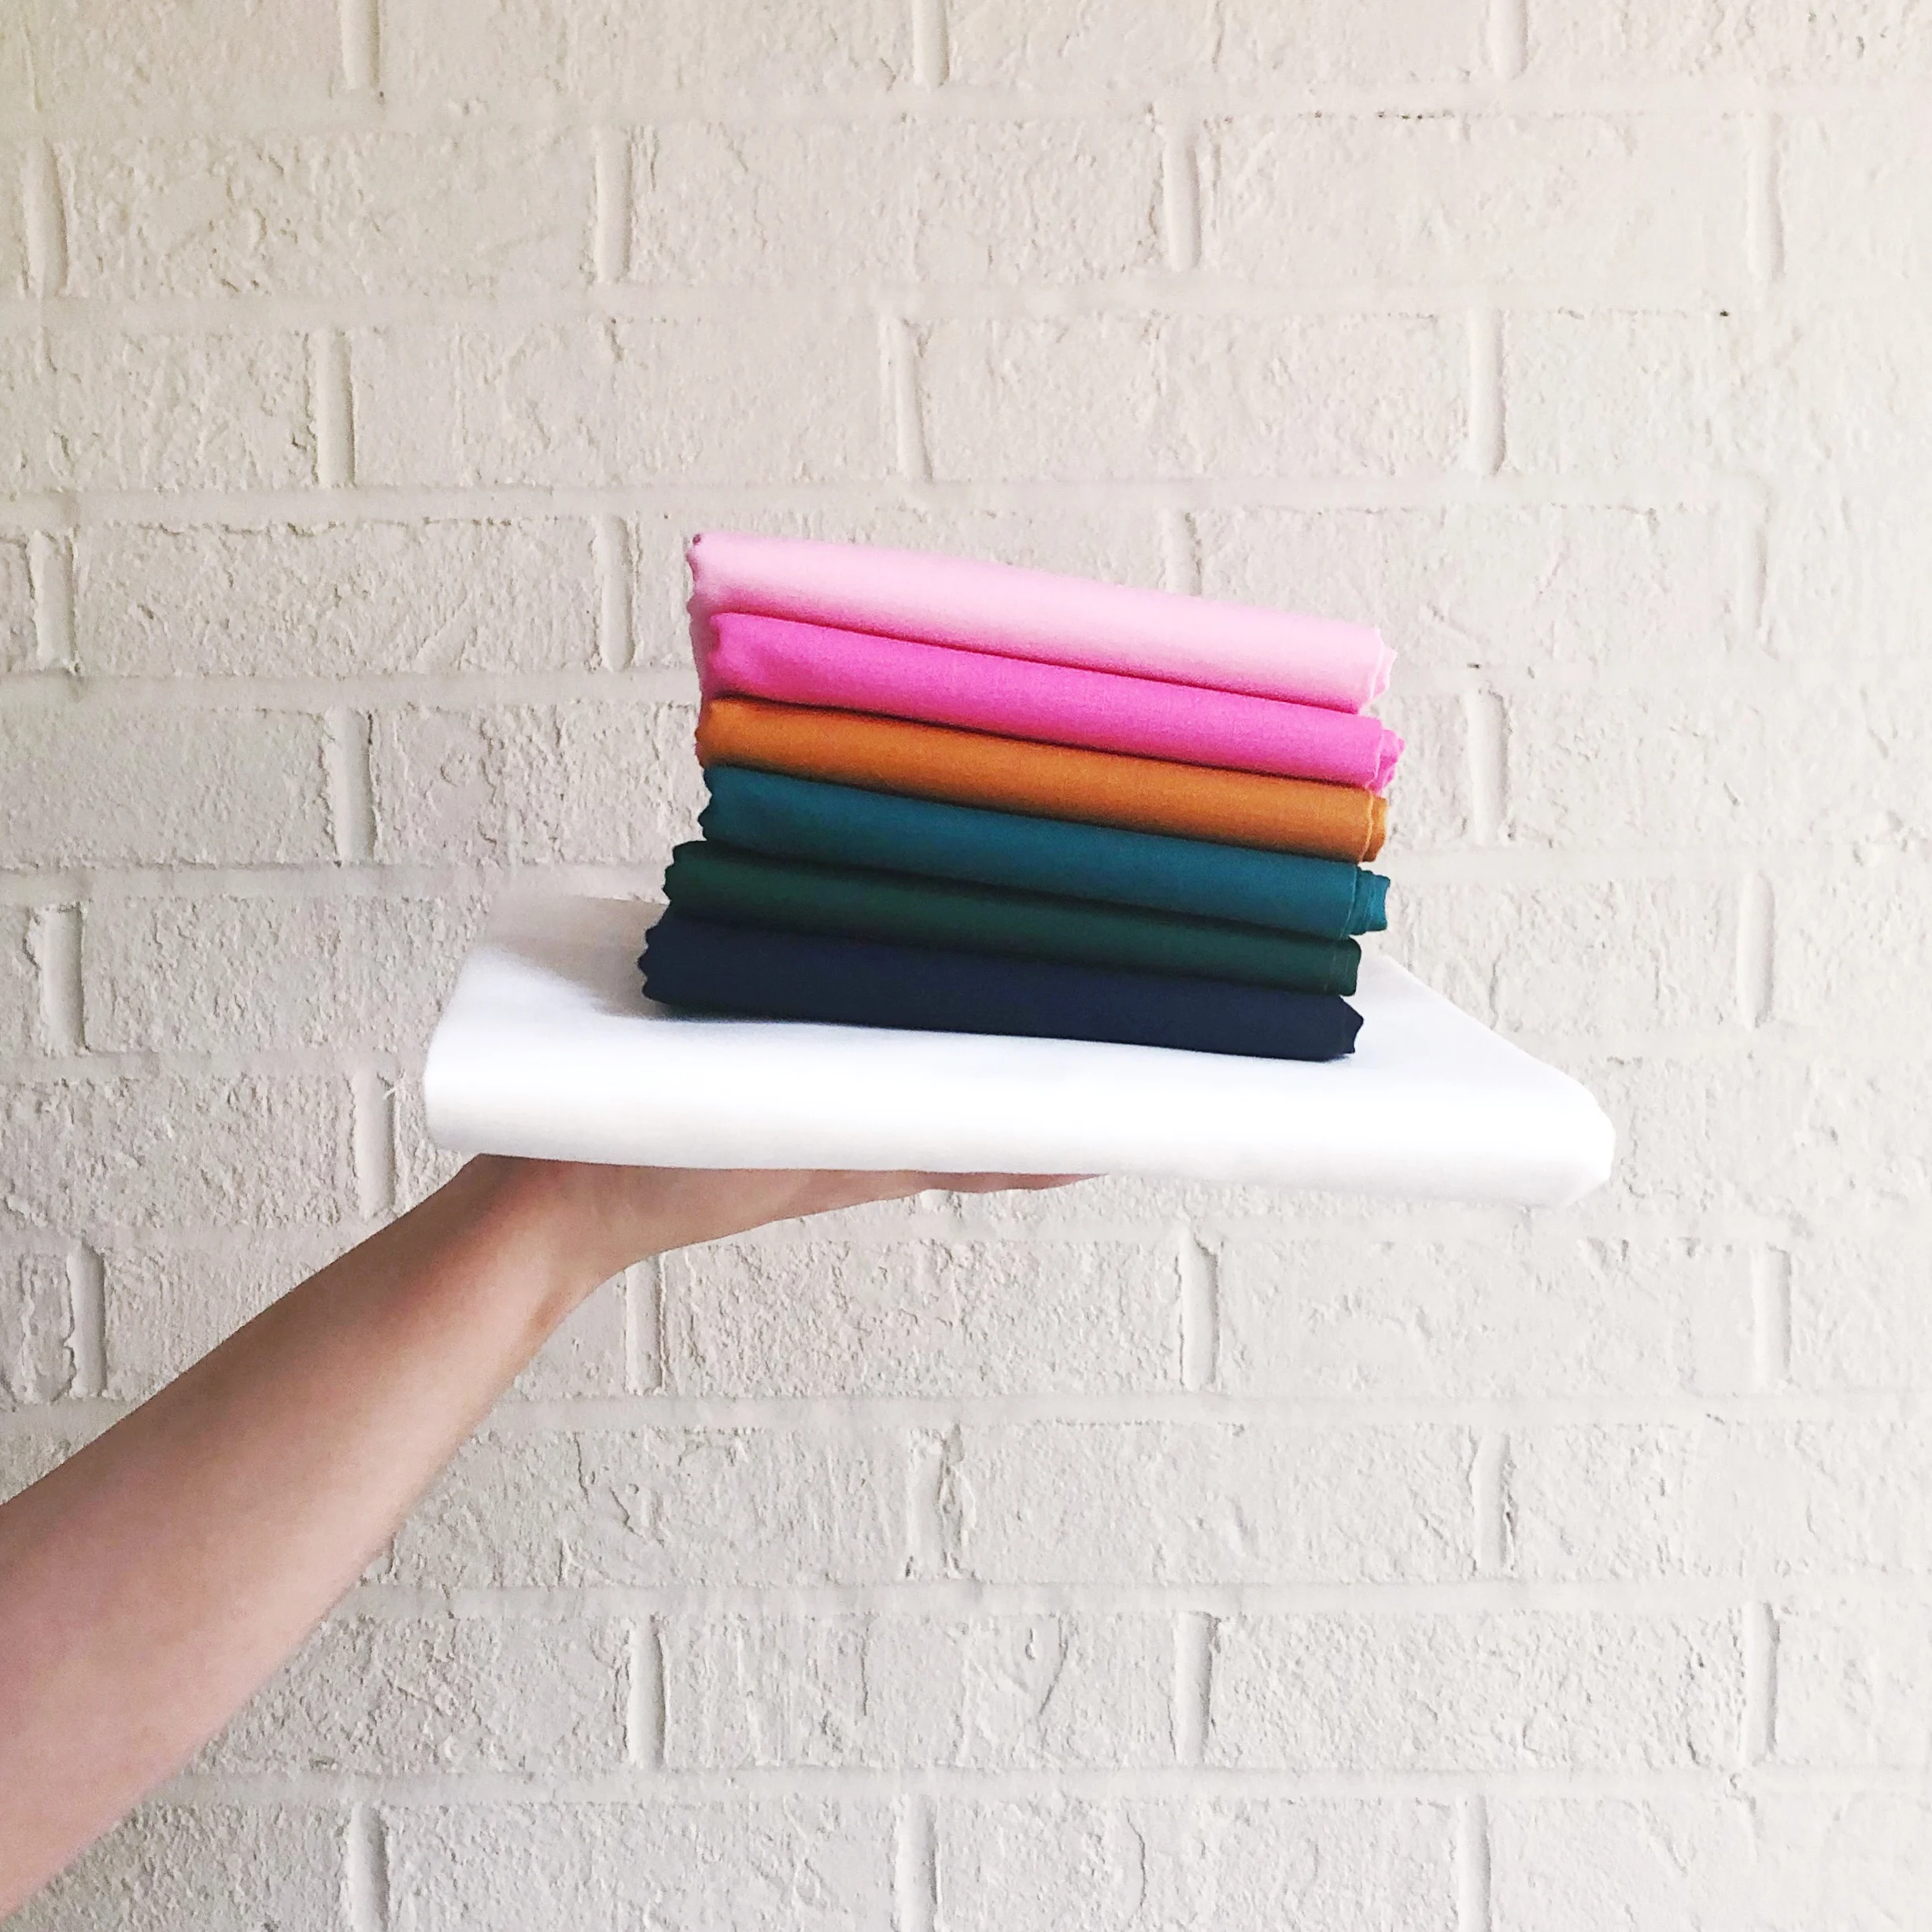
Choosing fabric can be both the most fun and the most overwhelming part about making a quilt. When you can choose anything, whatever should you pick?? Here are a few strategies for narrowing down your options. First let’s break down what fabric you need for the quilt top.
Fabric 1-6: These fabrics form the stripes of Looper. They will appear next to each other in numerical order in the finished quilt.
Background: This is the negative space in Looper.

Binding: You won’t need this for a while, but if you want it to be the same as any of your stripe fabrics or your background fabric, it makes sense to buy it at the same time.
Backing: Again you won’t need this for a while, but it’s good to think about.
Refer to your pattern for how much yardage to get for the size you intend to make. You can make any size for the sewalong, I will address each one as we go!
Ok, so now how do I choose?
The most straightforward fabric choices are solids or smaller basics/tonal prints. This allows your eye to connect all the pieces in the finished top to create the illusion of one smooth line of stripes looping its way across the quilt. (This does not at all mean that you can’t use larger prints, more on that below).
If you’re stuck on colors, try googling some color palettes! I for one love everything I see in a google image search for “retro rainbow." I’ve also put together a Pinterest board of Looper color inspiration:
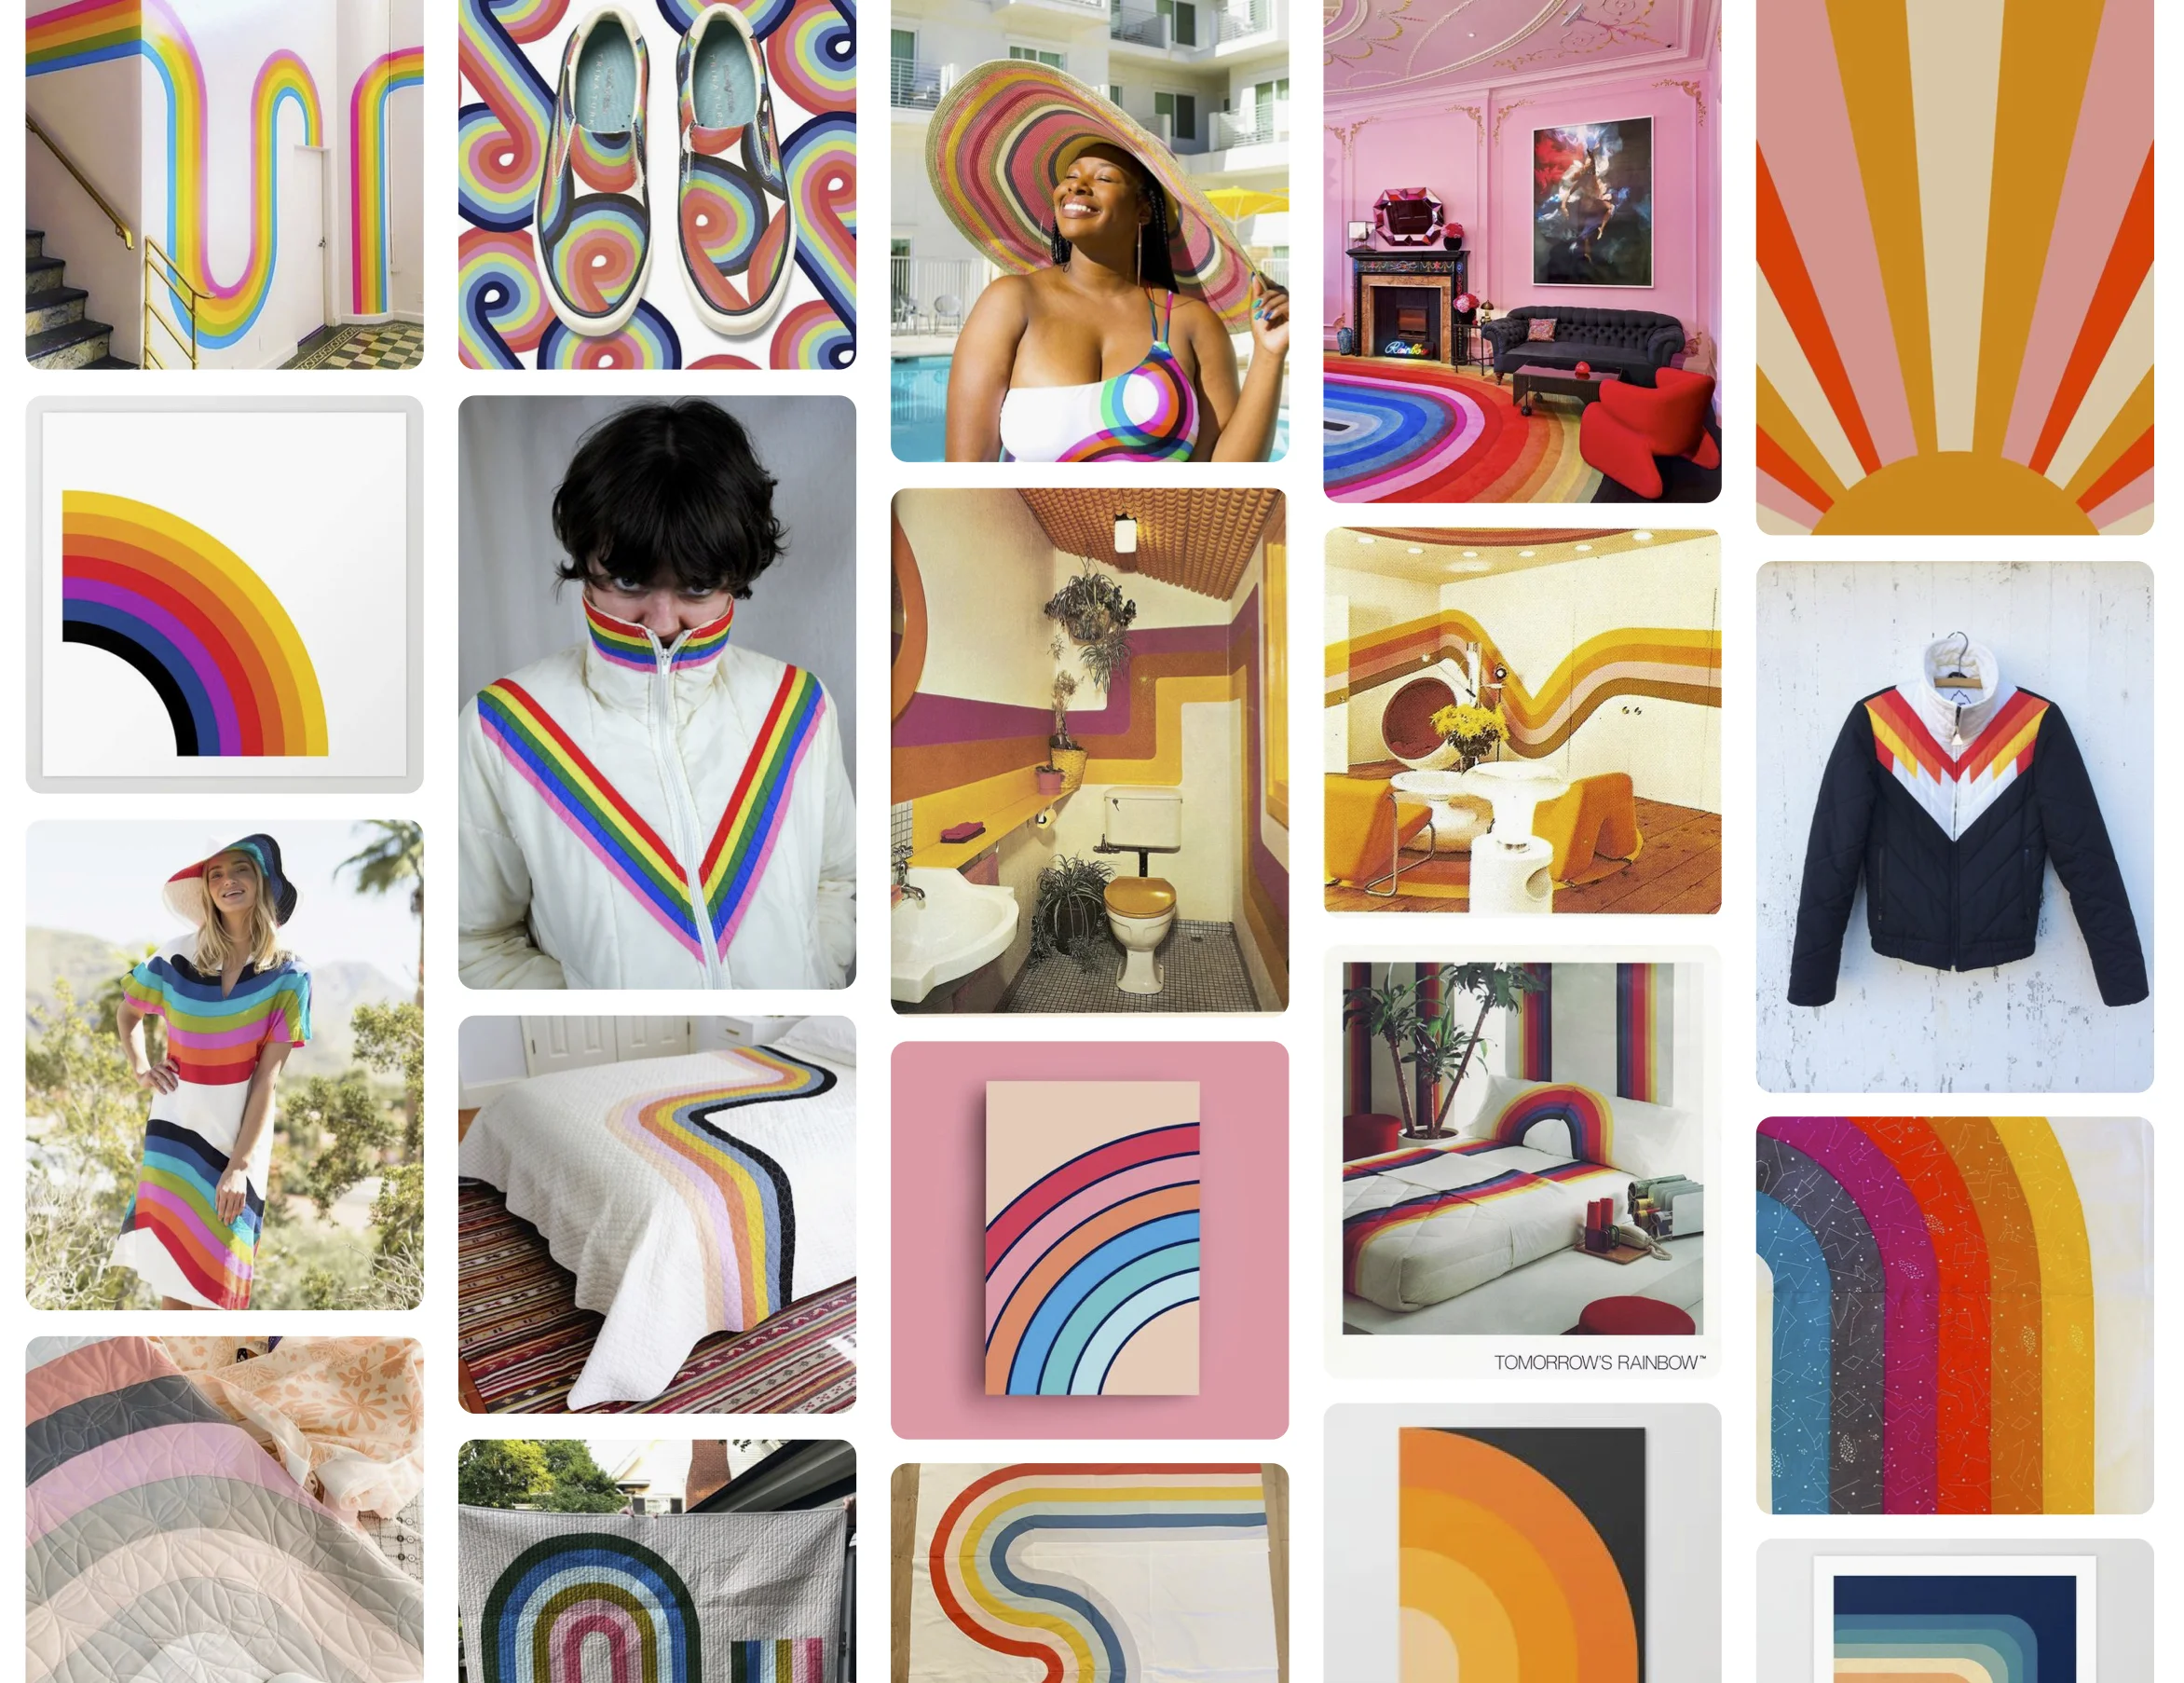
When in doubt, do a rainbow. Nature already arranged colors in a beautiful gradient so why change it? This doesn’t mean that you have to do the full ROY G. BIV. You could focus in on a small section and go from, say, orange to pink. Or just from light blue to dark blue. Or, do ROY G. BIV but change it up - do it in pastels, or neons, or shuffle the color order.
Can I use prints in Looper?
First of all, you can do absolutely whatever you want when you’re making your own quilt. And yes, you can totally use prints in Looper! Here are a few guidelines, suggestions and examples:
Prints that are extremely linear will make the seams more obvious. Because Looper is a combination of curved and straight pieces that are meant to blend and create one visual shape in the finished quilt, any print that is exceptionally linear (ex: stripes or plaids) will draw attention to the seams because the angle of the print will change abruptly. This isn’t to say that you should avoid these prints, just be aware of their finished effect. The larger and higher contrast the linear aspects, the more you’ll notice them. In the example below, Fabric 2 is Zip! by Rashida Coleman-Hale, and you can see how pronounced the seam lines are. Fabric 3 is Grid by Kim Kight, which is also a linear print though smaller and not as high contrast, so the effect isn’t as strong.

Unite with a common gradient or spectrum. Again, use the rainbow shortcut. To prevent prints from looking too jumbled or chaotic, try choosing a sequence of prints for Fabrics 1-6 that travel across a color gradient or spectrum. The simplest illustration would be a classic ROY G. BIV, though as mentioned above you don’t have to do the full rainbow. (Fabrics below are from Alma by Alexia Abegg.)

Mix in a solid or two. The more large prints you have, the more you’re going to lose edge definition on all the stripes and therefore lose the overall design a bit. You can temper your prints by using a few solids between them (or basics/textures that read as solids) to create clearer edges. In the quilt above, that would be Fabric 5, the slate Add It Up.
Use a print for the background. If there’s a print you’re just dying to use but can’t figure out how to incorporate it, use it for the background and have the stripes be coordinating solids or basics that ‘float’ on top. See Mackenzie’s tester Looper for an example of this:
Use just one accent print. This is another tip for more easily incorporating a print. Jenn, who tested the queen size Looper, used all saturated jewel tone solids except for fabric 6, for which she chose a black and white text/newsprint type fabric. I love the effect!
And of course, like I said, it’s your quilt, so you can do whatever you want! Check out Rachel’s awesome Looper on Instagram to see her combo of big bold prints. You can see how her use of a few solid-reading small tonal prints helps keep all the louder prints from melting into one another.
PLAYING WITH THE LAYOUT
One of the most fun aspects of Looper is that all the blocks are modular. This means that you can connect any number of blocks in any orientation and create a continuous design. Because this will affect the yardage you need for each fabric, there is a special section at the end of the instructions that guides you through how to figure out yardage requirements.
Below are nine different throw size layout possibilities, all in Kim Kight’s Grid fabrics, all using just the four basic blocks of Looper:

Your pattern comes with miniature Looper blocks that you can cut out and color to play with your layout. If you use them all up and need more, you can download another sheet here.
gettin’ FANCY
If you’re feeling adventurous, the Looper pattern can be easily manipulated beyond the layouts in the pattern for lots and lots of fun outcomes! These will all affect the yardage you need of each fabric, so again refer to the reference section at the end of your pattern instructions for guidance.
Play with the background. There’s nothing to say you have to use the same background print in your whole quilt. In the example below, a gradient of floating lines is achieved by alternating the stripes with the upper right background fabric, and using a high contrast different fabric for the lower left background fabric. (All fabrics are Add It Up by Alexia Abegg.)

Repeat colors. You don’t have to use a different color for every stripe. The quilt below is made of two Spark fabrics for the stripes, which creates a very bold and graphic design. It makes me think of candy! (Though a log of things make me think of food)

I think that this color scheme could be extra fun to play with the layout:

Get scrappy. If you have a large stash or a lot of scraps to use up, make a scrappy Looper! One strategy would be to assign each stripe a color. So for example, every Fabric 1 piece is a red scrap, every Fabric 2 piece is an orange scrap, etc. You could even have this as an ongoing background project, and sew a block whenever you have enough pieces cut. The example below mixes lots of different basics prints.

Think beyond quilting cotton. Remember that you don’t always have to stick to quilting cotton when making quilts! Here are some Loopers I hope someone will make so that I can live vicariously through them: a Liberty Lawn looper, a Cloud 9 Glimmer solids or other metallic Looper, a yarn dyed Essex linen Looper…there are so many options!
IN CONCLUSION
So to distill all that information, here is what you need to do at this point:
Decide on a color palette for the stripes and background. When in doubt, go rainbow, or google color palettes.
Decide on a layout. If this is your first Looper or you’re a newbie quilter, it will be easier to follow the provided layouts. If you’re feeling up for an adventure, make up your own!
Get fabric! Depending on your size and layout, get the fabric you need. It will be 2 weeks before we cut into it so you have time to place online orders or plan a weekend shopping day.
THIS WEEK’S PRIZES
Here is how to enter to win a $25 gift certificate to Fancy Tiger Crafts (you could pick up your backing fabric there!) and a Looper kit from my online shop! Go to my Instagram page and vote for which of these two Loopers you want me to make for the sewalong (be sure to read entry requirements on the post). It’s as easy as that! (The left one is made of Speckled by Rashida Coleman-Hale, and the right is all Moda Bella solids.)


To enter to win the longarm quilting from Knot and Thread, any unique photo you post on Instagram between now and the end of the quiltalong with both the hashtags #looperquilt and #looperqal will be an entry! (Like all prizes you must be signed up for the newsletter to win.) These can be photos of your plans, ideas, the pattern, your fabric choices, progress shots, finished shots, anything! You can repost Looper photos you’ve posted before the quiltalong if you want.
(The spirit of this giveaway is for everyone to share genuine photos of their own Looper experience, so anyone posting the same photo over and over, or using secondary accounts to spam photos over and over just to get more entries, will be disqualified from winning any prizes. Please honor the spirit of the giveaway!)
Next week we will be talking about some tools/equipment you will want to have on hand, as well as a few prep steps to take before cutting begins the following week. Feel free to comment below with any questions!

